Tag Archives | Abstract

Abstract Piece In-Progress

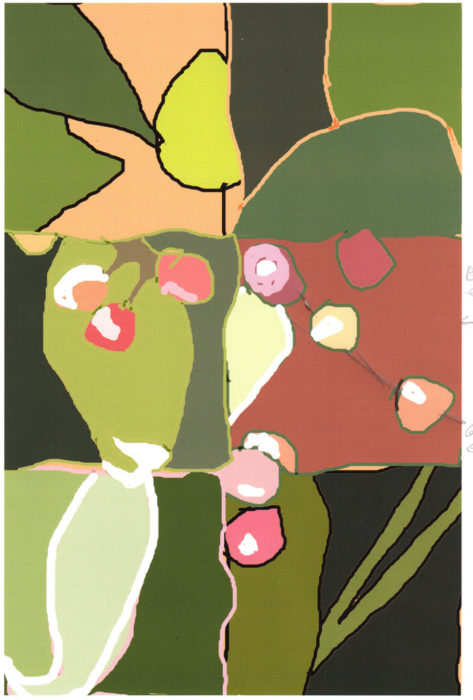
In my last post, I showed you how I abstracted a photo to create a new design.  This was my computer-colored sketch, although I knew I’d kick up the colors a good bit.

Photo to Abstract. Ellen Lindner, AdventureQuilter.com/blog

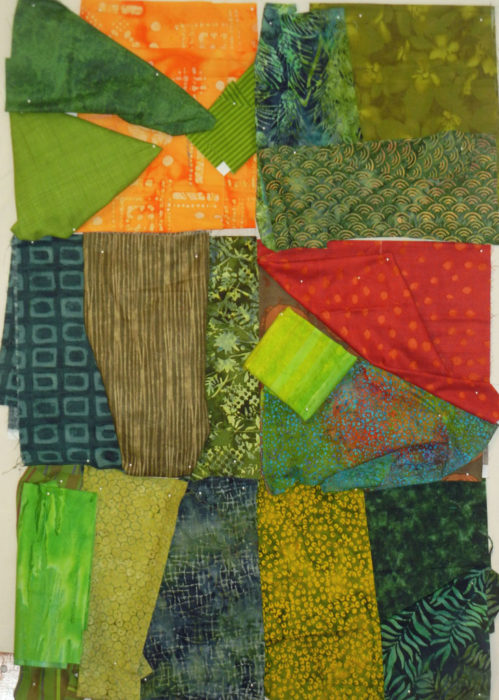
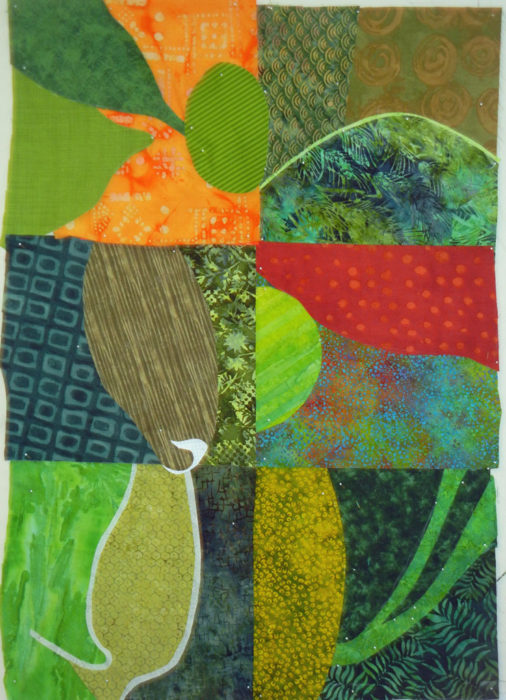
Soon, I was on to fabric selection.  I spent a good bit of time on this, since I knew the value contrasts would be important.

Abstract Piece In-Progress. Ellen Lindner, AdventureQuilter.com/blog

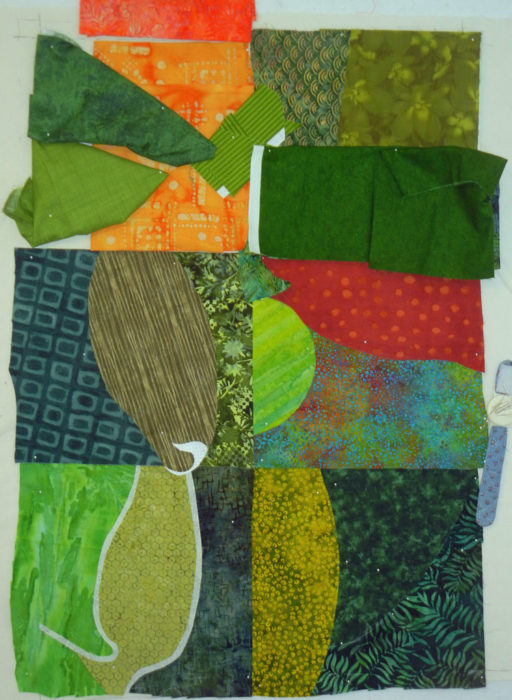
Next, it was time for background construction.

I changed a few fabrics along the way.

When I first finished the background, above, the white curve leaf tip on the left was too attention getting.  However, I knew I’d be adding white with the berries and hoped that they’d all balance out.

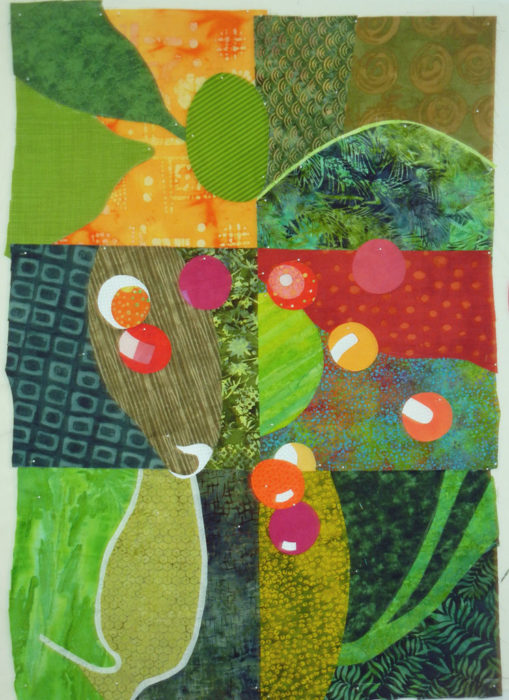
On to berries.

Abstract Piece In-Progress. Ellen Lindner, AdventureQuilter.com/blog

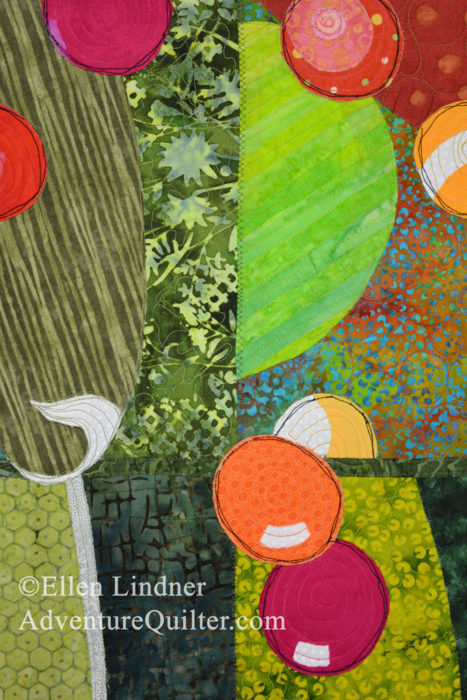
Yes, the white spots balanced out and I was crazy about those colors!

Time to glue everything together and take it to the machine.  On to quilting!

Ellen Lindner

4

From Photo to Abstract

I’ve been having SO MUCH FUN working on my current quilt!  It’s an abstracted design, which always pushes me outside of my comfort zone.  But, I love the way it’s coming together.

First, I needed a design.  I took my cues from a Quilting Arts TV segment featuring Pat Pauly.  She suggested cutting up a photo and rearranging it in order to create shapes and lines for an abstract design.

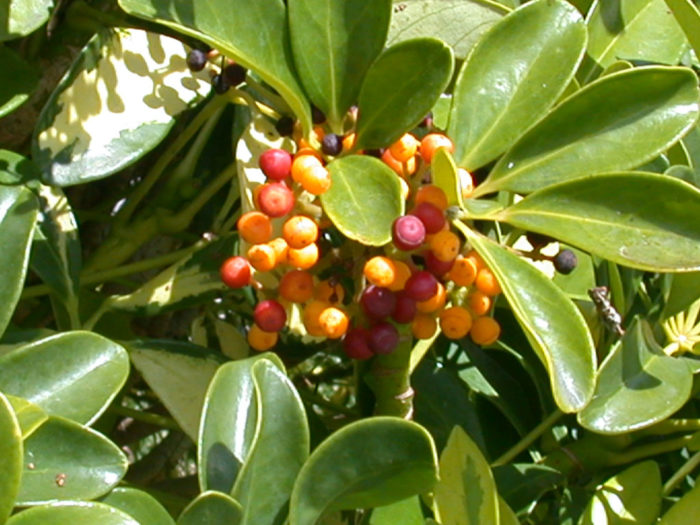
Okay, then.  This is the photo I chose.

Photo to Abstract. Ellen Lindner, AdventureQuilter.com/blog

I cropped it to 7.5″ x 10″ and then cut it into 12 – 2.5″ squares.  I selected my six favorite squares and created a composition with them.  (Thanks to the square shape, the pieces can be easily rotated and still fit together nicely.)

Photo to Abstract. Ellen Lindner, AdventureQuilter.com/blog

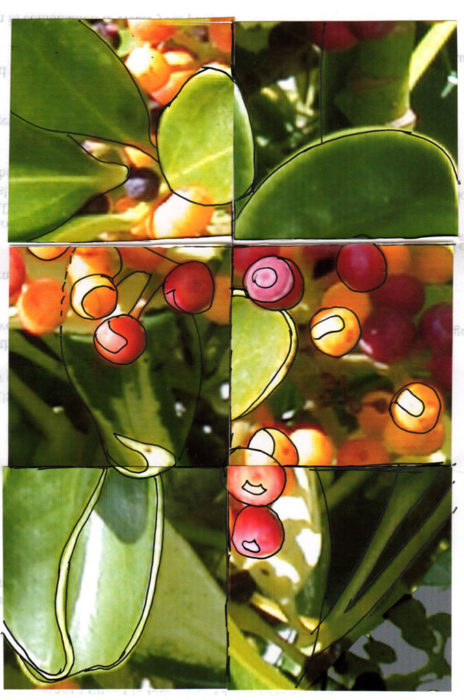
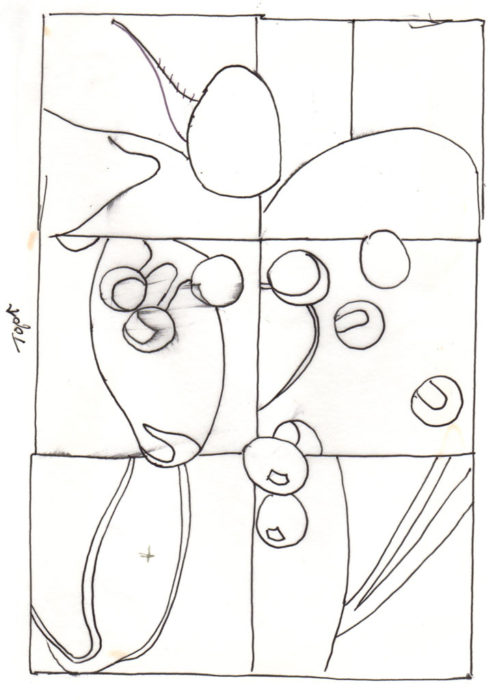
Gee, I was really loving this!  Next, I outlined the major shapes and traced them.

Photo to Abstract. Ellen Lindner, AdventureQuilter.com/blog

Voila: an abstract design which can be worked in any values or colors.  I decided to create it in colors similar to the original photo and I did a little coloring on the computer.
(As you can see, I changed my mind about the orientation.)

Photo to Abstract. Ellen Lindner, AdventureQuilter.com/blog

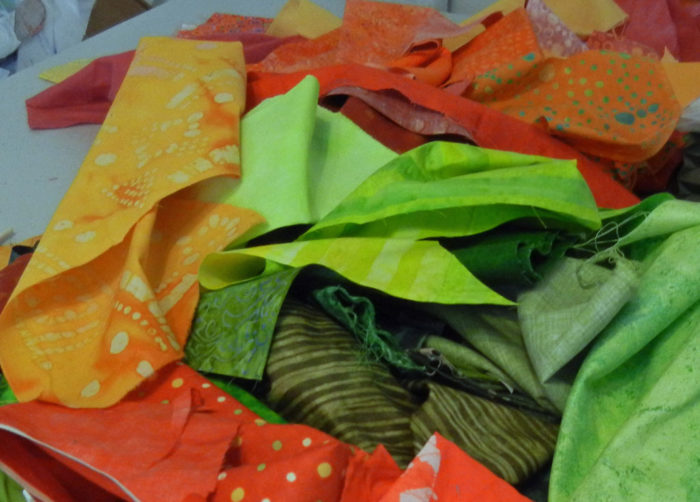
However, I had leftover “hot” fabric from my last quilt and decided to kick it up with vibrant colors.  Like these.

Photo to Abstract. Ellen Lindner, AdventureQuilter.com/blog

On to the fabric selection!  I can’t wait to show you my progress.  Check back soon.

Ellen Lindner
P.S.  Since I did this design step a while ago, I have an earlier post with a little more info.


0

Is It Hot in Here or is It Just Me?

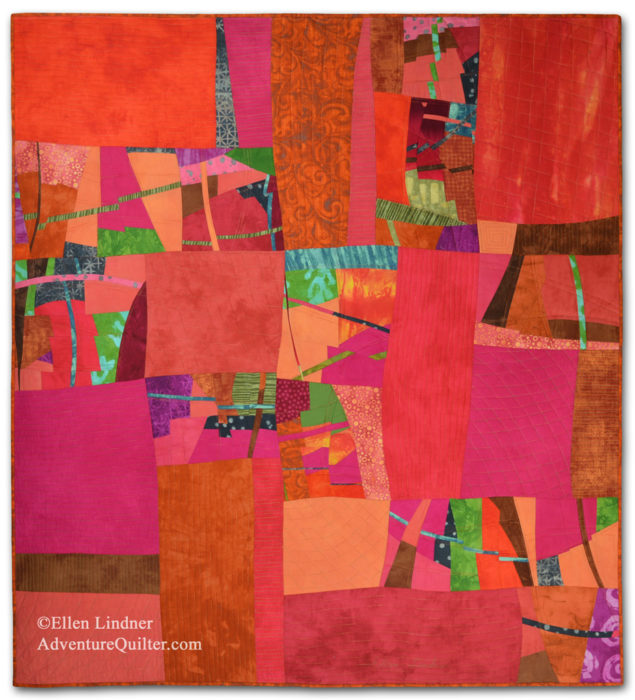
As a warm-natured Floridian, I’m often asking “Is it hot in here, or is it just me?”  The hot colors of this quilt made me think of that, so I used my frequent question as the title.

Is it Hot in Here, or is It Just Me? An improvisational art quilt by Ellen Lindner. AdventureQuilter.com

Is it Hot in Here, or is It Just Me?

This quilt is larger than most of mine, 54 high x 49 wide.  So large, in fact, I thought it might one day get used for snuggle purposes. With that in mind, I put a binding on it.  (For the first time in about 14 years!)  Of course, I still consider it an art quilt and I added a sleeve for hanging.

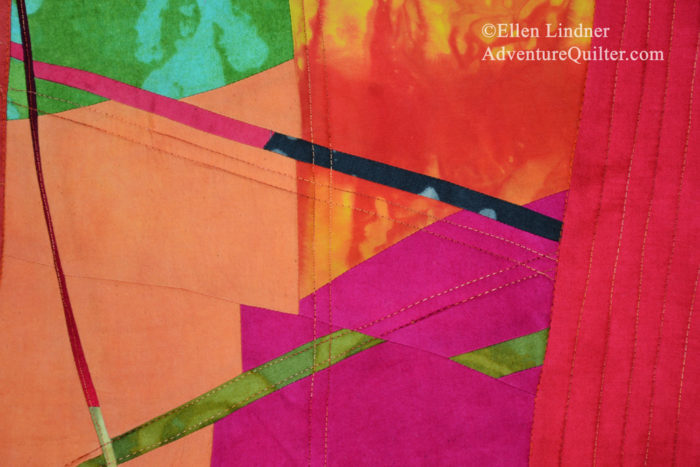
Here’s a detail shot.

Is it Hot in Here, or is It Just Me? - detail. An improvisational art quilt by Ellen Lindner. AdventureQuilter.com

This quilt was a lot of fun to make!  You can see my in-progess posts in the related links, below.

This piece is for sale.  Find full info here.

Ellen Lindner

3

“Deliberation” Complete

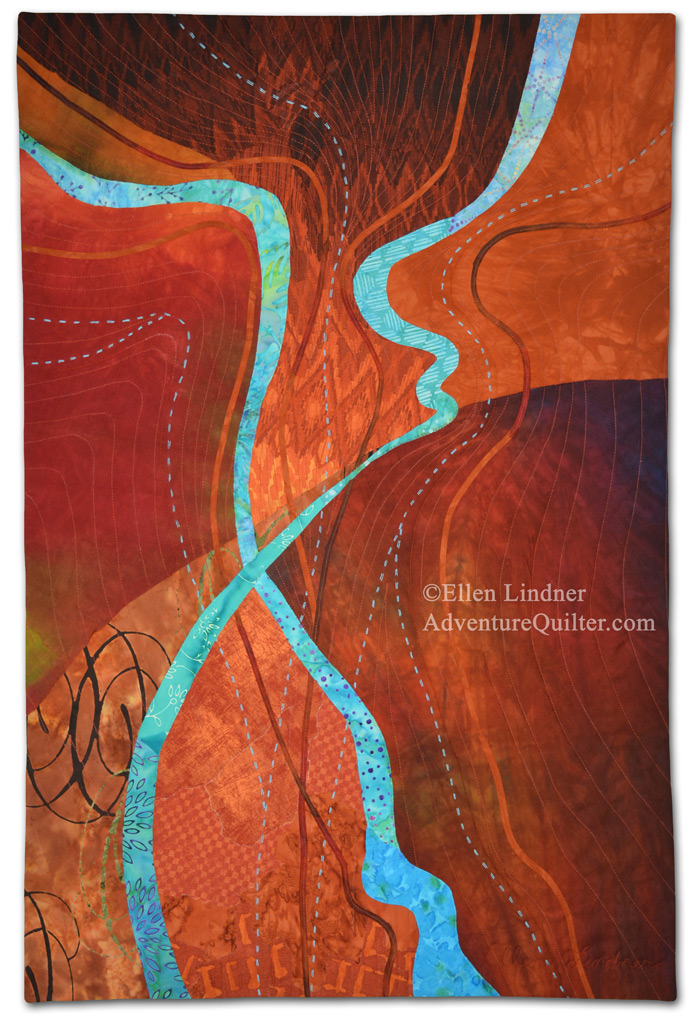
My latest artwork, Deliberation, is complete.

Deliberation, an art quilt by Ellen Lindner. AdventureQuilter.com

Deliberation

I’m quite happy with it and I really enjoyed creating it.

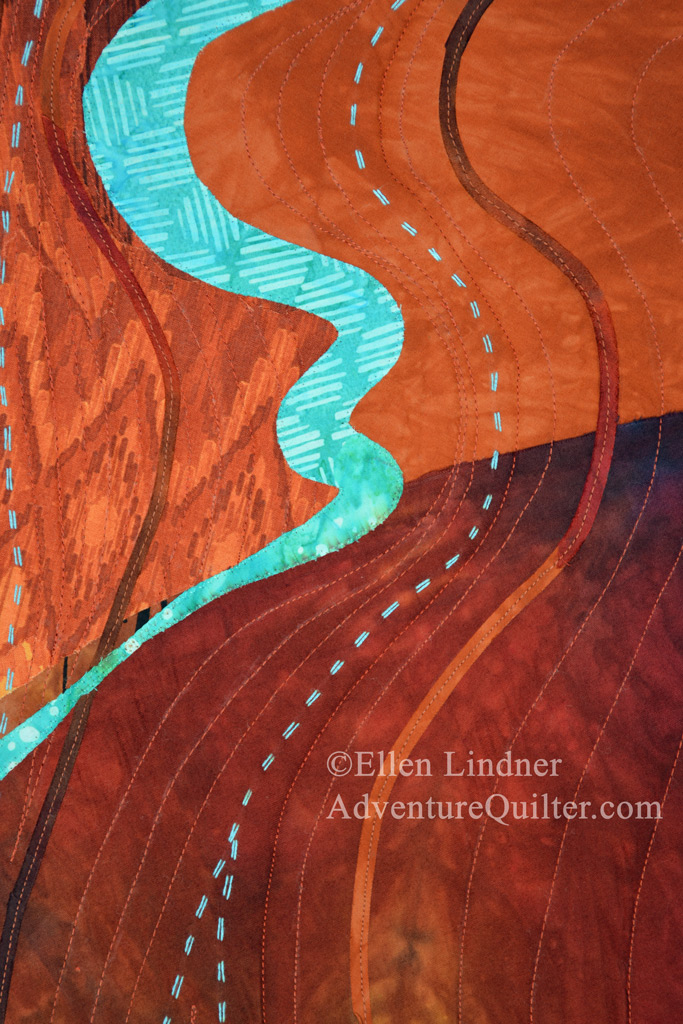
Deliberation - detail, an art quilt by Ellen Lindner. AdventureQuilter.com

I did deliberate (get it – deliberate?) quite a bit over the title.  It does look like an overhead view of rivers and many people suggested titles with that in mind.  That would have been fine, except I wanted to work it into my current series which has titles like Daydream, Brainstorm, etc.  So, I eventually decided on Deliberation.

Audition this art in your home

On to my next adventure.
Ellen Lindner

2

Rust with Turquoise Abstract

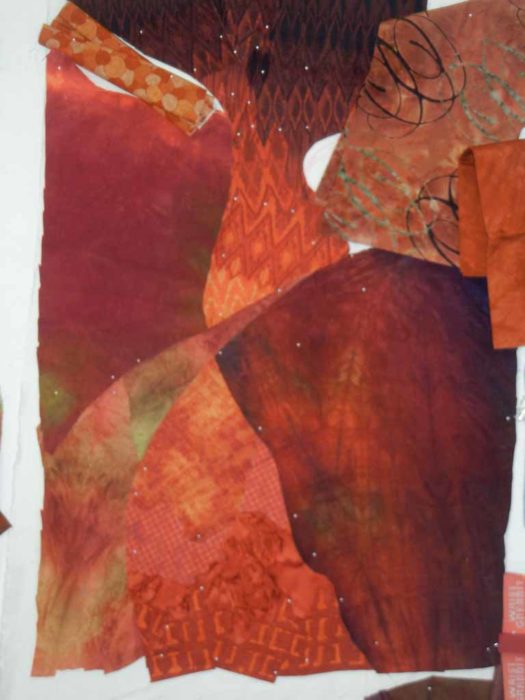
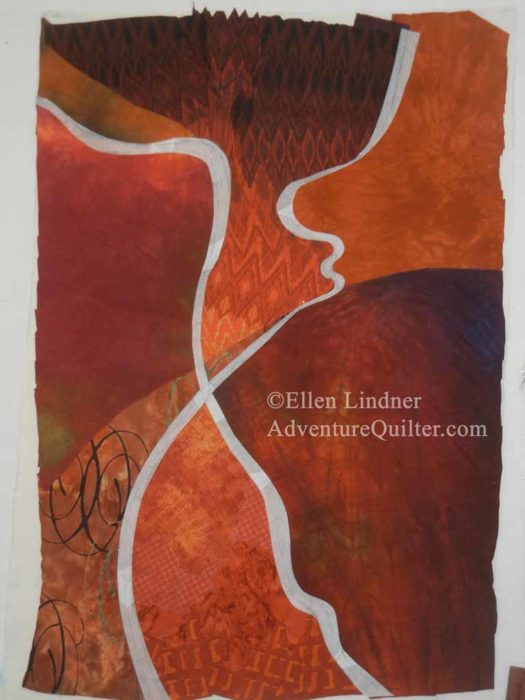
My latest abstract piece is progressing nicely.  After creating the sketch and selecting fabrics, I began to compose the background on my design wall.

Abstract art quilt in progress. Ellen Lindner, AdventureQuilter.com/blog

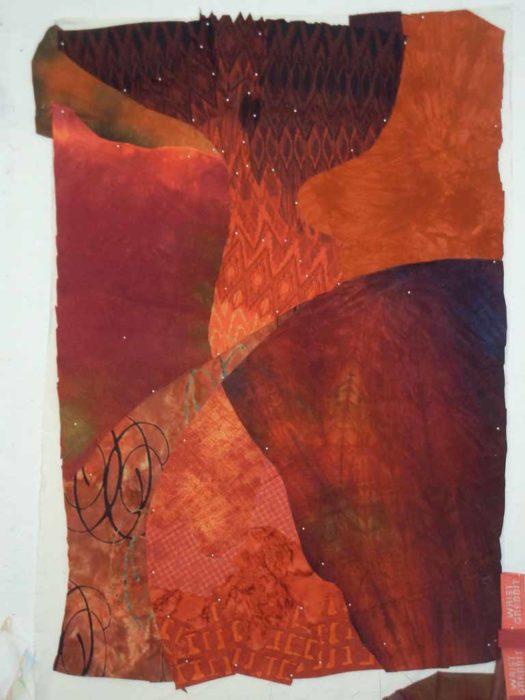
Here it is, completed.

Abstract art quilt in progress. Ellen Lindner, AdventureQuilter.com/blog

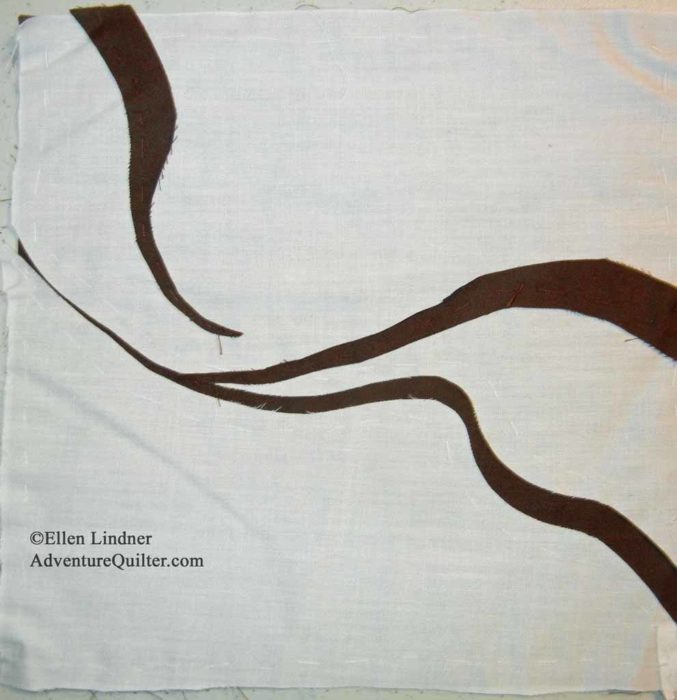
Next, I made tracing paper patterns of the two undulating lines I wanted to add.

Abstract art quilt in progress. Ellen Lindner, AdventureQuilter.com/blog

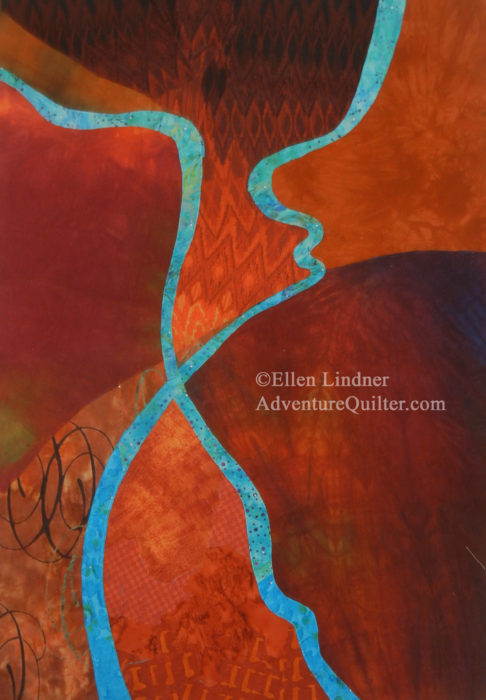
It’s coming along, don’t you think?  I was happy with this design and began to select fabrics for the undulating lines. As usual, I wanted several fabrics for each shape.

Here they are, finished.

Abstract #4 in-progress. Ellen Lindner, AdventureQuilter.com/blog

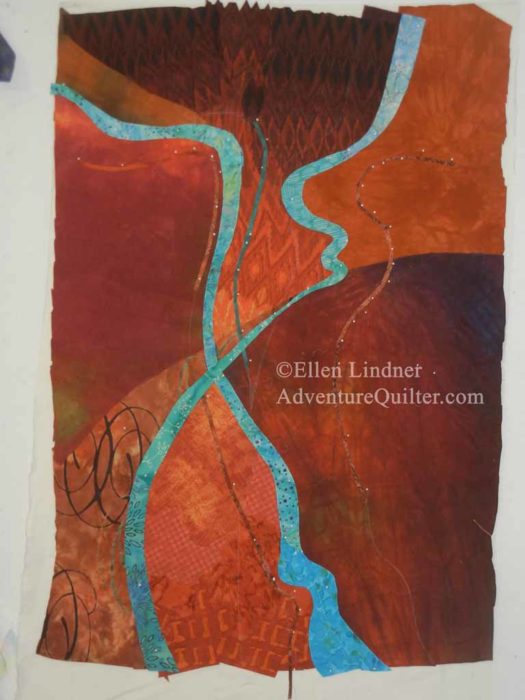
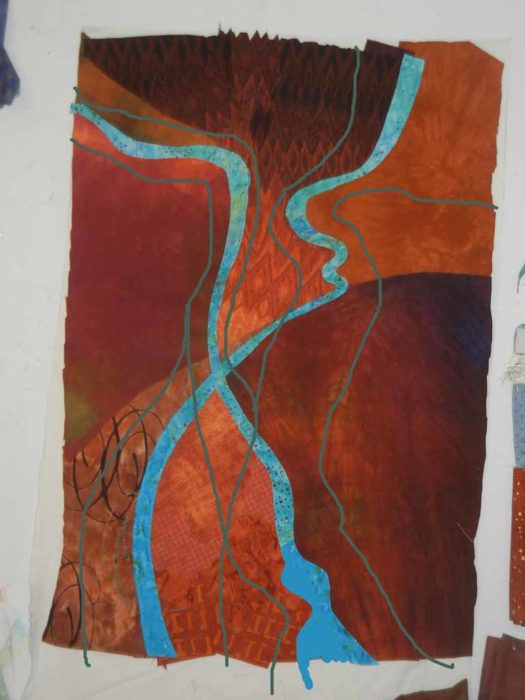
Next, I auditioned the idea of adding skinny undulating lines.  Should they be teal or rust?  I tried out both.

Abstract art quilt in progress. Ellen Lindner, AdventureQuilter.com/blog

I drew sketches in the computer and that settled it.

Abstract art quilt in progress. Ellen Lindner, AdventureQuilter.com/blog

Not teal.

So, I cut some skinny strips of hand dyed rust and set to work.

Ellen Lindner
P.S. Right now I’m calling this “Abstract #4.”  I definitely need a different way of thinking of this piece, but titles often come to me last.

8

Smooth Undulating Lines

I’ve been working on a series of quilts in the same size, colors, and motifs.  One of the hallmarks of the first three quilts was undulating lines with jagged edges.  But, when I’m in creative mode I always allow myself to take detours.  So, when I got the idea to use some smoother undulating lines, I had no misgivings about changing course.

In 2006 I took a wonderful class, at Arrowmont School of Arts and Crafts, with Emily Richardson.  One of our exercises was to create small compositions with just two colors of fabric.  I generally hate that sort of thing, but this time I had good luck.  I liked it so much that I stuck it on my design wall when I got home and it’s been living in that low corner for TEN years!

Planning a new art quilt with Ellen Lindner. AdventureQuilter.com/blog

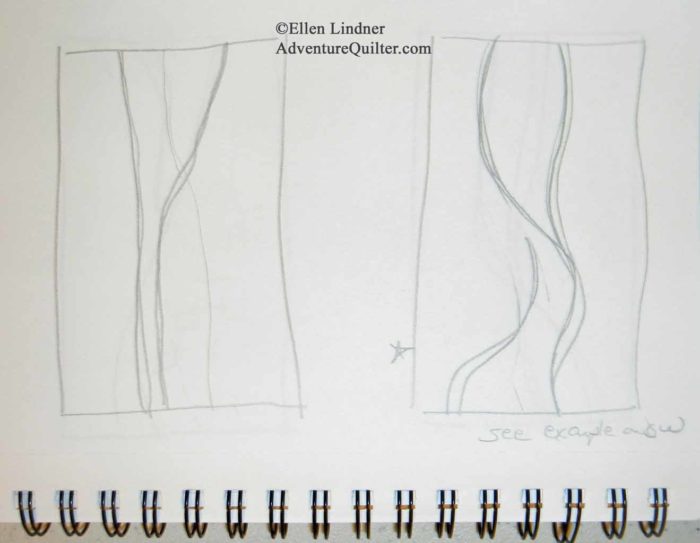
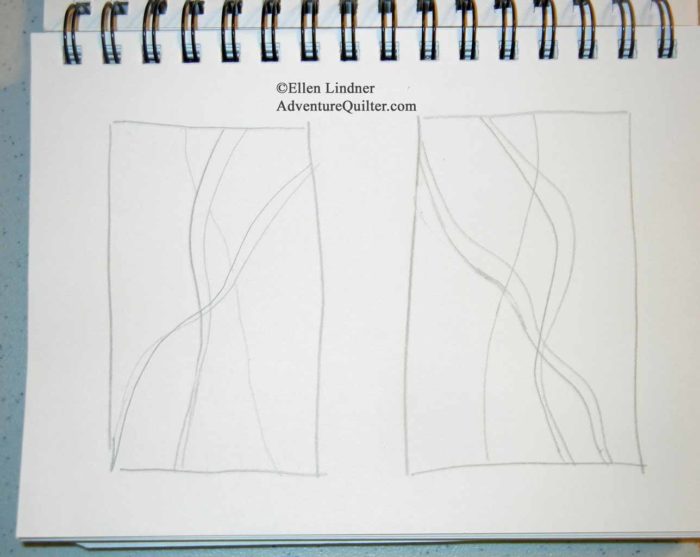
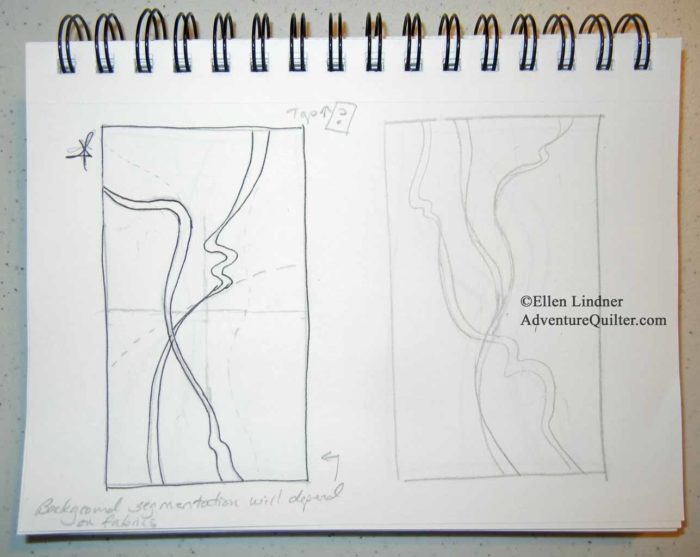
When I started thinking about undulating lines, this was the obvious spot for me to begin.  I grabbed my sketchbook and had a go at some designs.  Can you see that the one below right was inspired by the fabric composition above?  (You have to turn one of them to see the connection.)

Planning a new art quilt with Ellen Lindner. AdventureQuilter.com/blog

Planning a new art quilt with Ellen Lindner. AdventureQuilter.com/blog

I decided I really liked the one on the left, below.

Planning a new art quilt with Ellen Lindner. AdventureQuilter.com/blog

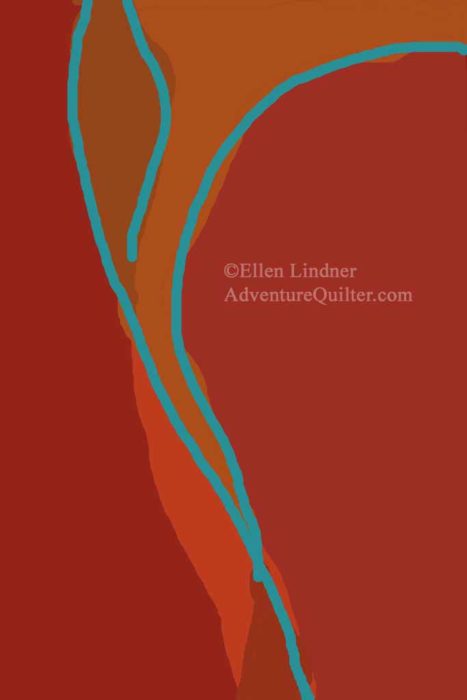
Meanwhile, I’d also done some playing on the computer.  This time I was focusing more on color.

Planning a new art quilt with Ellen Lindner. AdventureQuilter.com/blog

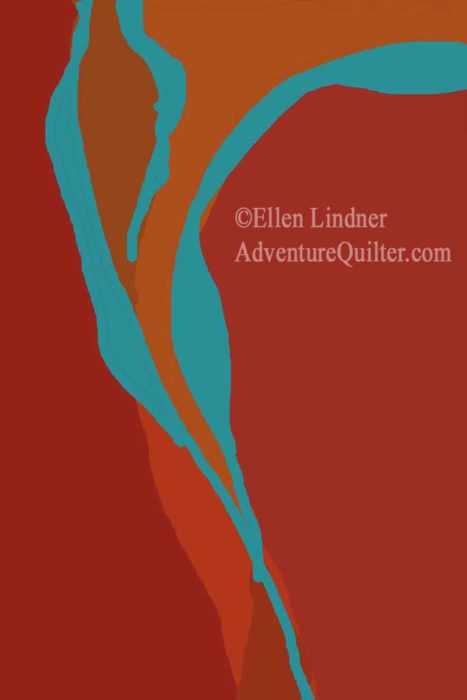
I started on the computer with lines of one width.  But then I decided to make their shapes vary.  Much more interesting, I think.

Planning a new art quilt with Ellen Lindner. AdventureQuilter.com/blog

At this point, I had a design and a general color plan.  Time to audition some fabrics.

Ellen Lindner

4

“Deja View” Complete

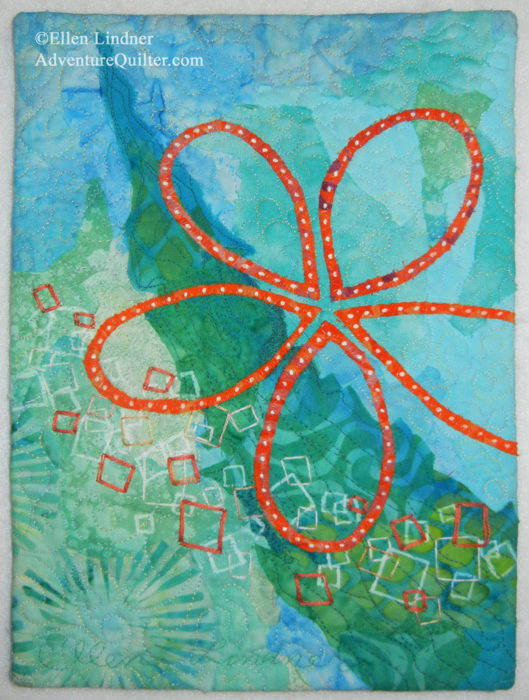
I finished the little piece for the SAQA trunk show.  Since it was inspired by the current series I’m working on, I named it Deja View.

Deja View, an art quilt by Ellen Lindner. AdventureQuilter.com/blog

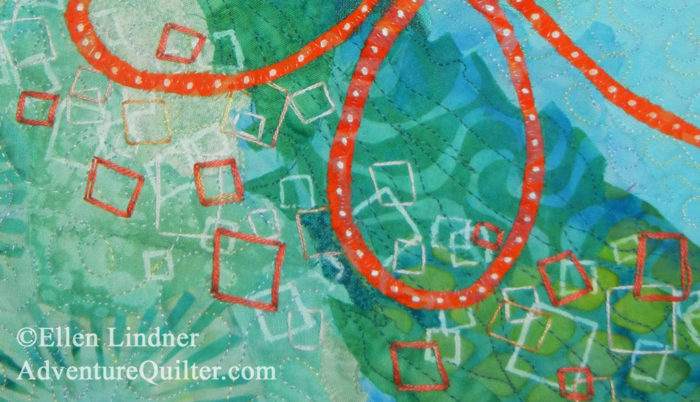
And here’s a detail shot.

Deja View - detail, an art quilt by Ellen Lindner. AdventureQuilter.com/blog

At only 10″ x 7″ some of my usual construction methods needed to be modified.  The squares for instance.  In the larger pieces, they were depicted with fabric.  But, there was no way I could cut the tiny squares needed for this scale.  Instead, I drew them in with white pen and added more with hand stitching.

This was a fun little project.  It was SO nice to make something I could finish quickly!

Ellen Lindner

0

MUCH Smaller

I belong to a wonderful organization called SAQA, Studio Art Quilt Associates.  The primary purpose of the group is to promote quilts as art and to support art quilters.  As part of the first goal, SAQA puts together a trunk show every few years.  Members are asked to make art quilts that are only 10″ high x 7″ wide.  These are mounted and presented very nicely, then divided into groups and sent around the world to show people what art quilts can be.

I decided to participate this year and, as usual, wanted to make something similar to my usual style.  But, I find that to be quite difficult on this scale.  Still, with some simplifying, I came up with a design that would do the trick.

This is the background before stitching.
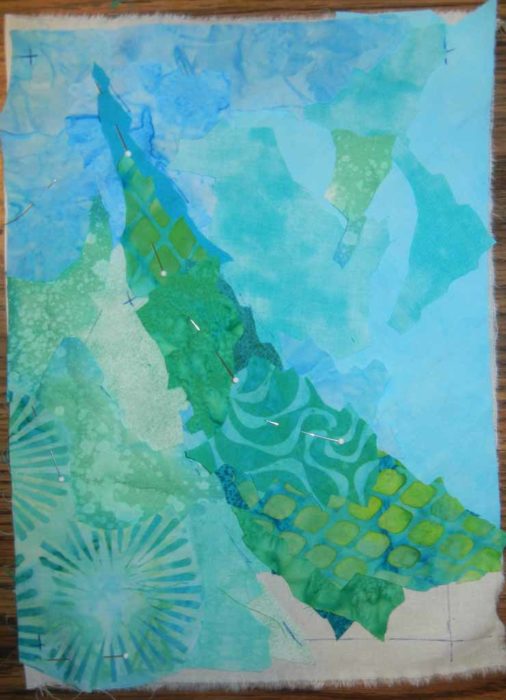
A very small art quilt in progress. Ellen Lindner, AdventureQuilter.com/blog

You’ll notice the colors were taken directly from my recent work.  I simplified the sweeping shape, though.

Next, I auditioned the placement of a large flower, again borrowing from recent work.
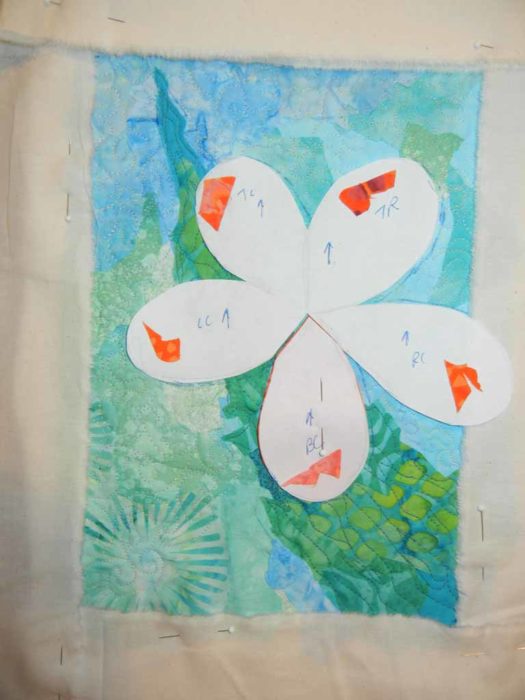
A very small art quilt in progress. Ellen Lindner, AdventureQuilter.com/blog

There’s one thing that’s important when working small like this.  That is, you need to see the actual finished dimensions while creating.  To achieve that, I’ve pinned on muslin strips which visually crop the piece to the intended 10 x 7 dimensions.  (The piece wasn’t actually wonky.  That’s just the photo.)
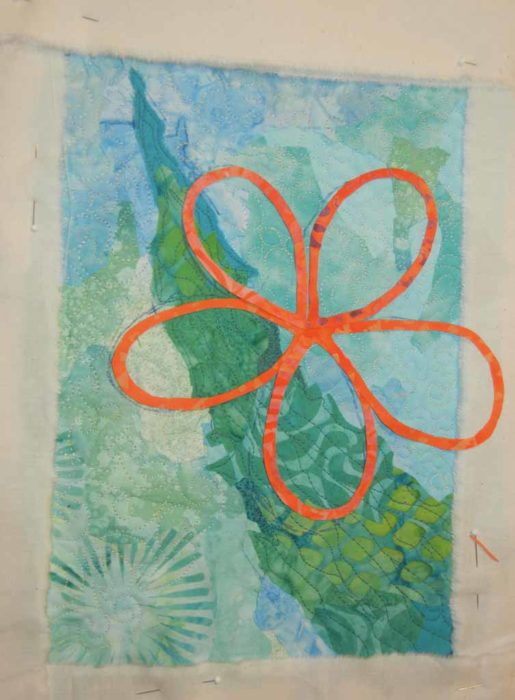
A very small art quilt in progress. Ellen Lindner, AdventureQuilter.com/blog

I liked the open flower.  As you can see, some of it will be cropped off.

Next, I used my favorite white pen to add dots.  Something new for me, which I really liked.  I used the same pen to draw white squares.
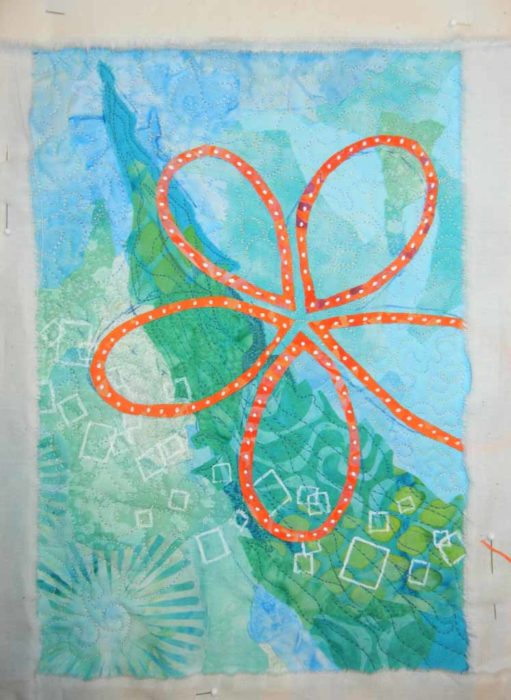
A very small art quilt in progress. Ellen Lindner, AdventureQuilter.com/blog

As suspected, the white squares didn’t show up well enough, so I started stitching some orange ones.
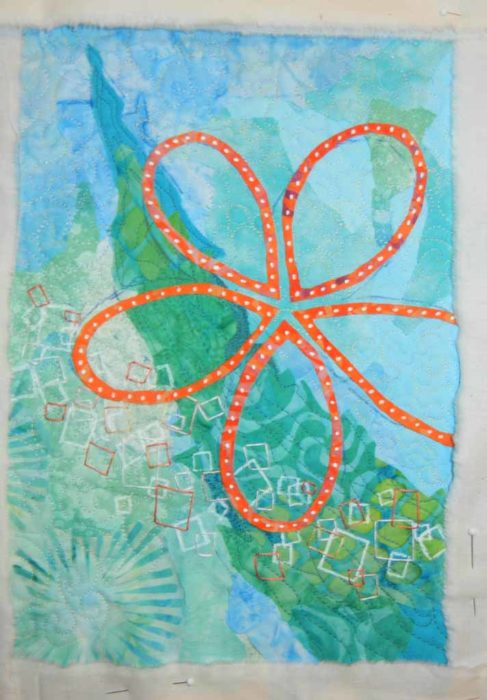
A very small art quilt in progress. Ellen Lindner, AdventureQuilter.com/blog

That was better, but I wanted them to show up more.  So, I added another lap of stitching to some of them.
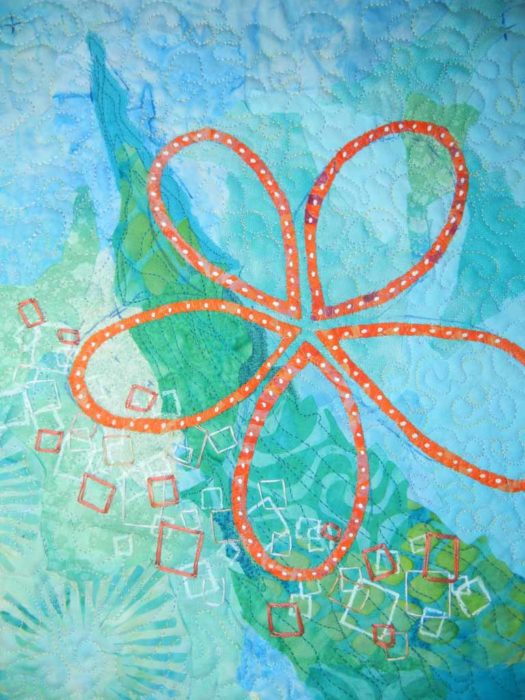
A very small art quilt in progress. Ellen Lindner, AdventureQuilter.com/blog

Better, right?

Next, I stitched the orange flowers in place with clear monofilament thread.  Almost finished.  I’ll show you the final details in the next post.

Ellen Lindner
 

2

“Daydream” Complete

My latest piece, Daydream, is now complete.

Daydream, an art quilt by Ellen Lindner. AdventureQuilter.com

And here’s a detail shot.

Daydream - detail, an art quilt by Ellen Lindner. AdventureQuilter.com

I think the colors are maybe slightly truer in the detail image, since the squares are mostly orange, rather than rust.

I’m kinda in love with this piece!  It’s now one of my favorites.

I encountered  several obstacles along the path to completion.  These included cutting off a corner, and enlarging it with additional batting TWICE.  It wasn’t a straight line journey, but I think it was well worth it.

You’ll find purchase info and other details here.

Ellen Lindner
7

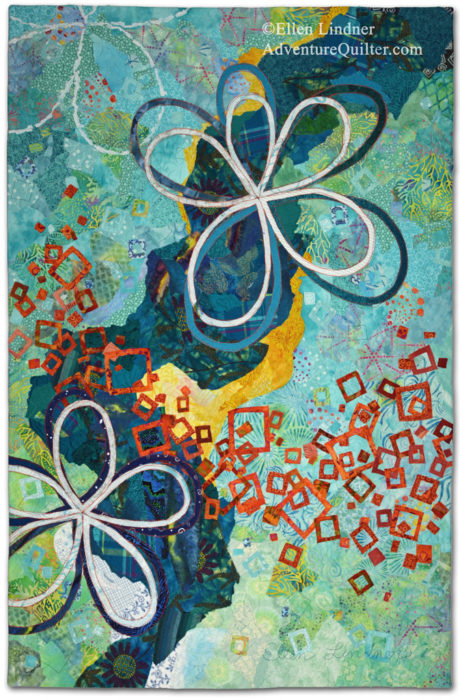
“Second Thoughts” Complete

Finally, here is Second Thoughts, complete.  I had a lot of fun working on it and I’m quite happy with the results.

Second Thoughts, an art quilt by Ellen Lindner. AdventureQuilter.com/blog

Did you notice I turned it upside down?  That was just the jolt it needed.

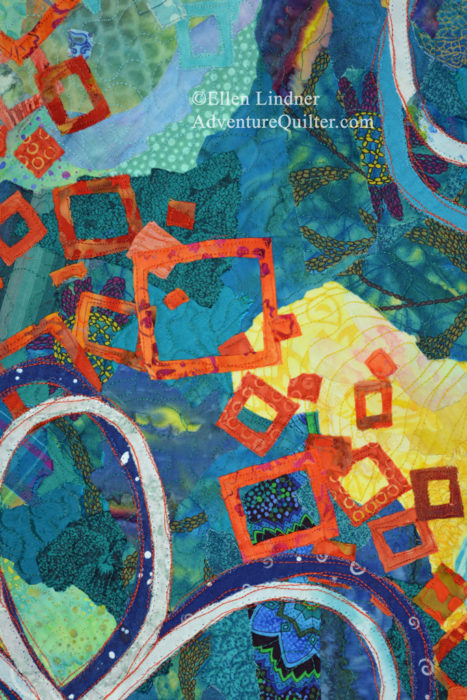
Here’s a detail shot.

Second Thoughts, an art quilt by Ellen Lindner. AdventureQuilter.com/blog

Notice that I added subtle squares in the background.  I love little things like that which you can only appreciate after studying it closely.

The statement for this piece says:

When designing, my first thoughts get me started. But, as things evolve, I listen to my second (and third and fourth) thoughts to lead me in new directions.

This quilt is 36″ x 24″ and priced at $895.  I hope you like it!

Ellen Lindner
4