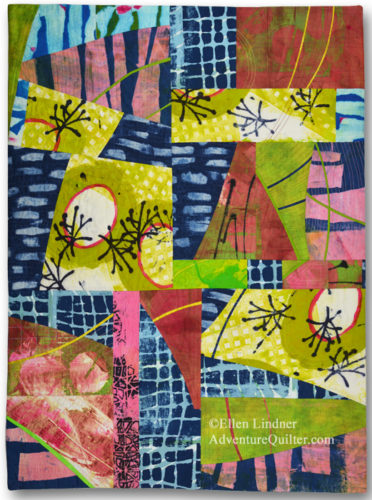
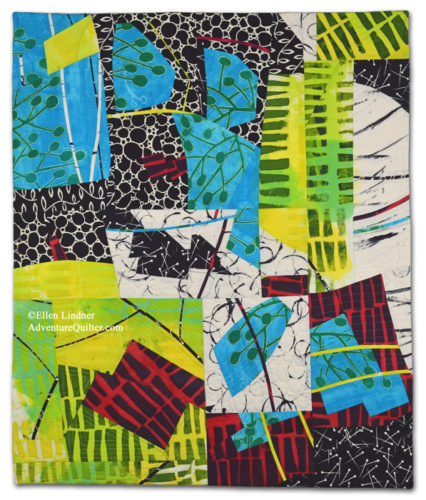
Tag Archives | Improvisational Piecing

“Waiting for the Lightnin’ Bugs” Complete

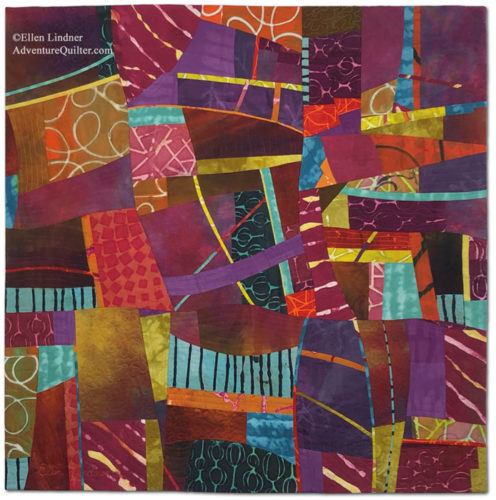
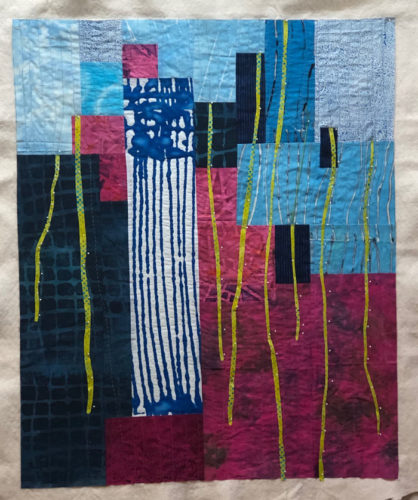
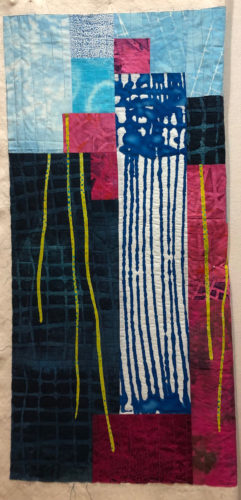
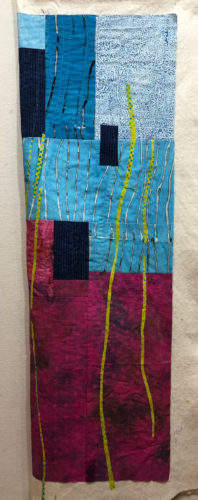
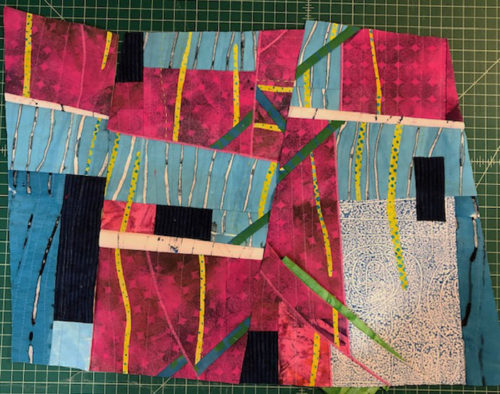
My latest quilt is complete! As you can see, I decided to square off the edges.
These colors are true. My earlier ones were shot in the studio. This one got proper lighting.

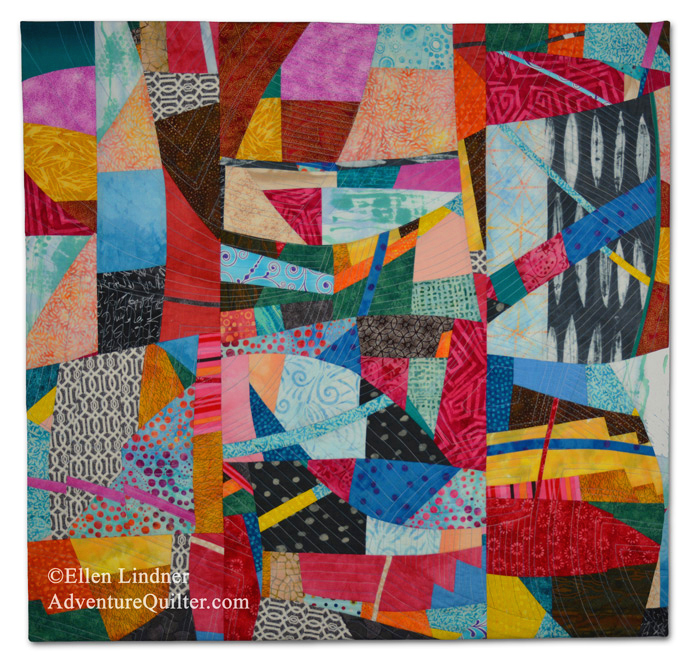
Waiting for the Lightnin' Bugs. An art quilt by Ellen Lindner. AdventureQuilter.com

Waiting for the Lightnin’ Bugs

The dark colors of the quilt, combined with yellow streaks, reminded me of a cool evening, in VA, watching the lightnin’ bugs as they came out. (Yes, I pronounce it like that. I’m from the south!)

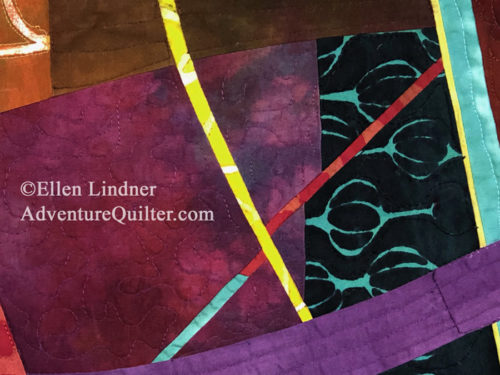
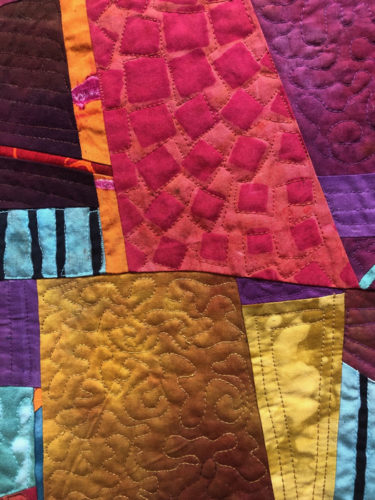
Here’s a detail shot

Waiting for the Lightnin' Bugs - detail. An art quilt by Ellen Lindner. AdventureQuilter.com

And another. All fabrics were dyed by me.

Waiting for the Lightnin' Bugs - detail. An art quilt by Ellen Lindner. AdventureQuilter.com

I’m kinda loving this.

Check out the web page for a larger image, another detail shot, and purchase information.

Ellen Lindner


2

Cutting Up Again

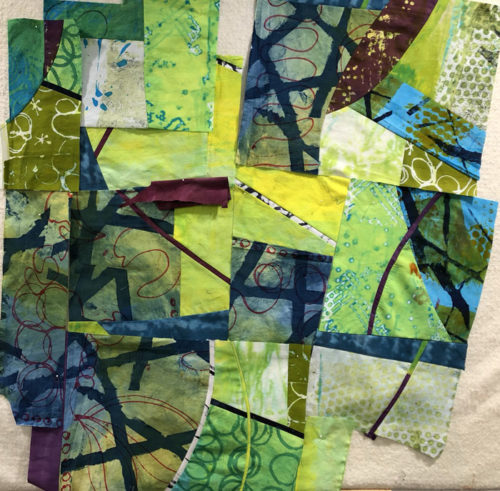
Once again, I decided to cut something up. This is where I started, with an already quilted quilt.

I liked it, but realized I liked the left side better than the right.

Cutting Up Again. Ellen Lindner, AdventureQuilter.com/blog

So, after some folding and auditioning, I cut this quilt into two pieces. I set the left portion aside.

Cutting Up Again. Ellen Lindner, AdventureQuilter.com/blog

And started work on the right portion.

Cutting Up Again. Ellen Lindner, AdventureQuilter.com/blog

My plan was to slice into it diagonally and then join the two portions back together, using a loose satin stitch. I was surprised by how easily this technique worked. Even on curved shapes! I added some skinny stripes and continued slicing and reassembling until I got something along these lines.

Cutting Up Again. Ellen Lindner, AdventureQuilter.com/blog

It definitely had more energy! I sliced into it some more.

It was obvious that the overall shape would not be rectangular. I began to think about what those edges should look like. Should I make them even more irregular? To audition this idea I used pieces of muslin to obscure and reshape the edges in places.

Yes! I was liking the spiky nature of these edges. I decided to pick out some stitching and cut new nooks and crannies.

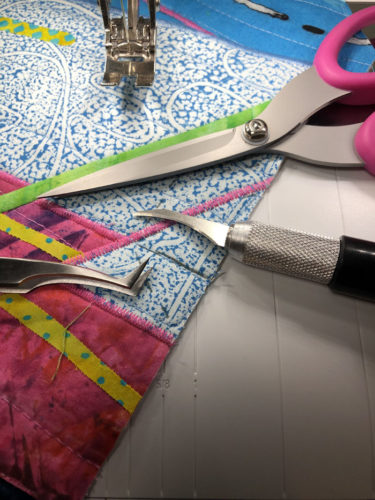
I had to use my sharpest tools to slice away the loose zigzag without cutting the fabric.

Cutting Up Again. Ellen Lindner, AdventureQuilter.com/blog

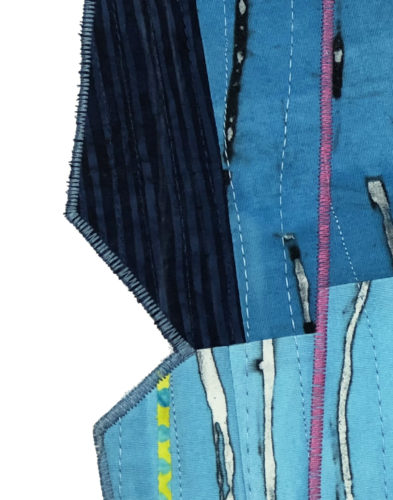
I wasn’t sure how to finish the edges, but I decided to try the same loose zigzag I’d been using for joining, and I liked it.

Cutting Up Again. Ellen Lindner, AdventureQuilter.com/blog

In the next post I’ll show you the finished quilt. I like it.

Ellen Lindner

4

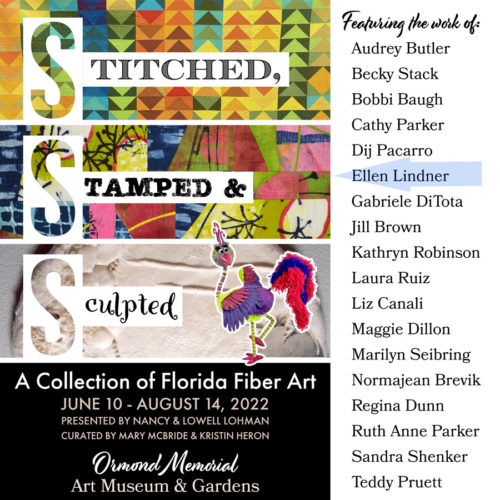
Upcoming Exhibit: Ormond, FL

There’s a textile exhibit coming up in which I’ll have SIX pieces. I’m super excited!

Ellen Lindner exhibits in Ormond, FL. AdventureQuilter.com/blog

The exhibit is called “Stitched, Stamped, & Sculpted,” and it will be at the Ormond Memorial Art Museum and Gardens, in Ormond, FL, starting this Friday, June 10th. The exhibit will run through August 22nd. And, if you’re in the area, the opening reception will be this coming Friday, June 10th, at 6 PM. This is also the first reception/exhibit to be held in the newly renovated gallery! I think it’s going to be wonderful.

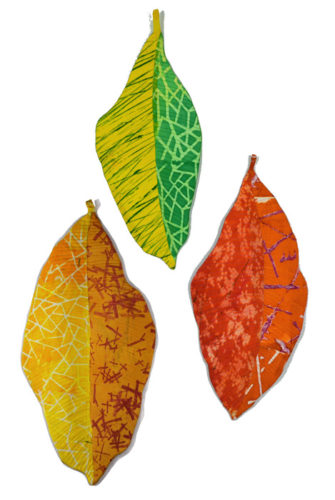
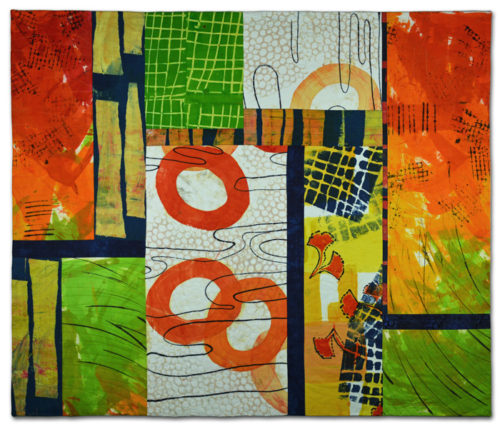
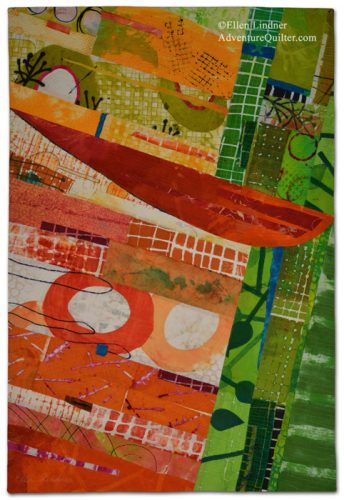
What will I be showing, you ask? Check out these six abstract(ed) pieces.

Croton Trio. 3D art quilt by Ellen Lindner. AdventureQuilter.com

Croton Trio. Although this triptych has three components it’s considered one piece of art.


I’m looking forward to seeing these pieces hanging together!

I’ll also have my piece She Looked for Blessings and Found Them, as part of a group display called “Measure of a Woman.” You can read more about that and see all ten pieces here.

I hope you get to see this exhibit sometime this summer. If you make it to the reception on Friday, please introduce yourself!

Ellen Lindner

0

Slicing and Dicing in Winter Park

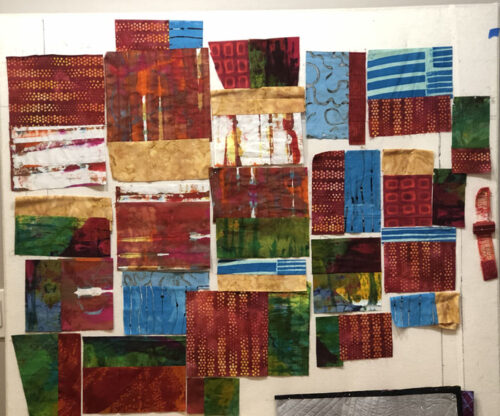
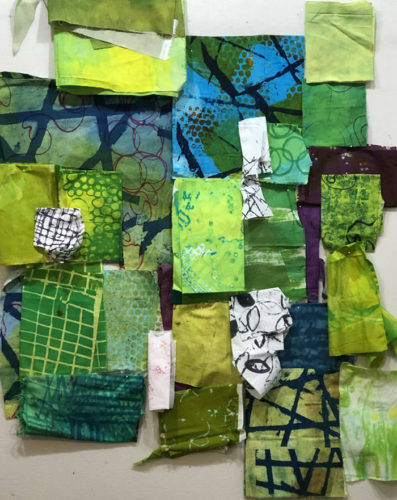
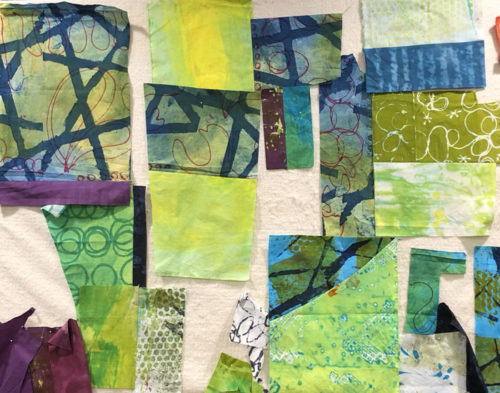
While on a recent retreat in Winter Park, FL, I started on a new abstract quilt. These were the fabrics I took from home.

Slicing and Dicing in Winter Park, Ellen Lindner, AdventureQuilter.com/blog

There are more here than I would need, but I wanted to have options. I was sure to include both light and dark fabrics. I auditioned them on my design wall, which gave me the opportunity to think about color proportions, as well. Very useful.

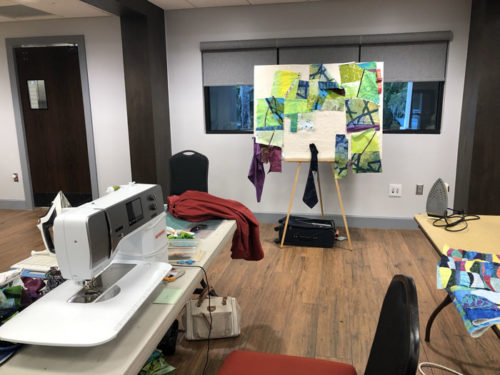
At the retreat, I got to work.

A Fabulous Retreat! Ellen Lindner, AdventureQuilter.com/blog

This was my work space, complete with a travel sized design wall.

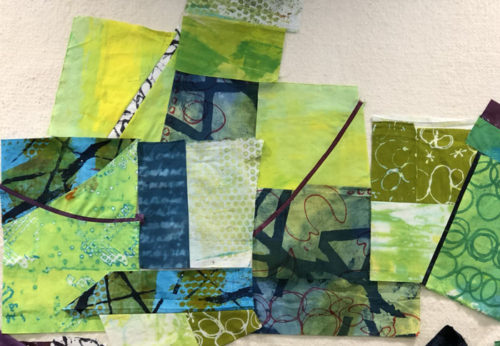
After cutting fabrics in the proportions I wanted I began to sew them into pairs.

Slicing and Dicing in Winter Park, Ellen Lindner, AdventureQuilter.com/blog

Then, I began to slice into some of them, adding skinny strips. These added a lot of energy. Nice!

Slicing and Dicing in Winter Park, Ellen Lindner, AdventureQuilter.com/blog

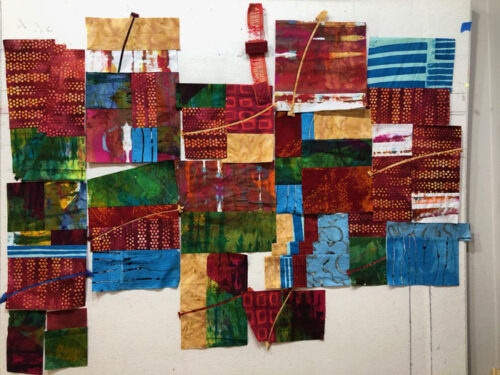
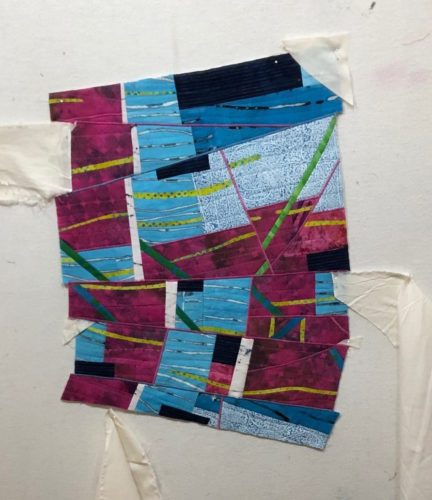
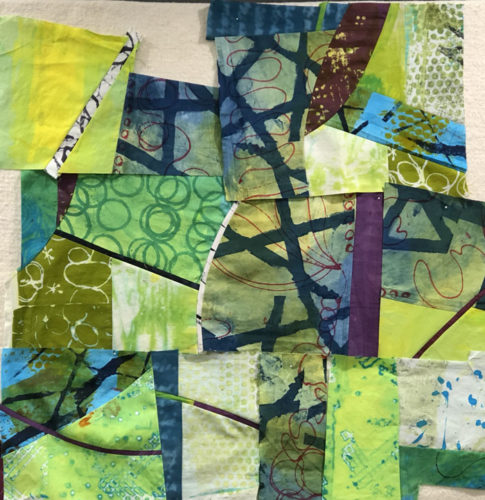
After quite a bit of slicing, dicing, and alterations, it was time to look at them as a whole. I arranged them with my favorite/starting fabric in the middle. At this point, I was just trying to get a feel for what I had. Was there enough variety of “block” sizes? Were there empty spaces that needed some altering?

Slicing and Dicing in Winter Park, Ellen Lindner, AdventureQuilter.com/blog

I realized I could make my favorite/featured fabric join together into a long line. But was that good thing? Hmm.

Slicing and Dicing in Winter Park, Ellen Lindner, AdventureQuilter.com/blog

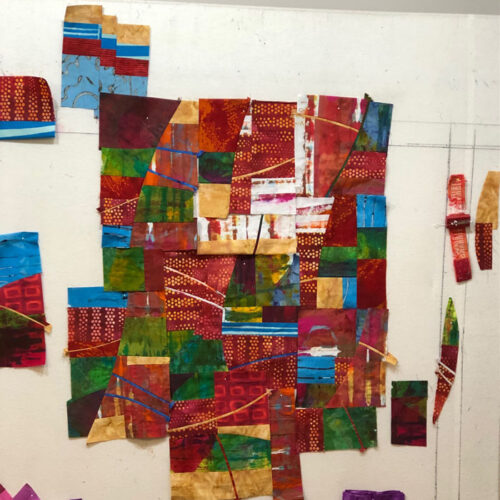
I pretty quickly decided that the line was too predictable, so it was out. But, I also realized that my FAVORITE fabric was duller than all the others. I’d need to scale it back. So, I moved my very brightest fabrics to the center. MUCH better!

Slicing and Dicing in Winter Park, Ellen Lindner, AdventureQuilter.com/blog

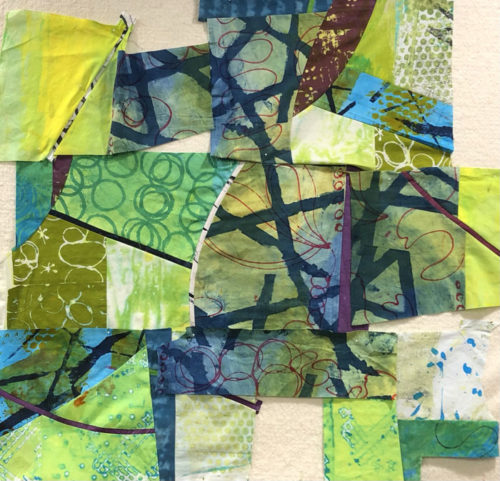
But, some of that favorite fabric would need to go. Can you see it on the left? Have you heard the saying, “If a combination is not working, remove your favorite thing.?” Yep, that’s where I was. Maybe I could cut it into smaller pieces?

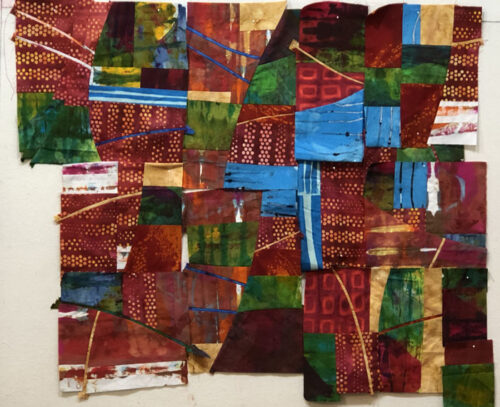
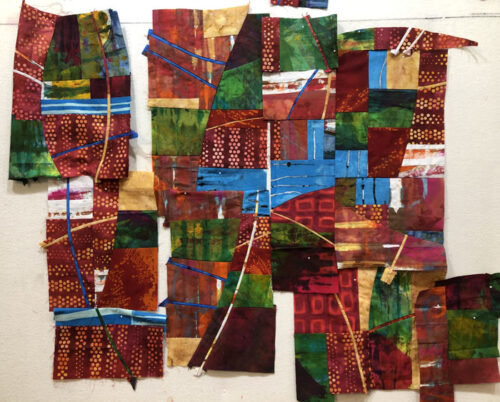
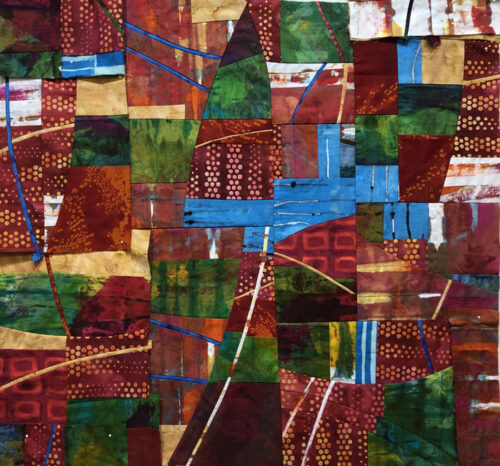
This is where I left it at the end of retreat. Of course, I had to take it all off the design wall to get it home, but I took a bunch of pictures.

This is a fun, but sometimes challenging, way to work. I was excited to continue with it.

Ellen Lindner

8

“Draw Bridge Ahead”

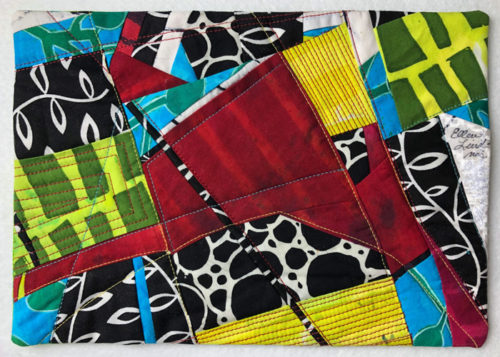
After making an abstract quilt I had lots of interesting scraps, so I used them to make two more quilts. This was the first one. Just like its “parent” it was all improvisationally pieced. (That is, pieced without a pattern or plan.)

Draw Bridge Ahead, a tiny art quilt by Ellen Lindner. AdventureQuilter.com/blog

This tiny quilt is only 7″ x 10″, because it will be part of the SAQA trunk show. I love the idea of sending these small sampler-type quilts around to educate people about what art quilts are.
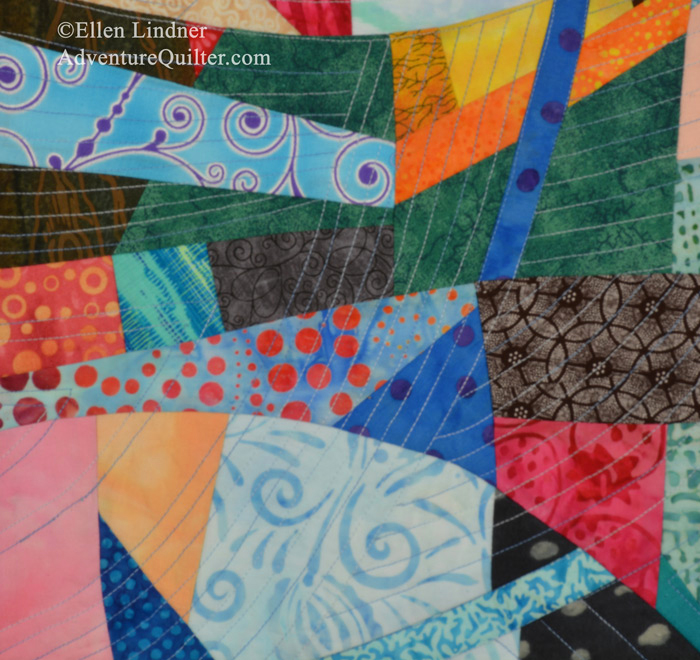
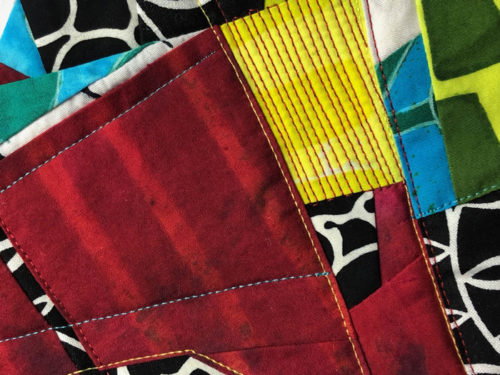
And, because my quilt was so small I didn’t mind adding some heavy stitching.

Draw Bridge Ahead - detail, a tiny art quilt by Ellen Lindner. AdventureQuilter.com/blog

Ellen Lindner

0

Join Me at a Virtual Reception

On Friday, April 30th, I’ll be participating in a virtual art reception and talking about the piece above, Melting Pot.

The occasion is the opening of “Floridian Flavors” at the Leepa-Rattner Museum of Art, in Tarpon Springs, FL. Pieces in the exhibit are all fiber, made by the Florida artists of Studio Art Quilt Associates, (SAQA.) Artists were asked to respond to the culture, cuisine, and characters of Florida. The result is a diverse collection of work, with playful pieces inspired by tourists to more serious ones about global warming. At the virtual reception, four other artists will also be talking about their work, including some in-progress photos.

Join the Zoom reception at 6 PM EDT on April 30th. Click here to do so.

And, if you’re in the Tarpon Springs area, be sure to visit the exhibit in person. It runs May 4th through August 15th.

0

Artists Reception: You’re Invited

My piece, Diversity, was juried into a regional SAQA exhibit called Imagination: 1 x 4. As you might guess, all the pieces are 1 foot wide and 4 feet tall.

"Diversity", an art quilt by Ellen Lindner. AdventureQuilter.com/blog

There’s a virtual artists’ reception on January 9th, at 2 PM, and you’re invited. You’ll get to see the art and the juror will be speaking so I think it will be interesting,

The reception is free, but you do have to register, however. Click here to do so.

Hope to see you there!
Ellen Lindner

6

“Melting Pot” – Quite the Challenge

In a recent post I suggested that, when making improvisational quilts, it’s a good idea to get the proportion of colors set before any construction begins. Yet, I ignored my own advice on my latest quilt, Melting Pot.

It all began when I fell in love with a painting by Jane Davies. Great colors, right? It’s called Common Thread 1.

Common Thread 1, a painting by Jane Davies. JaneDaviesArtGallery.com

Although the colors are quite disparate, I decided I would use them as a springboard for a new improvisational piece. (However, when I printed out this reference photo, the colors came out much more subdued, which affected the fabrics I used.)
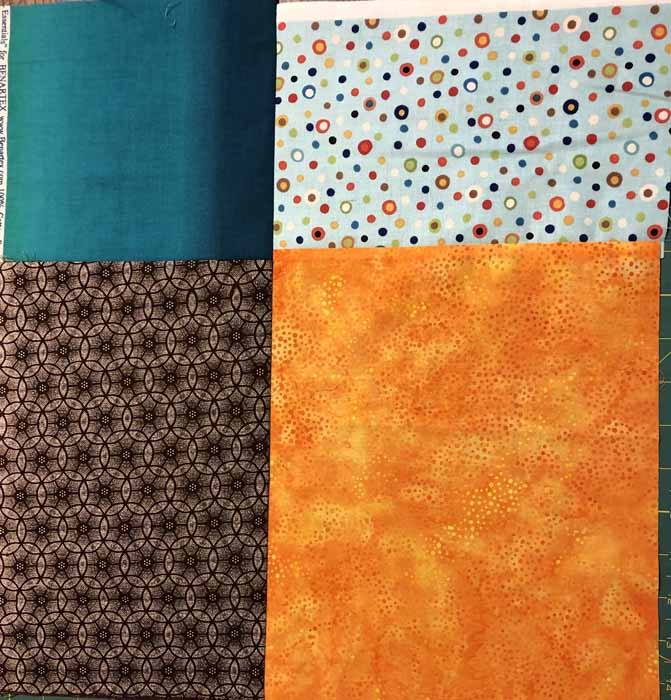
As with any improv quilt, I started by selecting the fabrics I would use and sewing them together in pairs. This is what it looked like at that stage.
"Melting Pot" - Quite the Challenge. Ellen Lindner, AdventureQuilter.com/blog

Pretty ugly, right? Clearly, I’d have to add interest by slicing and dicing to create a variety of shapes and sizes. And I strongly suspected that I would decrease some of the colors as I went. I jumped in.

Even the first little bit of manipulation made it look better.

"Melting Pot" - Quite the Challenge. Ellen Lindner, AdventureQuilter.com/blog

So I did more.

"Melting Pot" - Quite the Challenge. Ellen Lindner, AdventureQuilter.com/blog

At this point I didn’t care about making square-ish units. I was just trying to create interest. It was definitely getting better as smaller shapes were created.

"Melting Pot" - Quite the Challenge. Ellen Lindner, AdventureQuilter.com/blog

I decided to scale back on the yellow, orange, and tans, and to pump up the teals, reds, and blacks.

"Melting Pot" - Quite the Challenge. Ellen Lindner, AdventureQuilter.com/blog

The little skinny strips add a lot of energy, don’t they?

At this point, it was getting pretty large and I was having second thoughts about the size. Then, I remembered another call for art requiring a quilt that’s 1′ wide by 4′ high. I realized  I had enough units to make 2 quilts! Yippee! In the photo above, I’ve separated them. The 6 units on the left would go into my original quilt and the 3 (stacked) on the right would become a 1′ x 4′ piece.

And here’s the finished quilt, Melting Pot. Whew, that was challenging!

And a detail shot:

I’ll show you the companion quilt soon.

Ellen Lindner

8

Staggered Improv Piecing

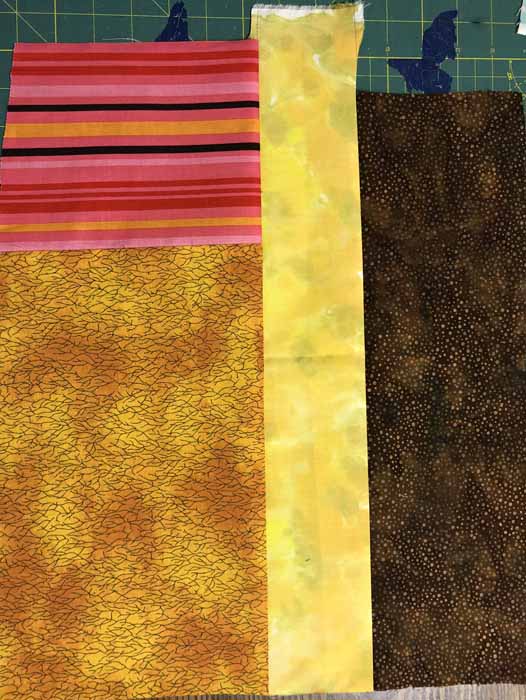
Whenever I show one of my improv quilts, people ask if I’m going to teach the technique. I don’t have any plans to teach it right now, so I thought I’d show a little about it here on my blog.

There are LOTS of different ways to make improvisational quilts. You’ll find many tutorials on YouTube. Some methods are rather formulaic with predictable results, and others are very loose and unpredictable. As you might guess, I prefer the latter.

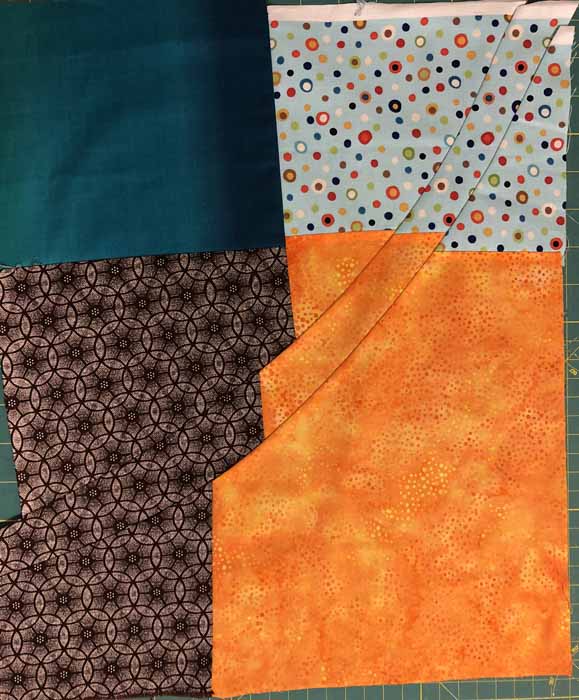
One method I employ early in my process is what I call staggered piecing. I learned it from Pat Pauly on an episode of Quilting Arts. It starts with two or more fabrics joined together.


Staggered Improv Piecing. Ellen Lindner, AdventureQuilter.com/blog

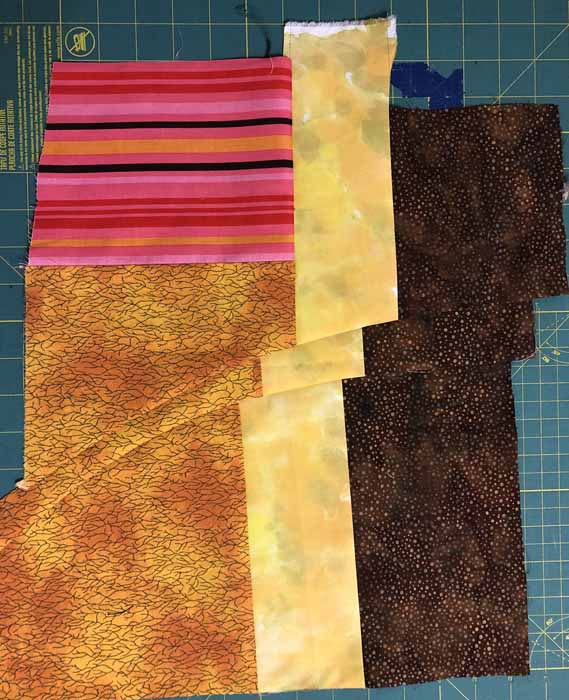
You slice them into two pieces across the primary seam line and the two pieces are joined back together, but intentionally misaligned. This can be repeated, which is what I typically do. So, I’ll get something like this.

Staggered Improv Piecing. Ellen Lindner, AdventureQuilter.com/blog

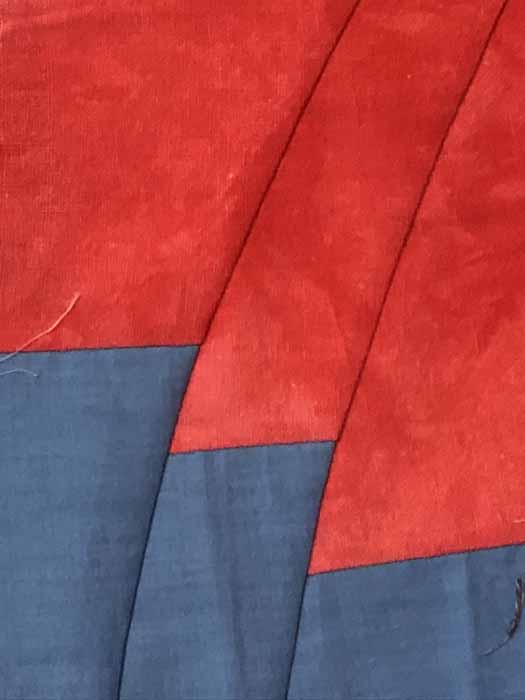
You can stagger the pieces a little or a lot. And the slicing can be done with straight lines or with gentle curves,  as I did.

Here’s another example.

Staggered Improv Piecing. Ellen Lindner, AdventureQuilter.com/blog

Staggered Improv Piecing. Ellen Lindner, AdventureQuilter.com/blog

As you can see, the edges of these units become skewed, and that’s okay. Don’t trim them off, because it’s still very early in the process.

One more example:

Staggered Improv Piecing. Ellen Lindner, AdventureQuilter.com/blog

The staggering adds a lot of energy,  doesn’t it? For me, that’s kind of the main reason for using improv piecing. I use it when I want an energetic piece that evolves as I go.

Would you like me to share more tips about improv techniques?

Ellen Lindner
P.S. See another improv quilt, and another.

0

Improv Complete: “Fruit Salad”

I’m really loving my latest quilt, Fruit Salad. 

When I was a kid, at least once per summer my parents would get a watermelon, chill it, and then make a big to-do about eating it outside as part of an evening picnic. We ate it outside because my 3 siblings and I made a MESS with that watermelon! We had juice dripping down our chins and, of course, we had to have contests to see who could spit the seeds the farthest.

As this quilt developed that’s what it made me think of.  Thus, the name. Fruit Salad, an art quilt by Ellen Lindner, AdventureQuilter.com

A detail shot:

Fruit Salad - detail, an art quilt by Ellen Lindner, AdventureQuilter.com

This quilt was originally inspired by a photo of lillies. As it evolved, the stronger colors became dominant, and I was disappointed. But, I reminded myself that the inspiration photo was just that – inspiration. If it got me motivated to try something it had served its purpose. With that in mind, I looked at the quilt with new eyes and fell in love with it. I hope you like it too.

Purchase details and more info.

Ellen Lindner
P.S. A design note: can you see how important the neutral white and grey are? Can you imagine the quilt without them?

2