I’ve been having SO MUCH FUN working on my current quilt! It’s an abstracted design, which always pushes me outside of my comfort zone. But, I love the way it’s coming together.
First, I needed a design. I took my cues from a Quilting Arts TV segment featuring Pat Pauly. She suggested cutting up a photo and rearranging it in order to create shapes and lines for an abstract design.
Okay, then. This is the photo I chose.
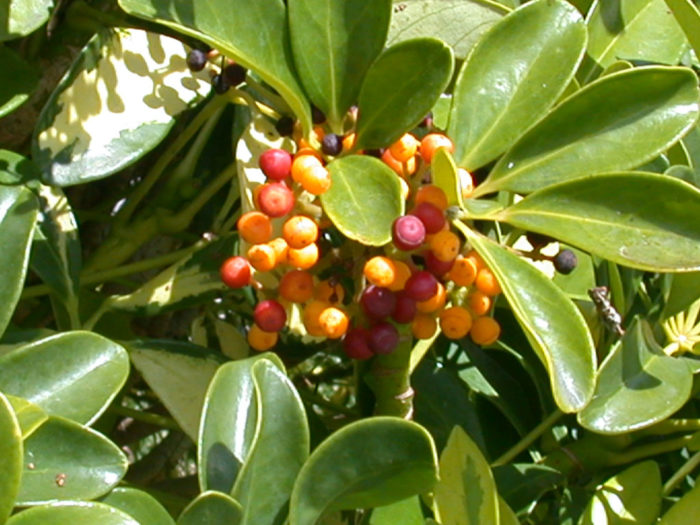
I cropped it to 7.5″ x 10″ and then cut it into 12 – 2.5″ squares. I selected my six favorite squares and created a composition with them. (Thanks to the square shape, the pieces can be easily rotated and still fit together nicely.)
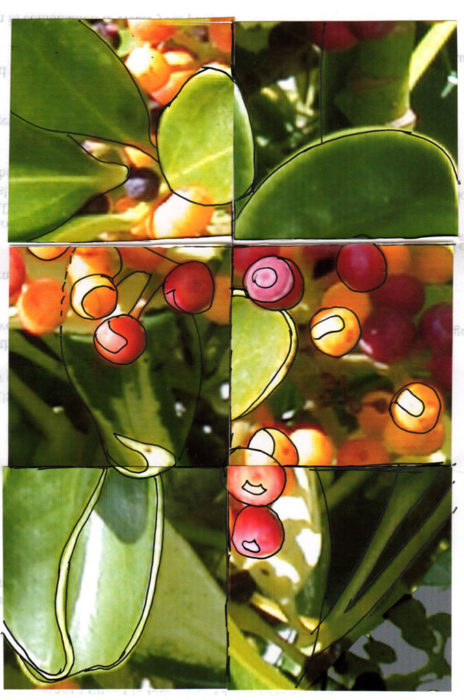
Gee, I was really loving this! Next, I outlined the major shapes and traced them.
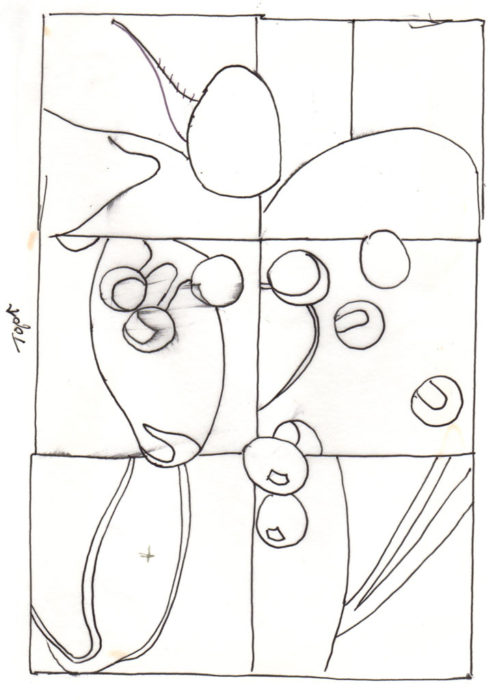
Voila: an abstract design which can be worked in any values or colors. I decided to create it in colors similar to the original photo and I did a little coloring on the computer.
(As you can see, I changed my mind about the orientation.)
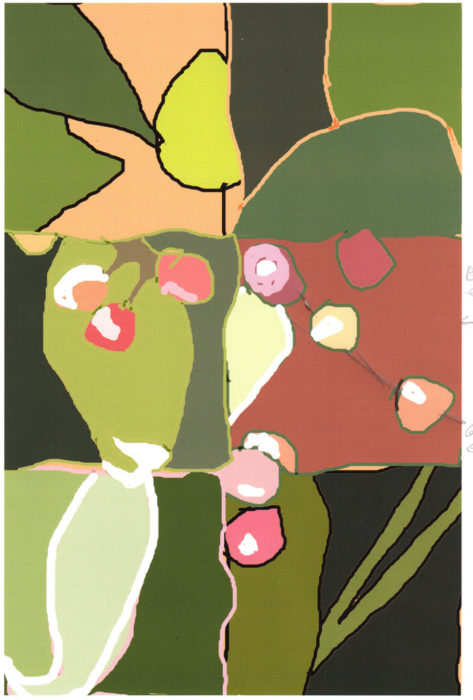
However, I had leftover “hot” fabric from my last quilt and decided to kick it up with vibrant colors. Like these.
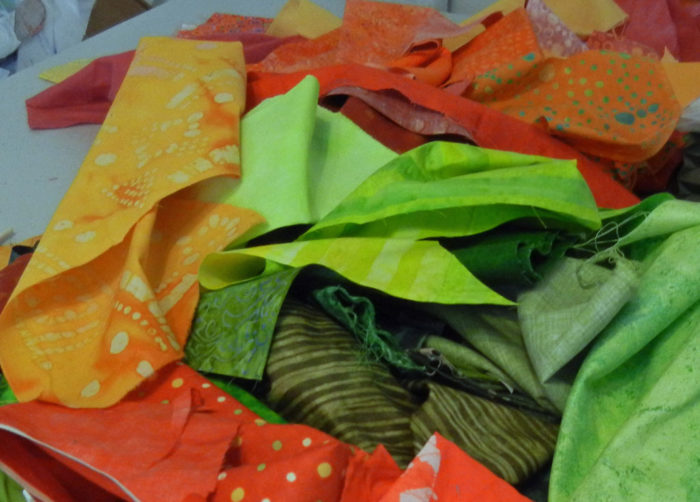
On to the fabric selection! I can’t wait to show you my progress. Check back soon.
Ellen Lindner
P.S. Since I did this design step a while ago, I have an earlier post with a little more info.


No comments yet.