First, the Background
Before I tell you about my design decisions, perhaps it would be helpful if you knew a little about the technical aspects of my process. Construction starts on a design wall. This is housing insulation covered with felt. I pin up a piece of white background fabric, as a base. Then, I begin to pin other fabrics into place. I use my straight pins like push pins, pinning right through the fabrics and into the design wall.
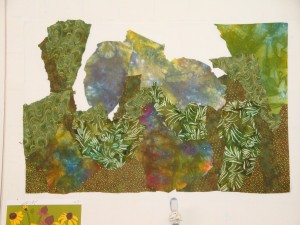
In the photo below, I was well on my way to finishing the background. I purposely selected fabrics that were rather dull and subdued, so the flowers would shine as the stars of the composition.
You may be able to tell that I cut the fabrics with very jagged edges. The speed of this technique, and the irregular shapes it produces help me to avoid over thinking. Plus, it’s very appropriate for foliage.
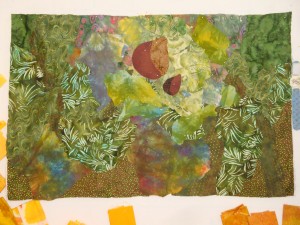
The next photo shows the background finished. I temporarily placed two seed heads, to see if there was enough contrast between them and the background.
Nope. I had to add some lighter fabrics and to enlarge the lightest portion of the background. Afterward, it provided the contrast that was needed.
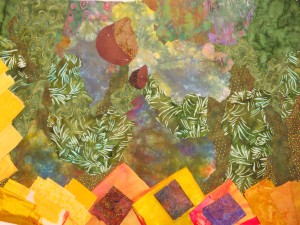
In the bottom two photos you can see that I was begining to consider fabrics for the flowers. The first thing I noticed was that they all looked very similar. Perhaps that would become an issue.
If you like seeing things in progress, you may enjoy reading a photo essay about the creation of Ti Plants A-Glow-Glow.
Ellen Lindner


Yes! Another person who uses housing insulation for their design wall. Mine’s covered with a huge tablecloth (plastic side toward the insulation). I like your idea about using the wall to audition fabrics!