Petals on Parade
***Challenge spoiler*** If you’re participating in the flower wagon challenge, you may not want to see my progress.
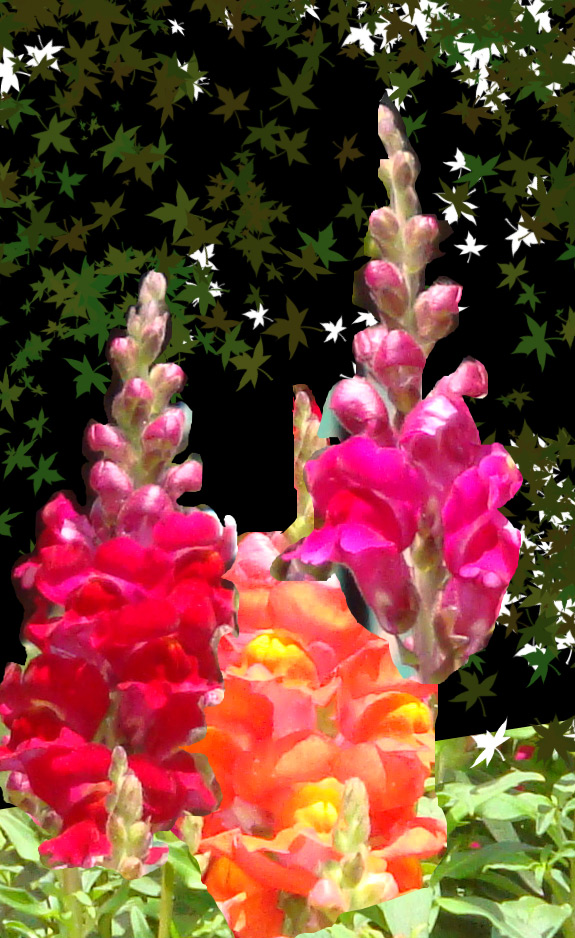
As I mentioned in my last post, after completing the design/composition phase of this quilt, I realized that the individual flower petals needed more definition. So, I set to work.
First, I took a photo of my quilt and printed it out, to scale, in color. This allowed me to audition my solutions on paper, rather than on the actual quilt.
Click any image for a larger view.
First, I auditioned the idea of outline stitching each petal with black thread. I’ve done this before and it’s been successful, and I decided that it would be here, too. (I could have actually stitched on the paper, but in this case, I just drew the lines with a fine tipped marker.)
Referencing my inspiration photo, I noticed that many of the petals had a lip that flopped over at the top, so I drew in a few of those, as well. This looked good up close, but from a distance more was still needed. Therefore I tried two more things:
– With a white oil pastel stick I colored in the petal lips.
– With a darker color, as appropriate for each flower, I drew in shadows with a regular colored pencil.
Although subtle, I think these changes were effective. The photo below shows “before” on the left and “after” on the right.

And here are a few close up shots, so you can see what I mean.
(Although the white marks don’t show up as much in real life.)


I’m happy with this now, and am working on quilting it. Looking forward to finishing it!
Ellen Lindner
