How NOT to Make a Glued Collage
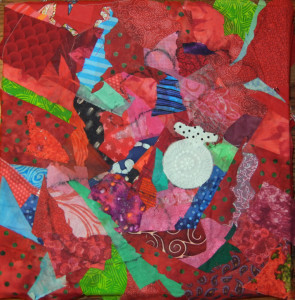
I‘ve been wanting to make a new sample for my Sticky Fingers class: white flowers on a red background. So, I glued up the background and started playing with loose flower shapes.
Click any image for a larger view
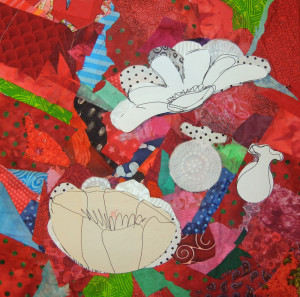
Although I sketched some flowers, I wanted to interpret them very loosely, so I didn’t make a pattern. I just cut and placed petals. The photo above shows the arrangement before gluing, along with my sketched flowers.
After deciding on the composition, I drew around each flower with a water-soluble black crayon. Update: I did this to mark the flower positions. I figured it would disappear with my wet glue mixture. Wasn’t that smart?
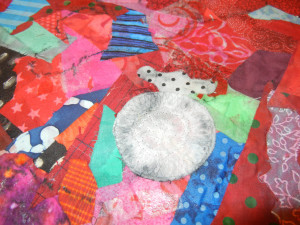
No, it wasn’t! When I added the glue the black ran and make a mess of my lovely white flowers.
Grr. I was kicking myself for not seeing that coming.
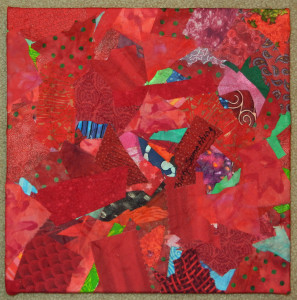
The only solution was to let it all dry and peel up the bad parts. Here it is with the background restored, waiting for round two.
Live and learn.
Ellen Lindner
P.S. You can now subscribe to my blog posts! Sign up using the box in the top right corner, and each post will come to you via email.


I love your glued collages. My question is: why did you draw around the white flowers with the black marker? To emphasize them? To mark the placement once you had decided on the arrangement? Did you intend for the black lines to stay there?
Good question, Martha. I see that I didn’t explain that very well. I drew the lines in order to mark positions, as you guessed. Since the crayon was water soluble, I expected the black lines to disappear when I added the very wet glue.
Live and learn.
Ellen, I have found that using a special pen that disappears with friction ( ironing works) is a wonderful way to mark areas and have them disappear! They can be purchased in the quilting section. I actually draw stitch lines with these pen, stitch, then iron of the ink. Love your work, and that you share your live and learns with us!