Photo Inspiration – Part One
In my class, “Design Your Own Nature Quilt,” each student starts with her/his own inspiration photo. It sure is tempting to perfectly replicate a photo you’re in love with! But, after learning some design principles, they almost always find something upon which to improve.
Our class motto, “Be inspired by your photo, not owned by it,” was put to good use in a recent class.
Here’s June’s inspiration photo, taken by her husband.
Click any image for a larger view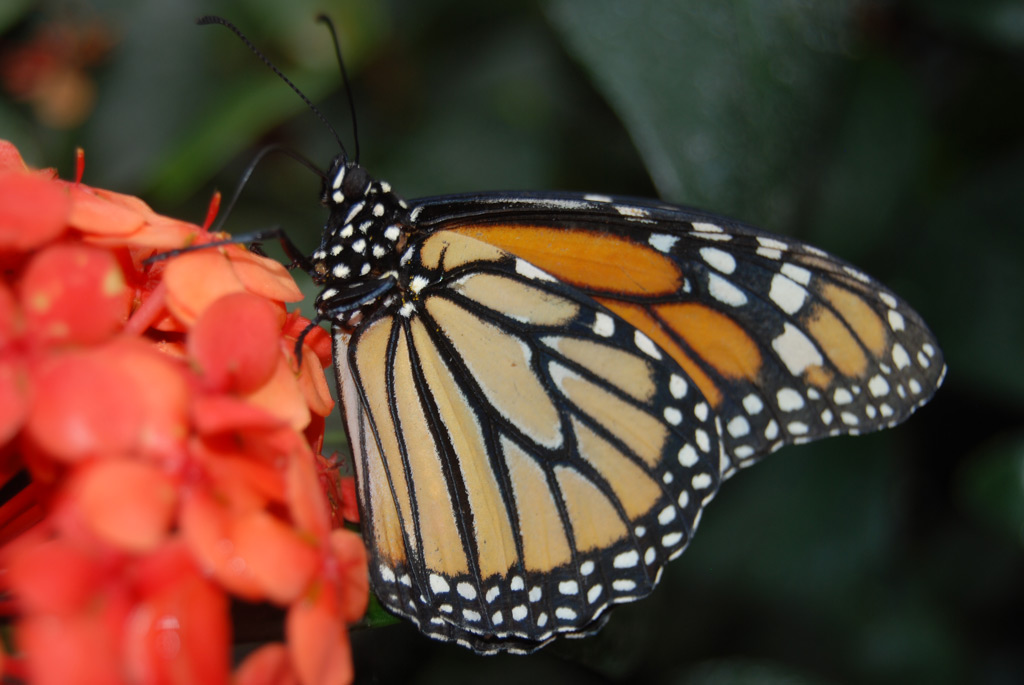 ©2012 Dub Scroggin, All Rights Reserved.
The photo is wonderful, but June had good reasons for making a few changes. For starters, she realized she didn’t need all the TINY detailed lines within the butterfly. Also, the strong orange flower attracts a lot of attention. June decided to show off the butterfly more by playing down the color of the flower. Very smart.
I was able to share a couple of construction tricks to help her get the effect she wanted. For instance, the black lines in her butterfly are really slits allowing the background black fabric to show through. Much easier than trying to manipulate tiny black pieces!
For the flower, June bought a floral fabric, but it was too “perfect” for her purposes. I suggested that she use a jagged cutting technique to cut random chunks. Then, they were laid in place and overlapped to give a nice soft flower.
And here’s her finished quilt, called “Dub Honey’s Butterfly.” (Her nickname for her husband is Dub Honey.) I’m sure he loves it!
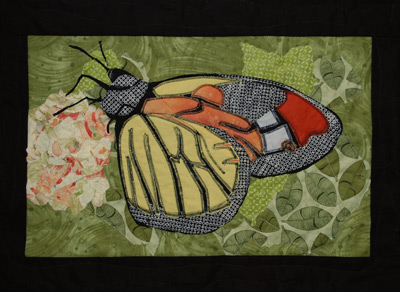
Her black stitching played up the contrast and definition nicely. And the tiny legs brought the butterfly to life!
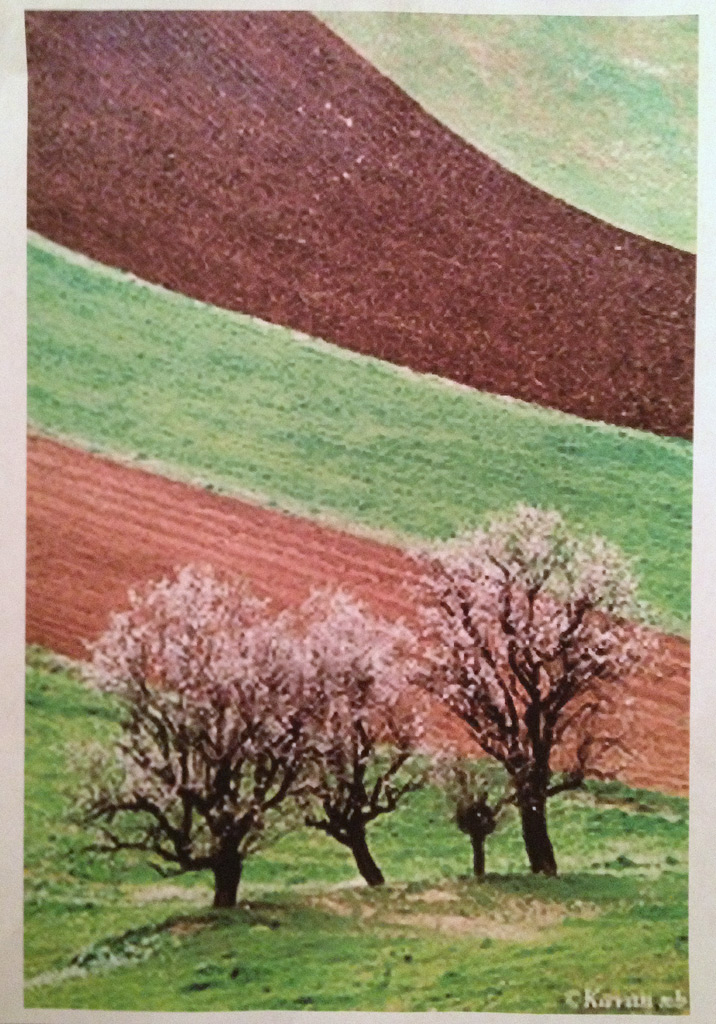
I sorta swallowed hard when I saw Lynette’s inspiration photo, below. How on earth would we depict the delicate flowers on those trees? She was very enthusiastic about the image and had lots of ideas for adding beads for the flowers, etc. So, we jumped in.
Lynette was comfortable working pretty loosely on the trees, so we started with a jagged cut outline. Completely brainstorming, I suggested jagged cut tan fabrics to represent the spaces between the branches. The effect worked! We were both delighted. As you can see below, she continued adding “spaces,” paying attention to the placement of both brown and green fabrics.
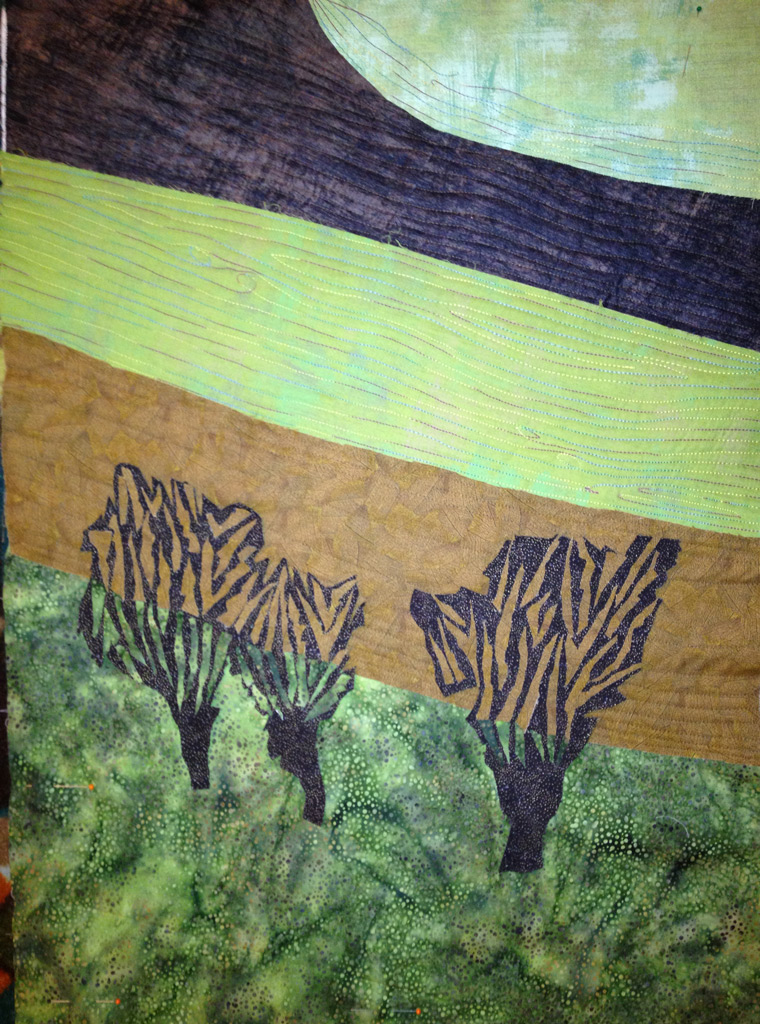
She’s going to add some delicate thread painting with white, as well as the aforementioned beads. I sure hope I get to see the finished quilt!
I’ll have more photo inspired quilts for you in the next post. Keep reading!
Ellen Lindner
P.S. I also teach an online version of this class. If you’d like advance notice about the next one, you can sign up on the class information page.

I just recently picked up my landscape quilt…and got brave and just started adding blooms, netting and stitching to my trees. I am about to start beading…so there is an end in sight. Just those few touches added so much detail. I will send a photo when I finish. I am also working on the vision for another art quilt. You got me started, and I love the medium. Thank you! Lynnette Grant
Hi Lynnette,
I can visualize these changes and they sound great. I can’t wait to see your finished project. (And I’m so glad I’ve “infected” you with the art quilt bug!)
Wow! Love both examples. So excited to be taking this class!
We’ll have fun, Jen! I’ll be teaching the live version during the next two days and I’m psyched about that, as well.