Haiku Quilt: Paint and Sheers
Let’s recap:
– I decided to make a haiku quilt, as explained in “Art Quilt Maps,” by Valerie Goodwin.
– I wrote a haiku about a favorite twisting country road.
Rolling hills of green
Trees right up next to the road
Quiet dappled light
– I began working on the background. Using my usual collage technique, I composed a busy area representing the dappled light of trees, and top and bottom areas depicting rolling hills.
– Per Valerie’s instructions, I added hand stitching over all areas.
Valerie’s next suggested step is to paint the quilt. This can be very heavy or rather subtle. I used my green paint to gently change the color of the white fabrics in the center section and to add some darker contrasts in the top hill area.
Click any image for a larger view

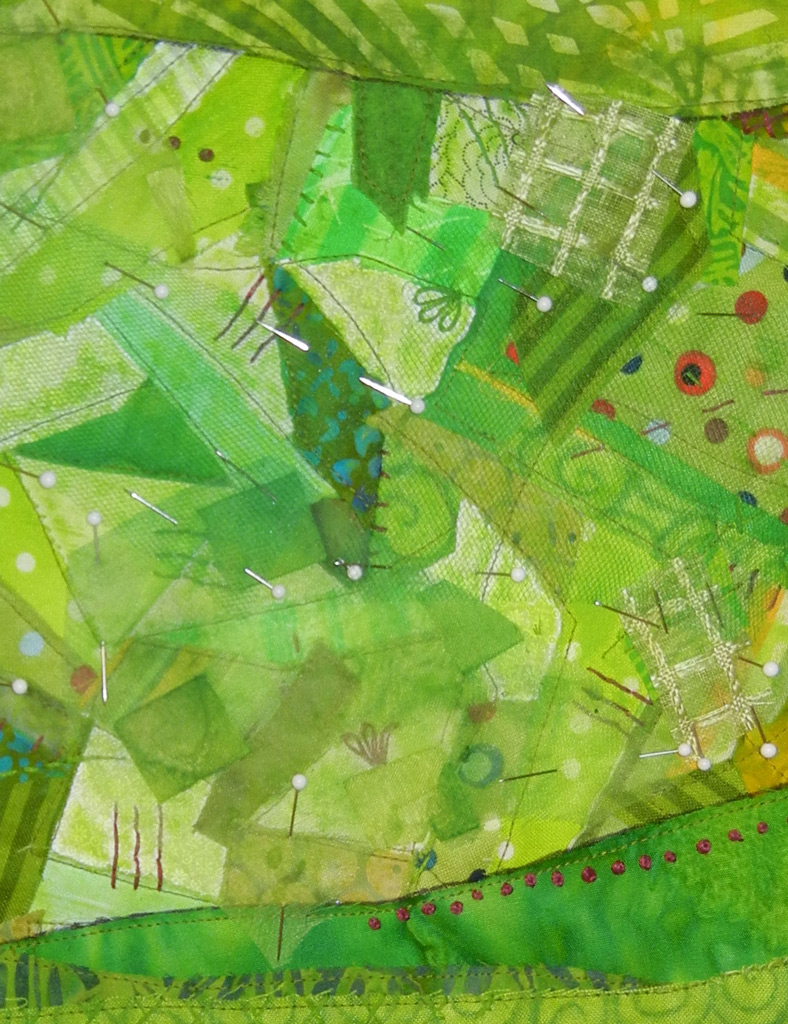
Valerie’s final suggestion for creating the background is to add sheer fabrics. Here’s a detail shot of some of them pinned in place. Pretty subtle, huh? If you click on the photo, you’ll be able to see some sheer fabrics with squares and grids. I like the effect. (And, it’s probably something I would never have thought to add at this stage.)
I stitched the sheers in place and the background was complete. Now, it was time for that twisting road. I auditioned black fabric, but is seemed too harsh. In the photo below, I auditioned several other options, most of them sheer. (I’ll bet you can tell one that I quickly omitted.)
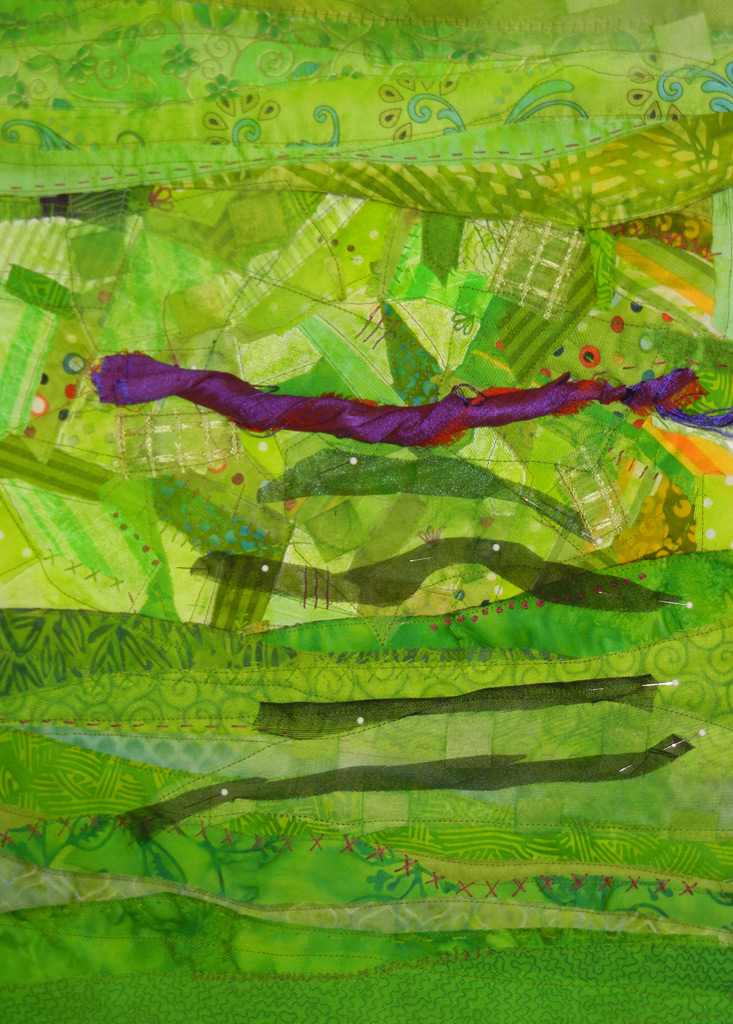
One of the things I love about making art quilts is that I’m engaged in making decisions throughout the entire process. I never know exactly what will work, so I’m always auditioning fabrics and ideas. That’s exhilarating! And absolutely necessary, too. The only way to make visual decisions is visually. You must SEE it!
Next, I’ll add the road, the trees, and the text.
Ellen Lindner
Keep up with my quilting adventures via my
monthly email newsletter.
