Haiku Quilt: Collaging and Hand Stitching
As I mentioned in my last post, I was very anxious to get started on a small haiku quilt, as explained in Valerie Goodwin’s book “Art Quilt Maps.” Per her instructions, I had written a haiku about a favorite twisting country road.
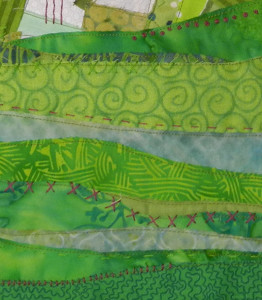
Following some of Valerie’s examples, I decided to visually divide my haiku into three sections: gently rolling hills depicted at the top and bottom, with dappled tree light represented in the center section.
The first step Valerie describes is sewing (flip stitching) the background. I took some liberties with that and collaged instead, in my usual fashion. The photo below shows the center section complete. (A great use of scraps!)
Click any image for a larger view
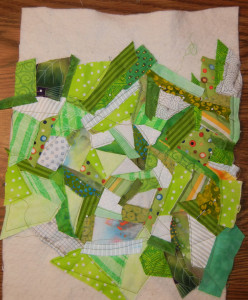
I knew the contrast was too strong in this first portion, but I wasn’t worried, since painting was coming soon.
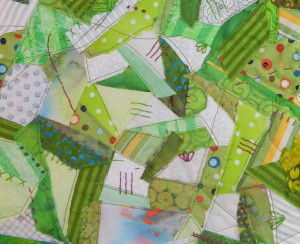
At this point, I deviated from the suggested sequence, just because I was anxious to add hand stitching to the first section. (Valerie’s suggested second step.)
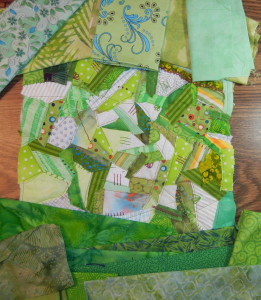
Next, I auditioned fabrics for the hills. I decided to make the bottom hills darker to make the piece bottom heavy.
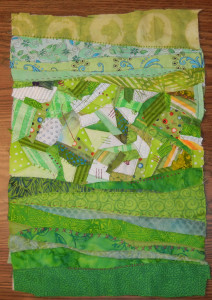
Once again, I used a collage techniqe to add the hills.
And added hand stitching to them, as well.
Did you notice that the hills covered some of my hand stitching? Normally, that would be sorta painful for me, but when I’m experimenting like this I’m much better at going with the flow. After learning the concept, I can always do better planning in the future. No worries.
Next, I’ll paint over some of this!
Ellen Lindner
Keep up with my quilting adventures via my
monthly email newsletter.

Very cool!