Improvisational Piecing – Putting it Together
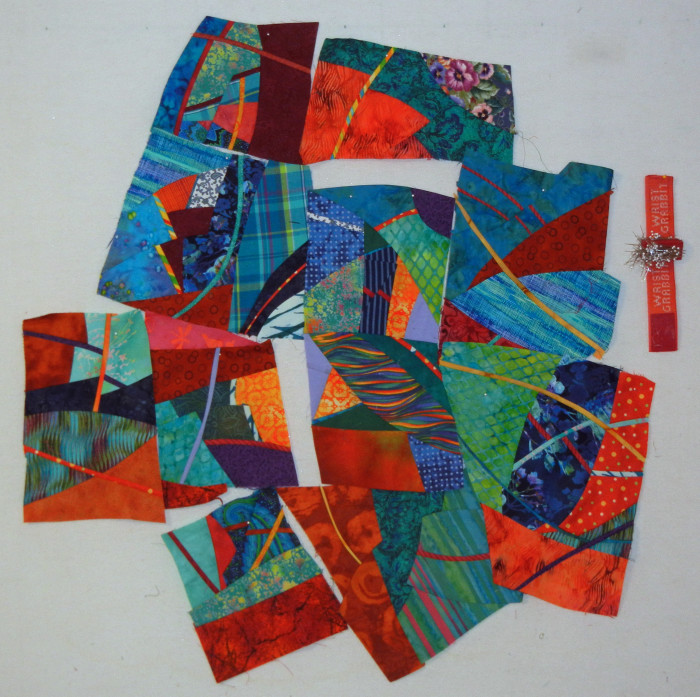
After making 11 blocks with improvisational piecing, I began to arrange them on the design wall. I knew I could spend ALL DAY rearranging them, so I simplified my process by deciding to:
– Put the bright yellow-orange pieces near the center, since I thought they’d attract attention.
– Arrange pieces according to their fit.
This is what I got. There were plenty of gaps and areas that would need additional blocks. Although I was NOT aiming for an exact square. I thought the angular outside edge gave it a lot of energy and I didn’t want to lose that.
Click on any image for a larger view
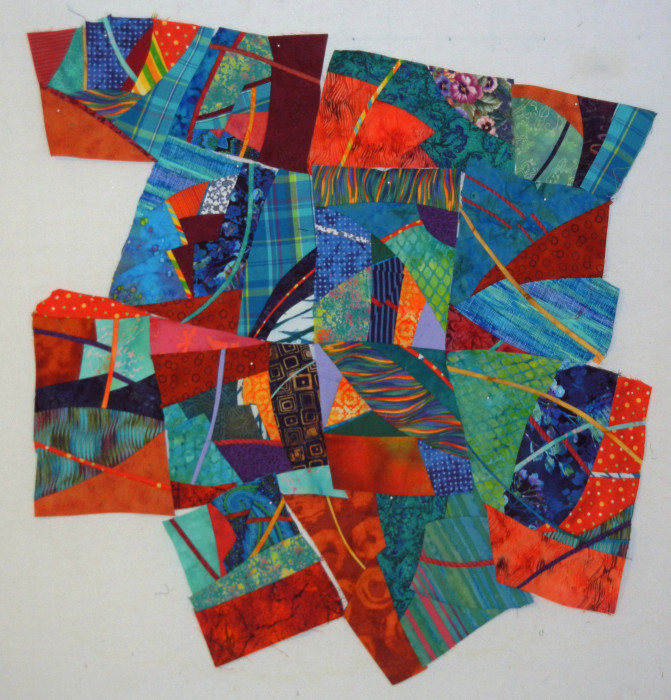
Here it is after a few more items were added.
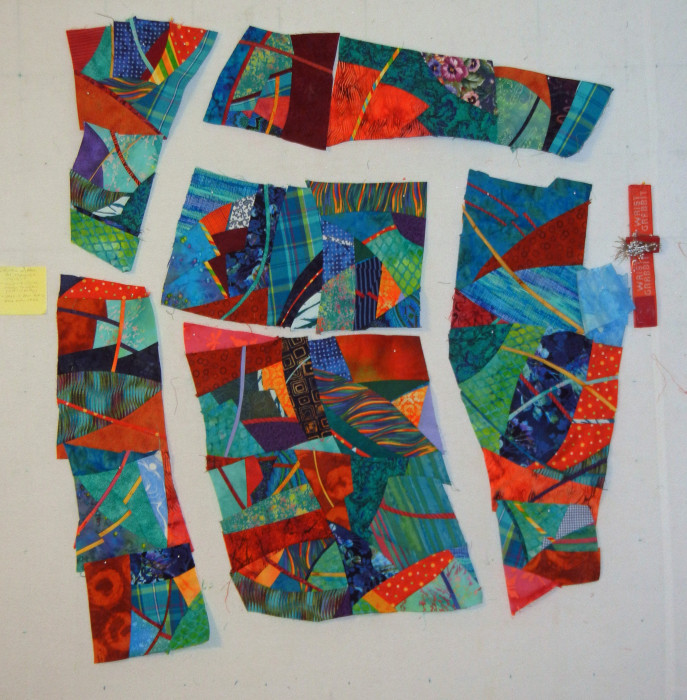
Slowly it grew and soon I was figuring out how to piece the whole thing together. I knew I’d need to sew units together and then go from there. One good thing: I could use curved seams, just like I had done with everything else. Can you see that the two major vertical seams will be curved?
Here it is, with the left units waiting to be added. As you can see, the final piece is too big. That’s because things have shrunk and shifted as the units have been sewn together. No worries: it will get a trim (or the pieces around it will) and I’ll proceed.
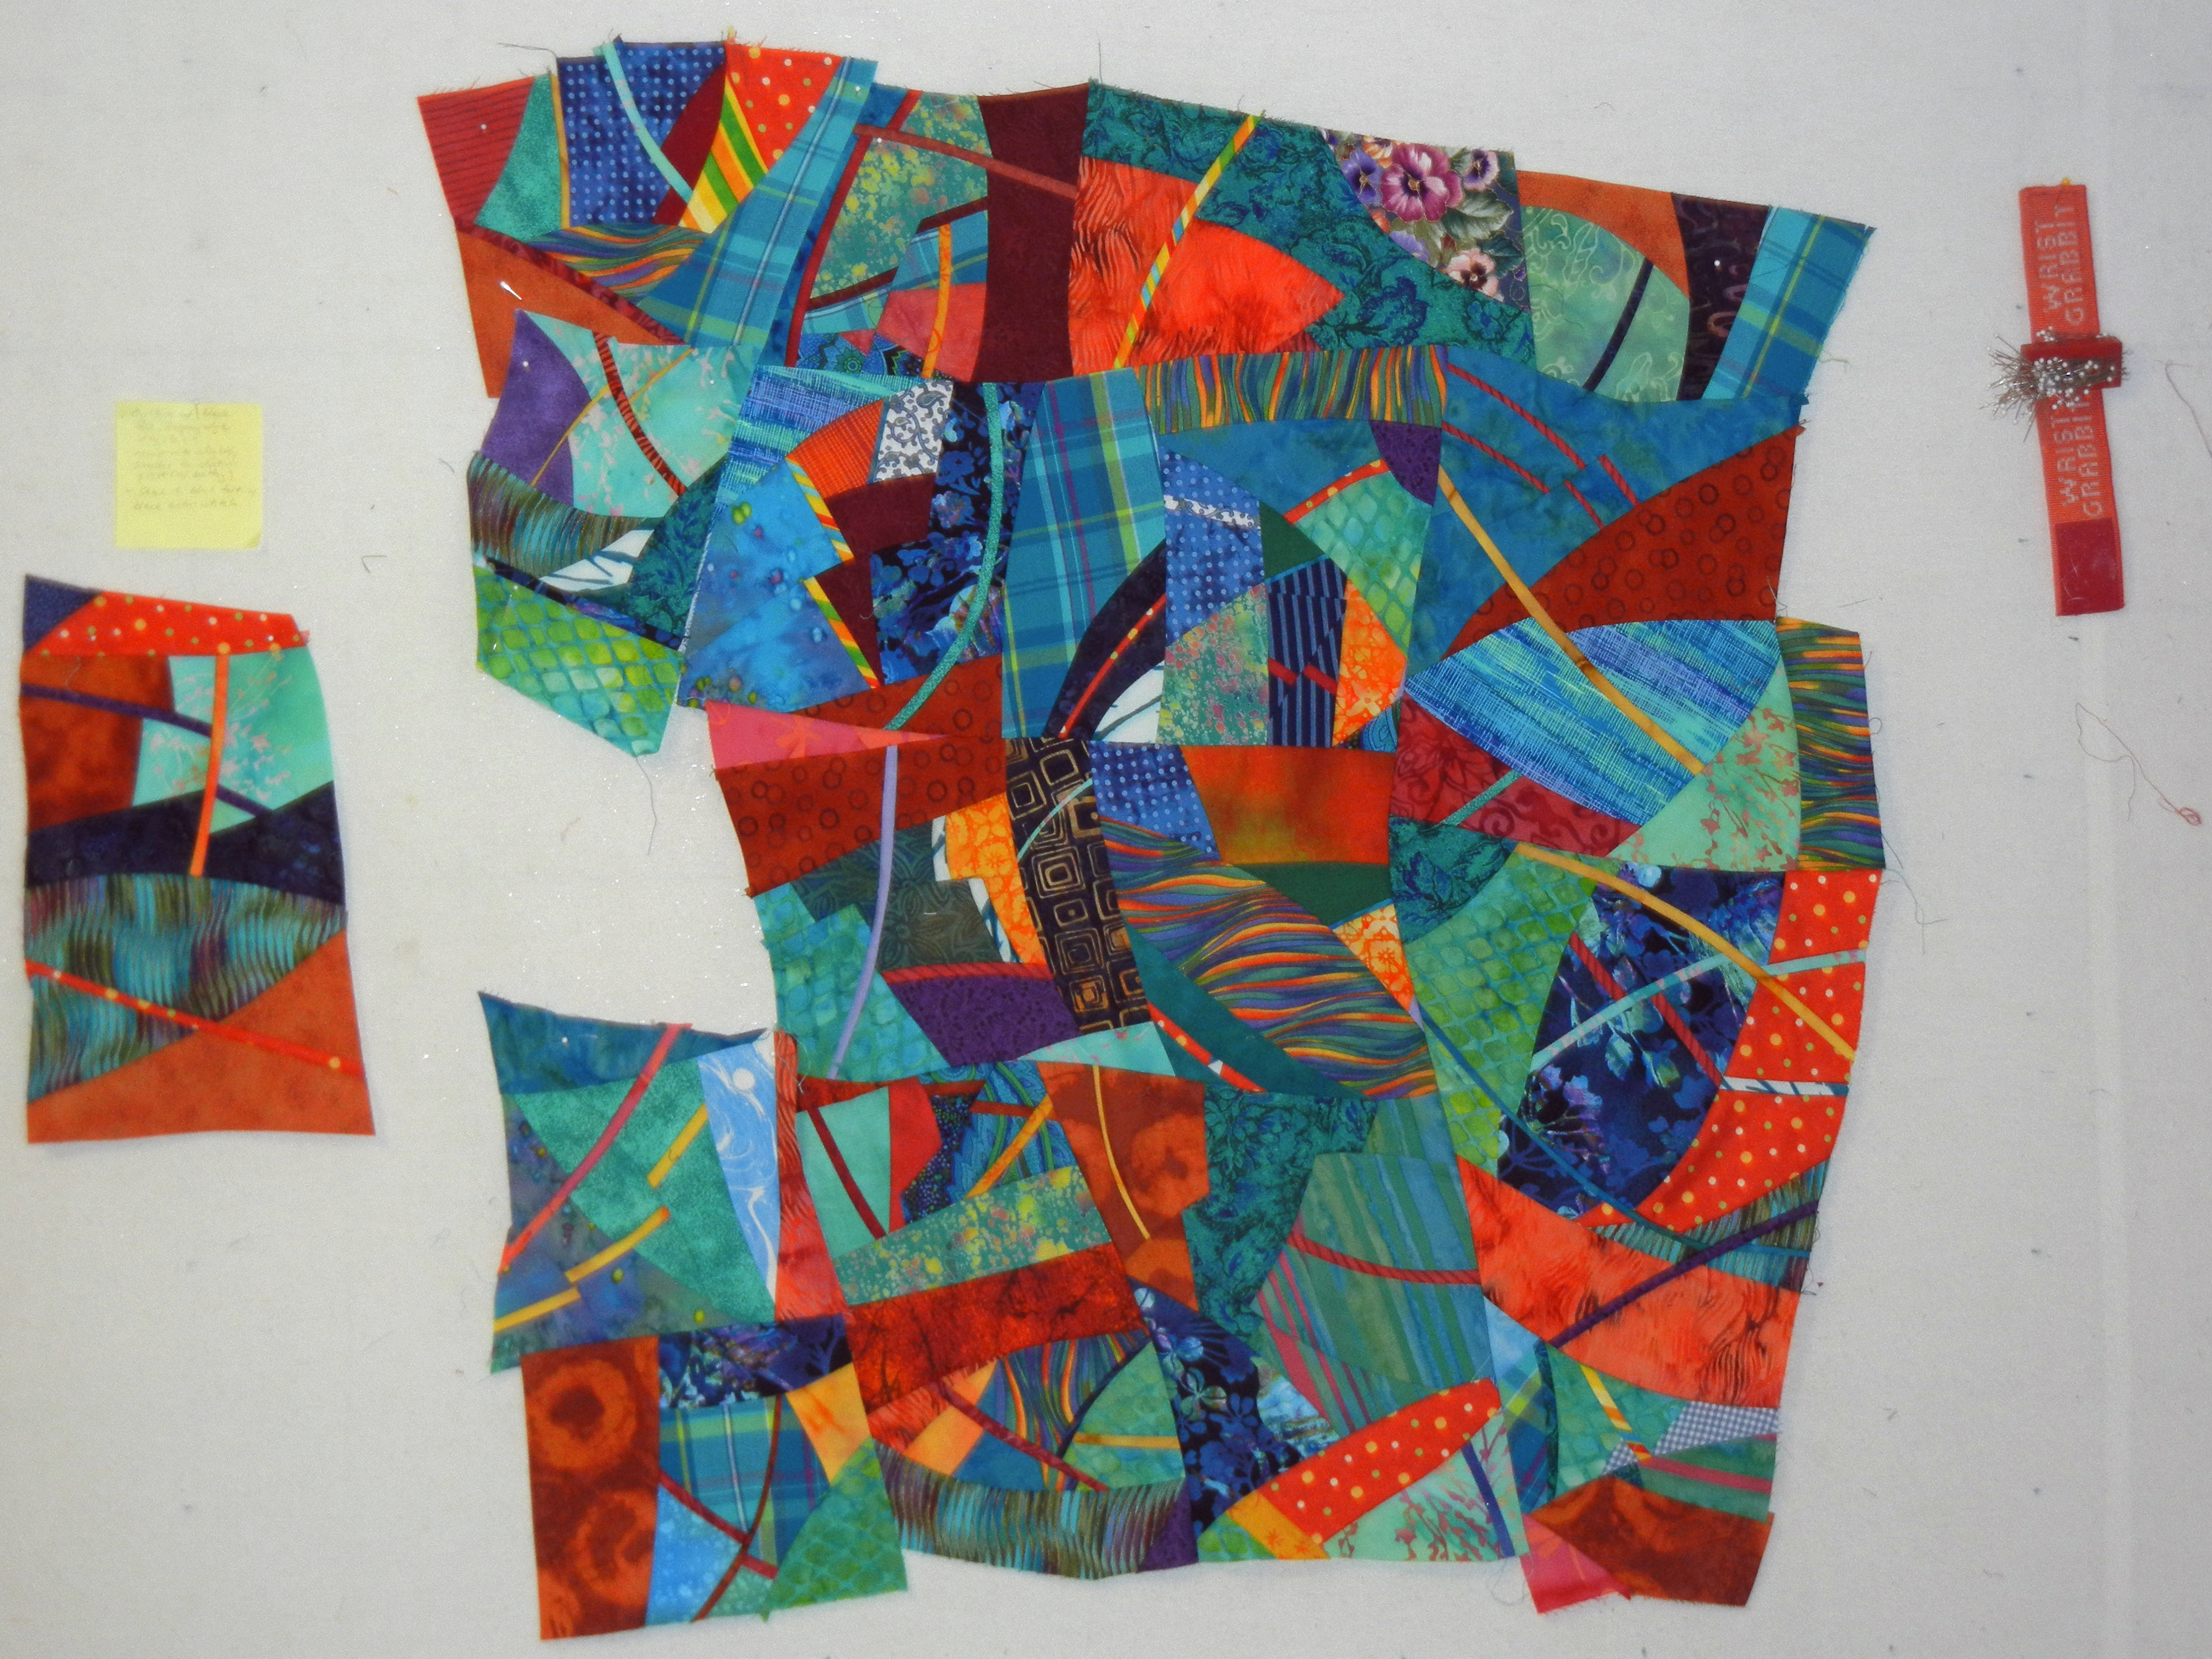
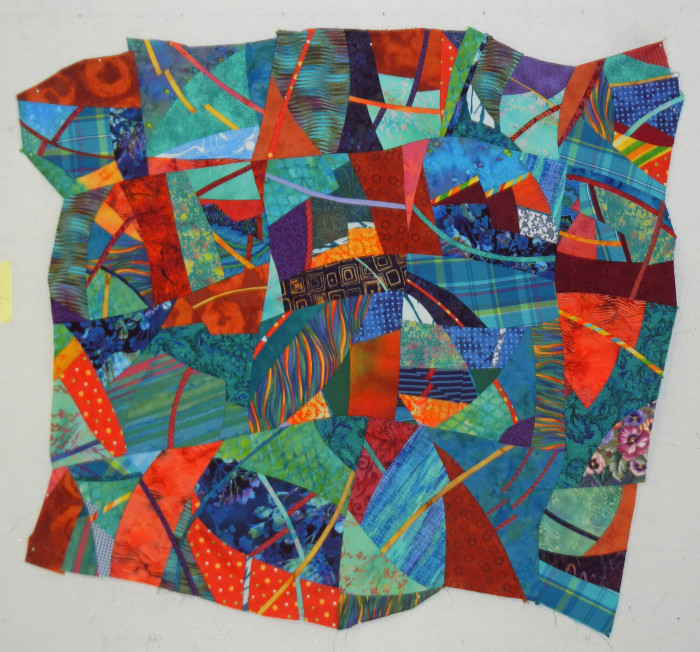
Finally, everything was pieced.
Does it look a little different? That’s because I rotated it 90 degrees.
Now, I’ll study it for a while and decide if I’m happy with the shape. (If not, I can add more blocks.) Then, I’ll have to figure out how to finish it, while maintaining that irregular edge.
Ellen Lindner

WOW! I really like this piece. Thanks for showing the process.
Thanks. It’s very fun!