Making Leaves
I needed some leaves for the quilt I’m currently working on. At first, I cut some from fabric and auditioned them. I liked the effect, but thought it would be even better if I added some textured ones. I knew just how to achieve that: melted plastic! I had some new plastics I wanted to try, and a great new art paper, as well.
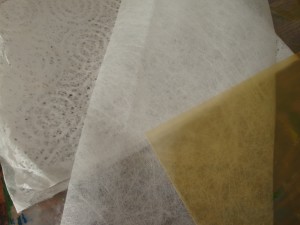
Here are my starting materials: art paper on the left, Lutradur in the center, and a gold colored page protector on the right.
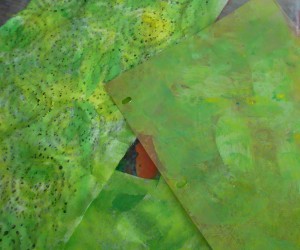
First, I painted them, on the front only. (I ended up using the backs, in some cases.)
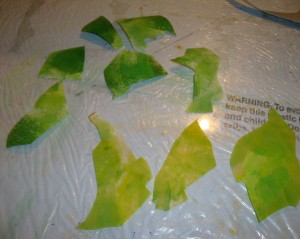
Next, I cut the plastics into rough organic shapes, slightly larger than the final desired sizes.
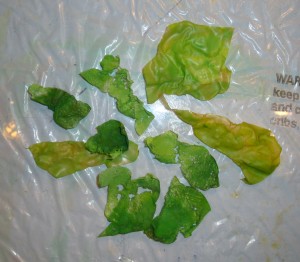
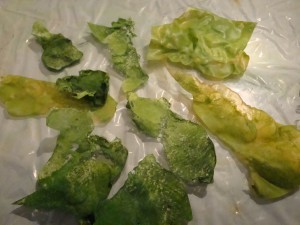
In the photo above, they’re positioned on a sheet of glass, my working surface for hot activities. I hit each one with the heat gun, and voila: leaves!
Pretty neat, huh? I love the texture of these! You can see it better in this shot with no flash. (Click any image for a larger view.)
Since melting plastics is toxic, I was careful to wear my respirator and to work under an exhaust vent. (You can learn more about my set up here.)
I’ll be tearing the paper into rough leaf shapes for use. I think I’ll probably also give the pieces a protective coating of diluted gel medium.
I’m very happy with these, and excited to add them to my quilt!
Ellen Lindner

That was a really effective method—-your leaves look great and I really like your finished piece!
Thanks, Martha!