Subscribe to My New Blog

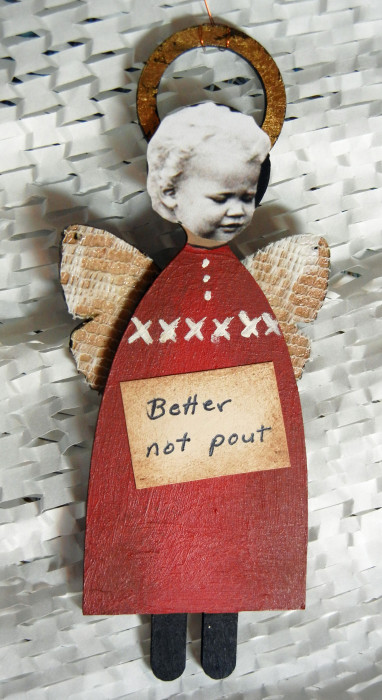
Did you miss seeing this cute angel ornament on my blog?  (I made these ornaments for family members, using vintage photos of each recipient. This one shows me!)

Angel ornament made by Ellen Lindner. AdventureQuilter.com/blog

But all this cuteness has been landing on my NEW blog, which didn’t have a subscription feature.  But, now it does.  I hope you’ll sign up to receive my blog posts in your inbox.  To do so, go to the new blog and look for the subscription interface way down at the bottom of each page.

Thanks for following along.

Ellen Lindner
AdventureQuilter.com/blog

Floral Improv: The Process

I thought you’d like to see a few in-progress photos from one of the Floral Improv samples.

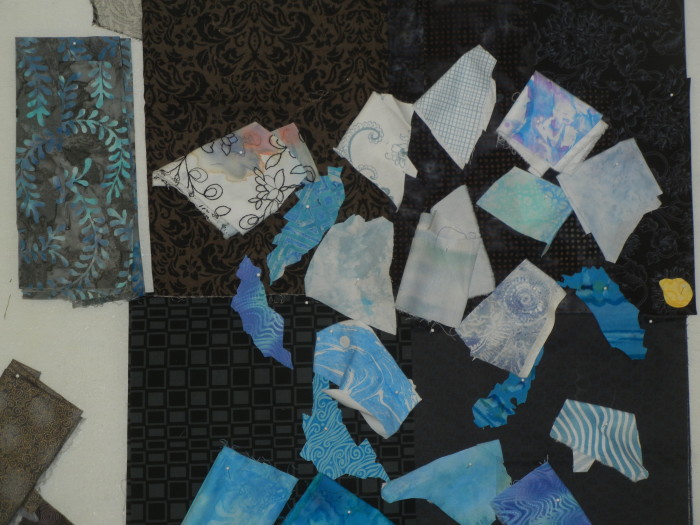
First, I auditioned fabrics to determine a color palette.  The background color is very important, too.

Floral Improv, with Ellen Lindner. AdventureQuilter.com

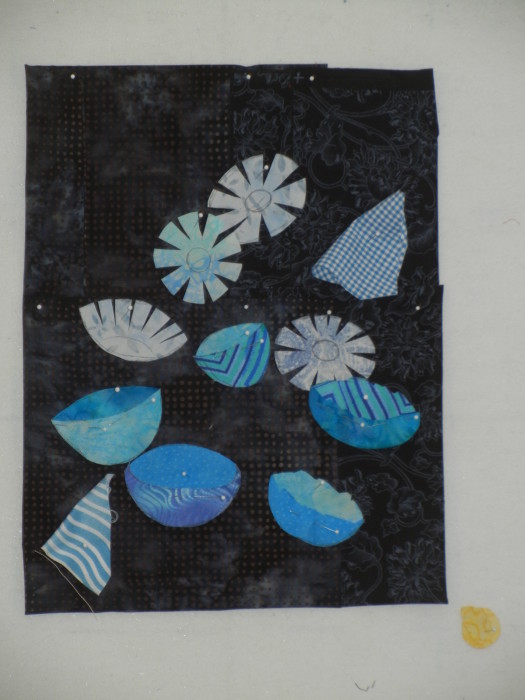
Next, I made a few simple flowers.

Floral Improv, with Ellen Lindner. AdventureQuilter.com

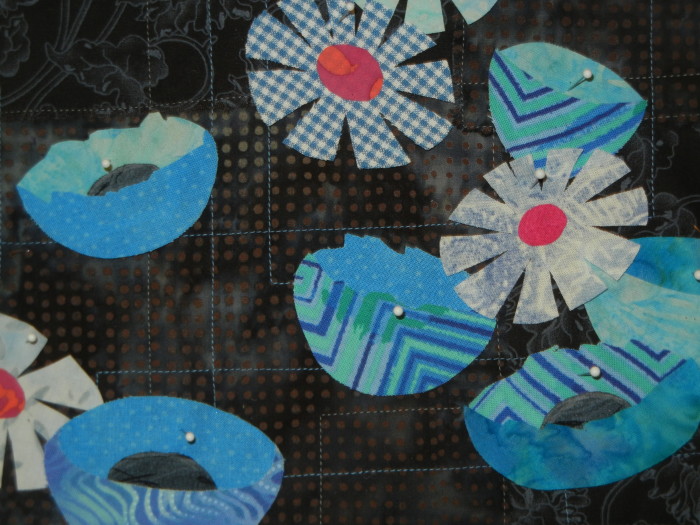
Then added details.

Floral Improv, with Ellen Lindner. AdventureQuilter.com

See what a different that made?

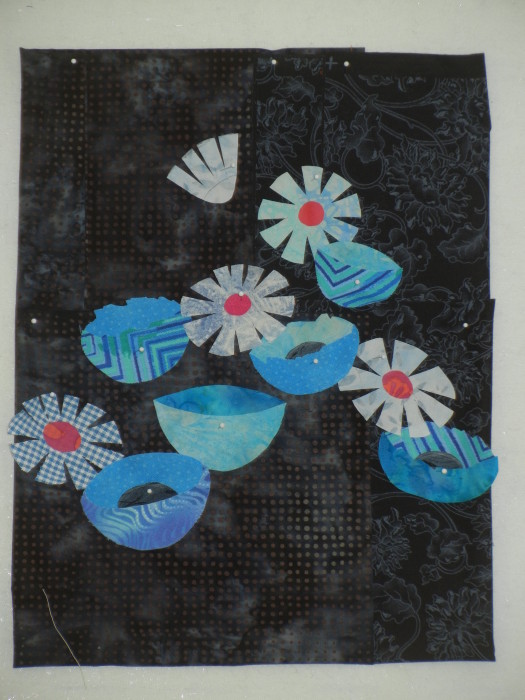
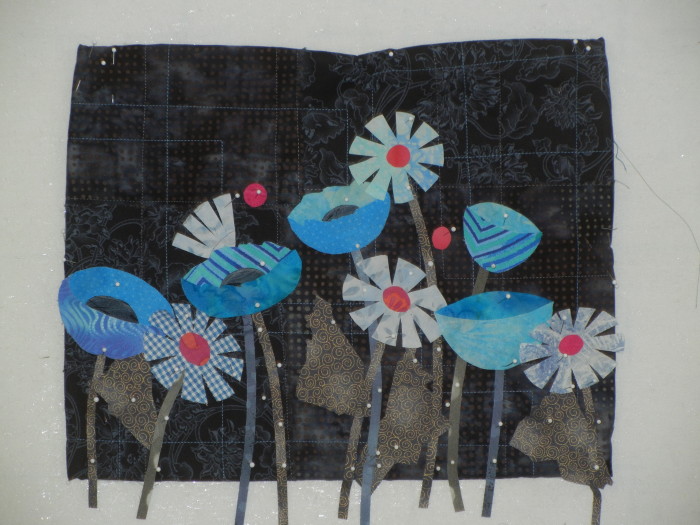
Next, I played with composition.  Vertical or horizontal?

Floral Improv, with Ellen Lindner. AdventureQuilter.com

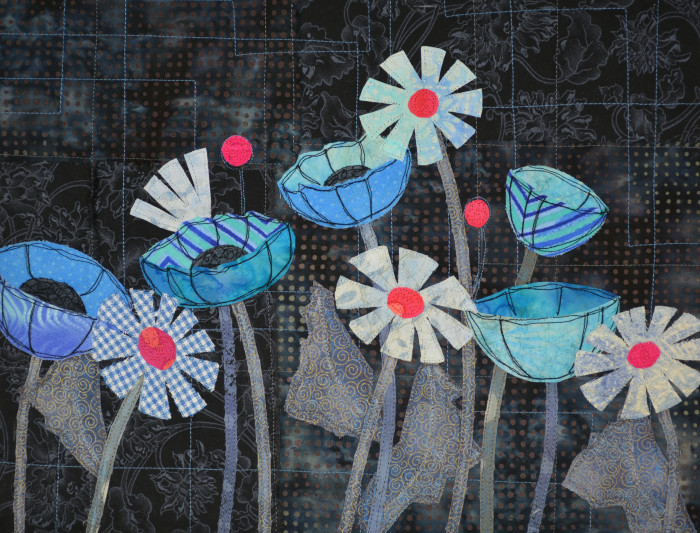
As you can see, I decided on a horizontal arrangement this time.  The stems and leaves helped  bring it to life, but it still needed definition at this stage.

DSCN7096

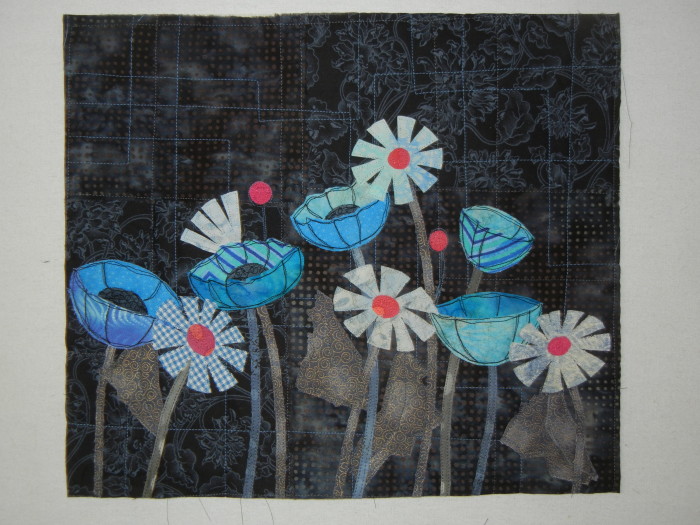
Quilting will fix that.

Floral Improv, with Ellen Lindner. AdventureQuilter.com

See what I mean?

All in all, it’s a very creative process.

Ellen Lindner

Floral Improv Samples

I’ve been working on making samples for my newest class, Floral Improv.  In it, I’ll be teaching students how to make several flowers without a pattern.  Then, we’ll learn a little about composition as we consider ways to arrange them.  Each one will be very different, and I’m very excited about it!

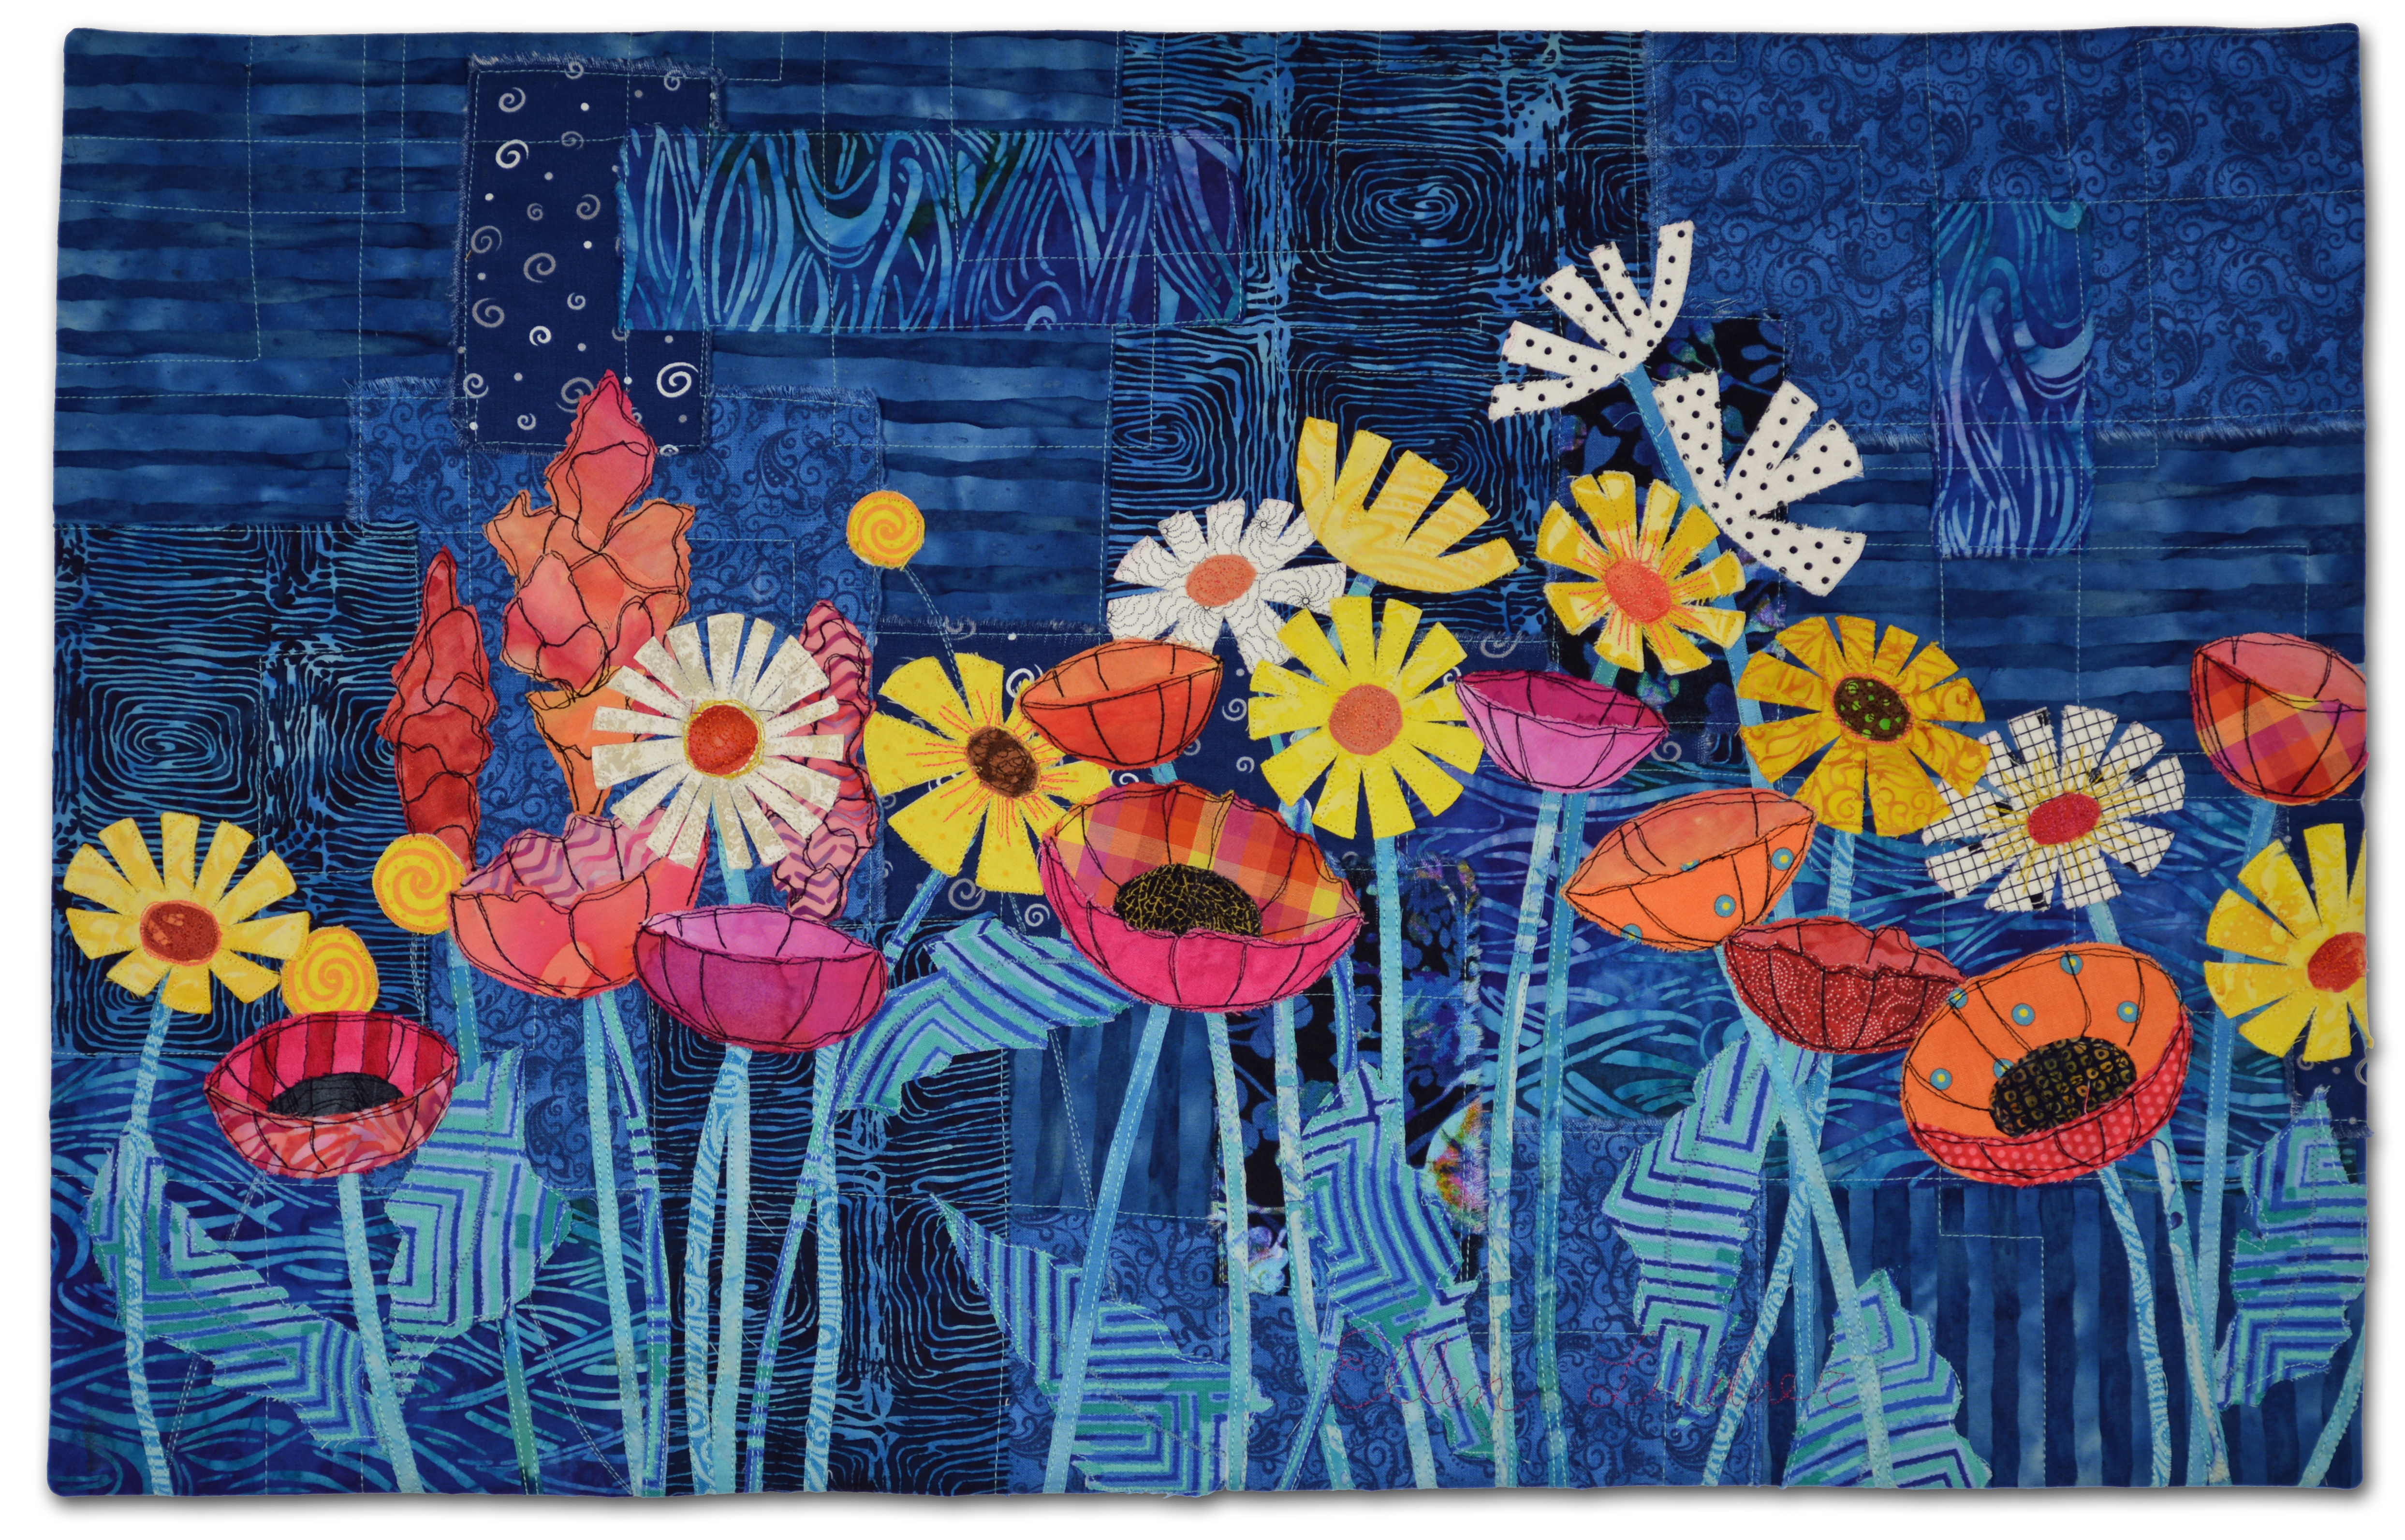
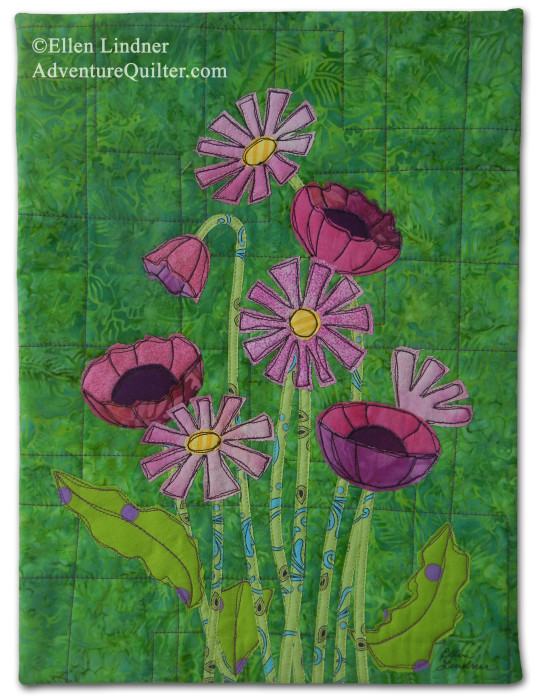
Here’s the first sample I made, which I’ve named Garden Frolic.  I think it’s a very happy piece.

Garden-frolic

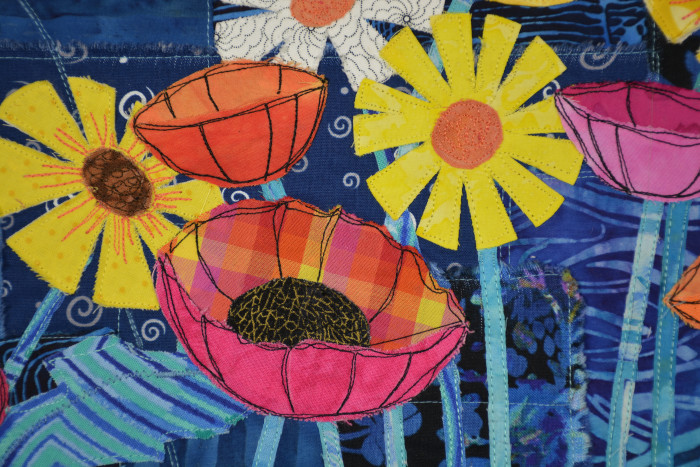
And here’s a detail shot.

Floral Improv, with Ellen Lindner.  AdventureQuilter.com

While making this quilt it quickly became obvious that it was too large to use for a live class. Still, I knew I could use it for the online version of the class, and I set to work on some smaller pieces for the live version.

Here’s Happy Garden:

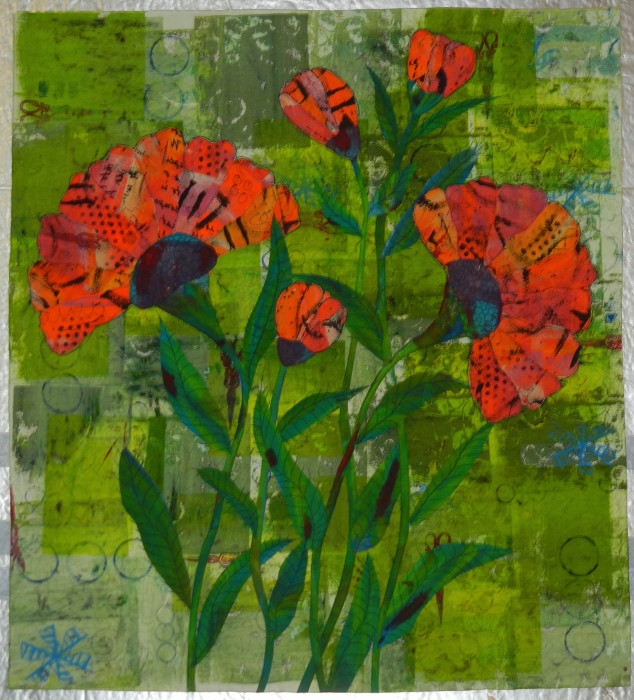
Floral Improv, with Ellen Lindner.  AdventureQuilter.com

And here’s another version, still  un-named.

Floral Improv, with Ellen Lindner.  AdventureQuilter.com

As you can see, these can vary quite a bit, in orientation, color, and composition.  I think it’s really going to be fun to see what a classroom of students will do with this technique!

I’m hoping to teach the first live version of this class in about a month.  After that, I’ll be ready to schedule it elsewhere and to create an online version.  Watch the newsletter for details.

Ellen Lindner

Art Quilts Revealed: Part Two

Our Art Quilts Revealed event was very successful.  It included displays on a wide variety of techniques, as well as demos by several members.  And our audience loved it all!

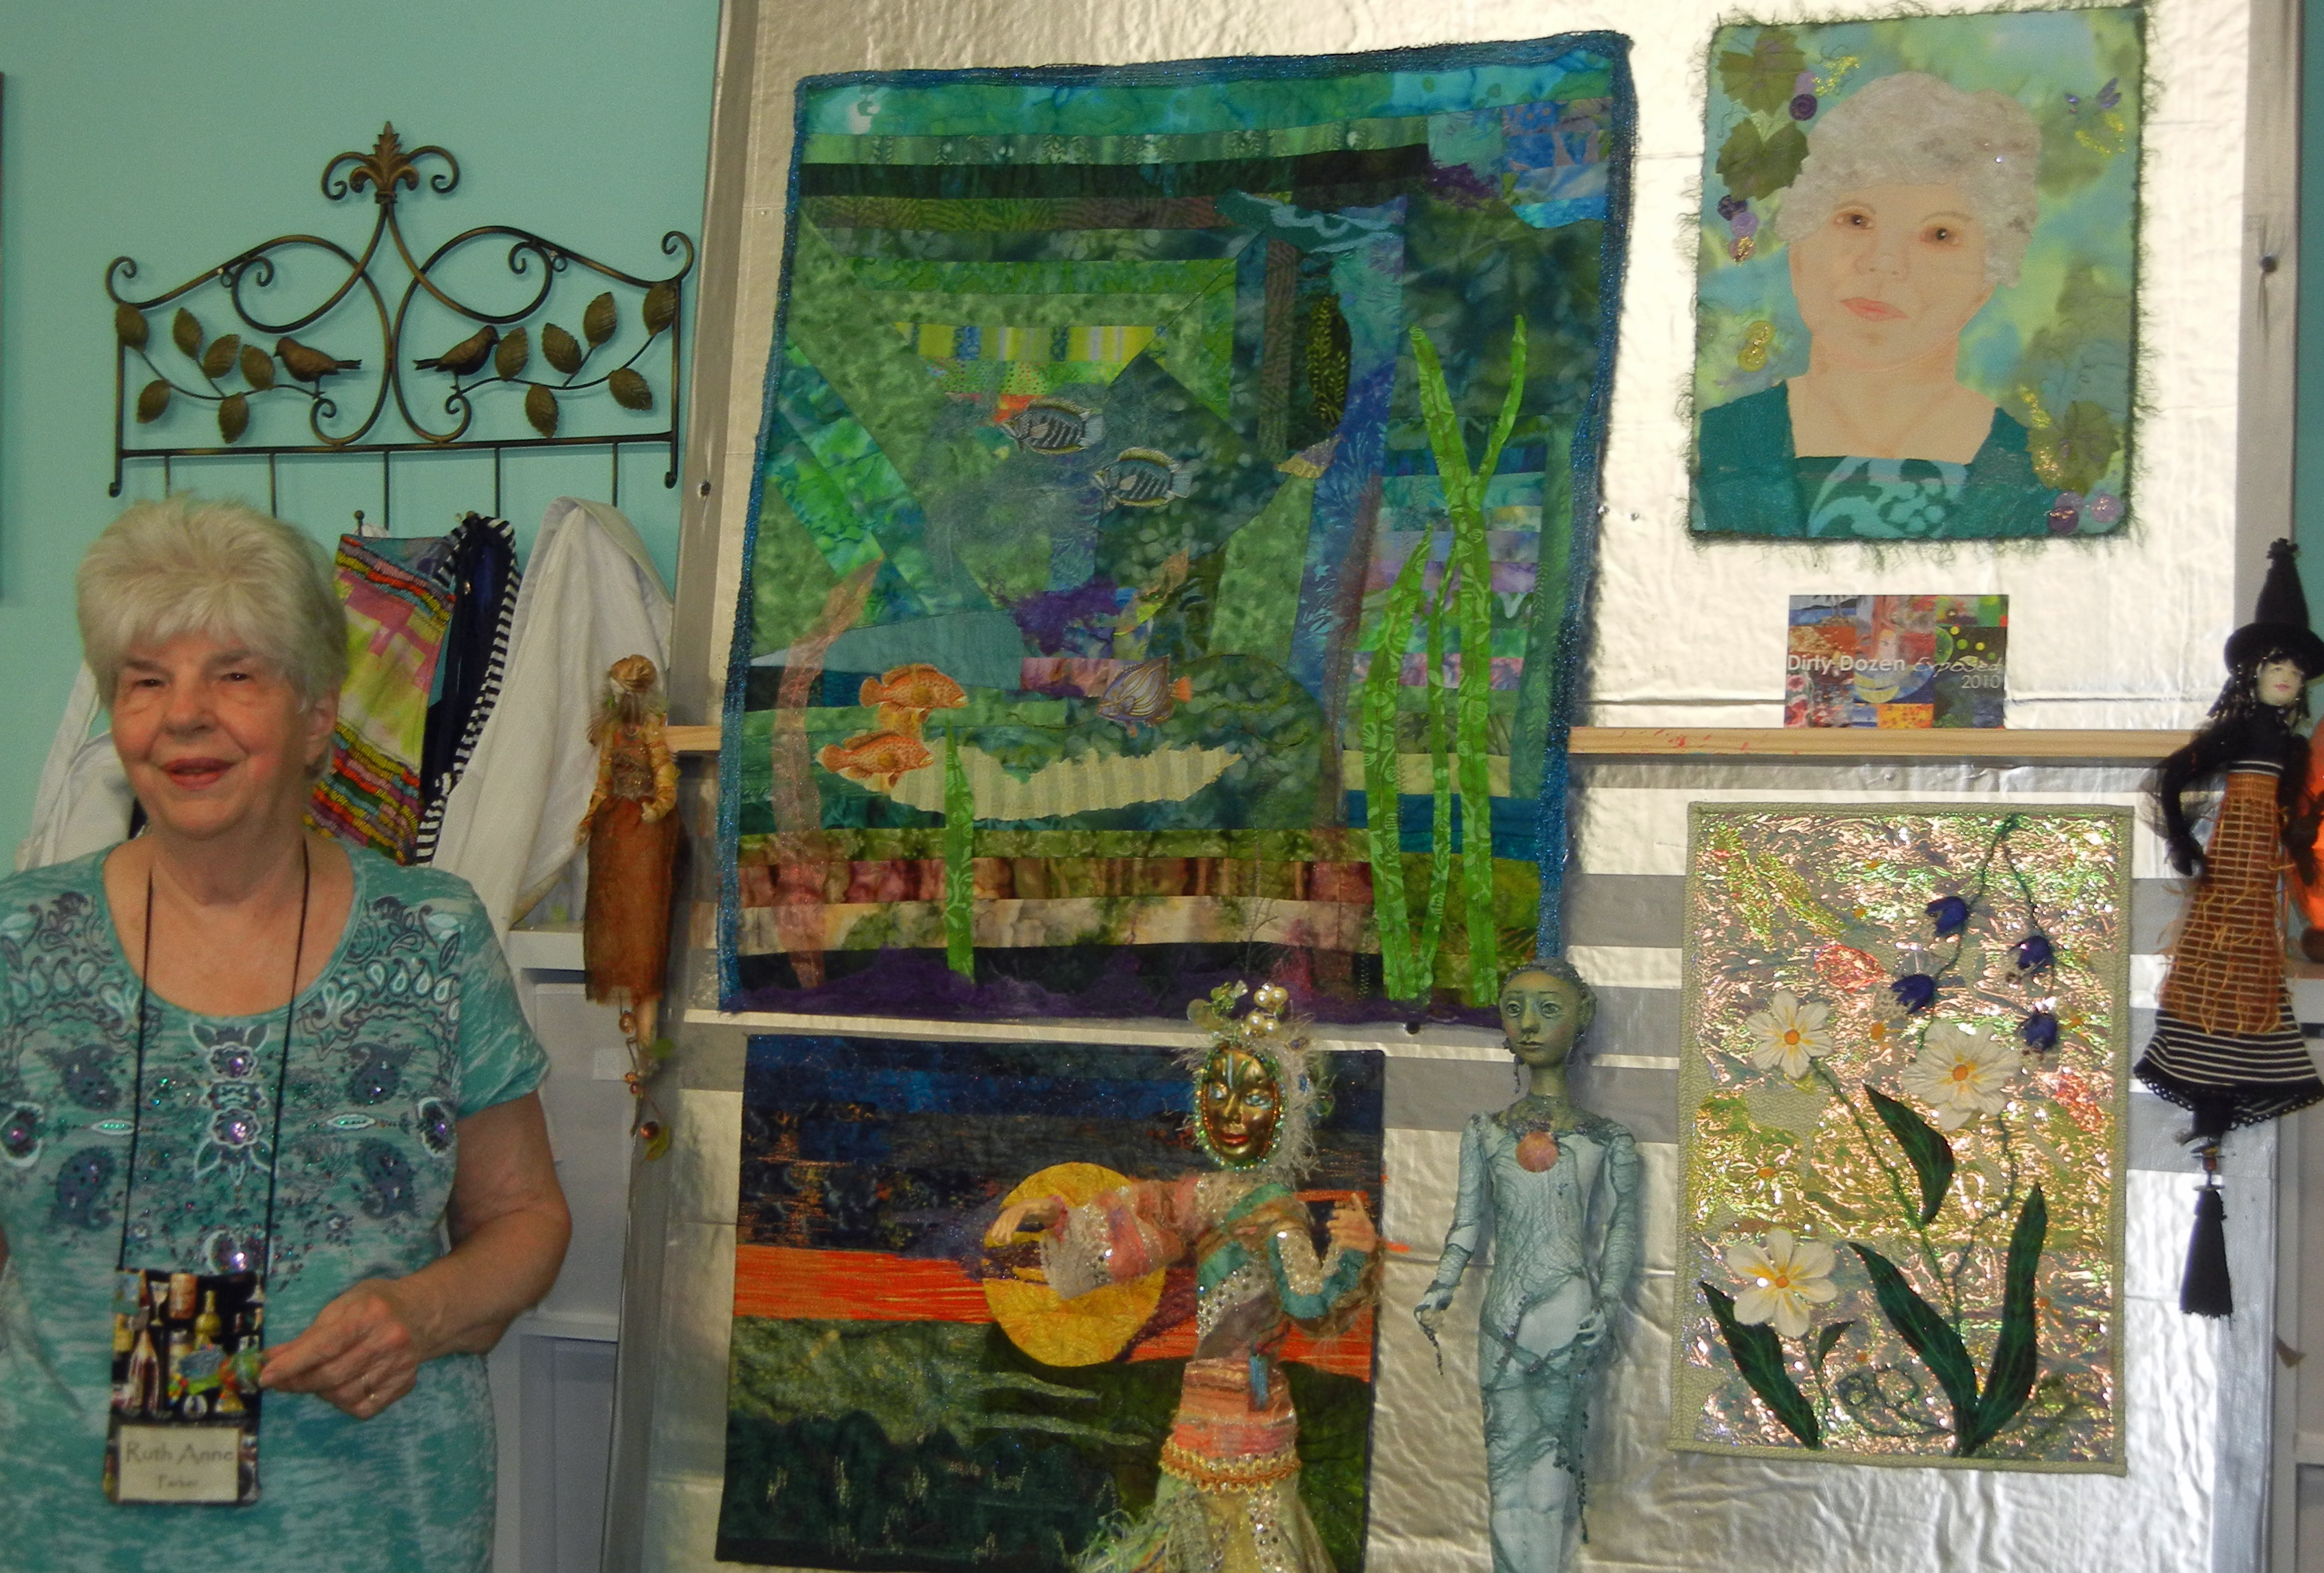
Rounding out the demos was Ruth Anne Parker talking about texture.

Art Quilts Revealed, an art quilt event presented by Dirty Dozen Fiber Artists. Ellen Lindner, AdventureQuilter.com/blog

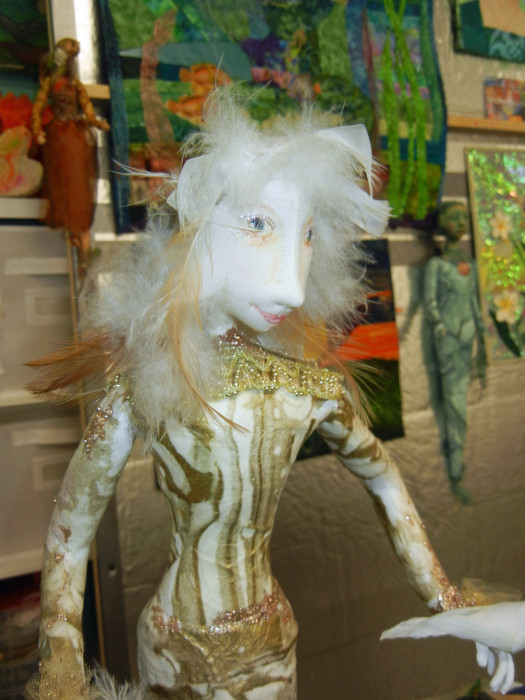
In addition to making art quilts, she creates wonderful dolls.  The latter gives her special expertise with all sorts of media and techniques:  cheesecloth, paper, metallics,  modeling clay, and feathers, to name a few.  Speaking of feathers, she’s used them as hair on her doll below.

Art Quilts Revealed, an art quilt event presented by Dirty Dozen Fiber Artists. Ellen Lindner, AdventureQuilter.com/blog

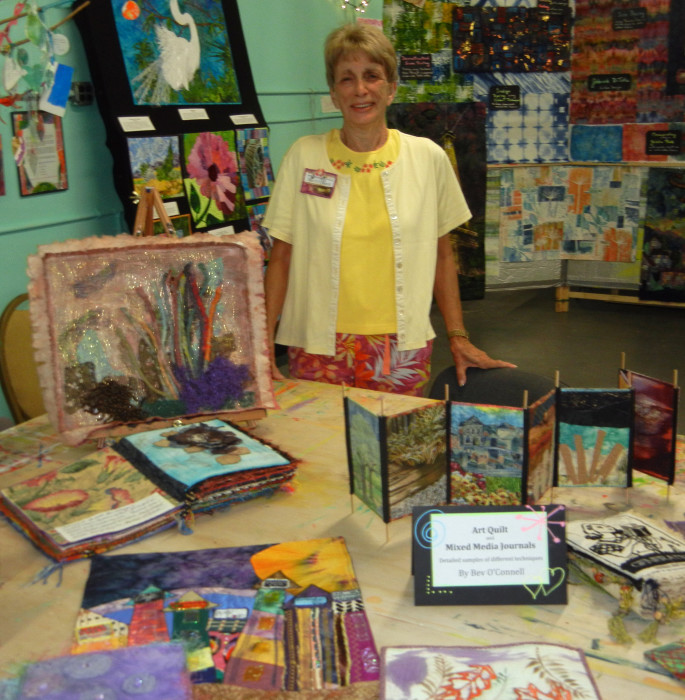
Bev O’Connell is one of our most prolific members and she’ll work with ANYTHING – from bones to dead leaves.  She brought many of her technique books and projects for our viewers to enjoy.  They loved her stuff!

Art Quilts Revealed, an art quilt event presented by Dirty Dozen Fiber Artists. Ellen Lindner, AdventureQuilter.com/blog

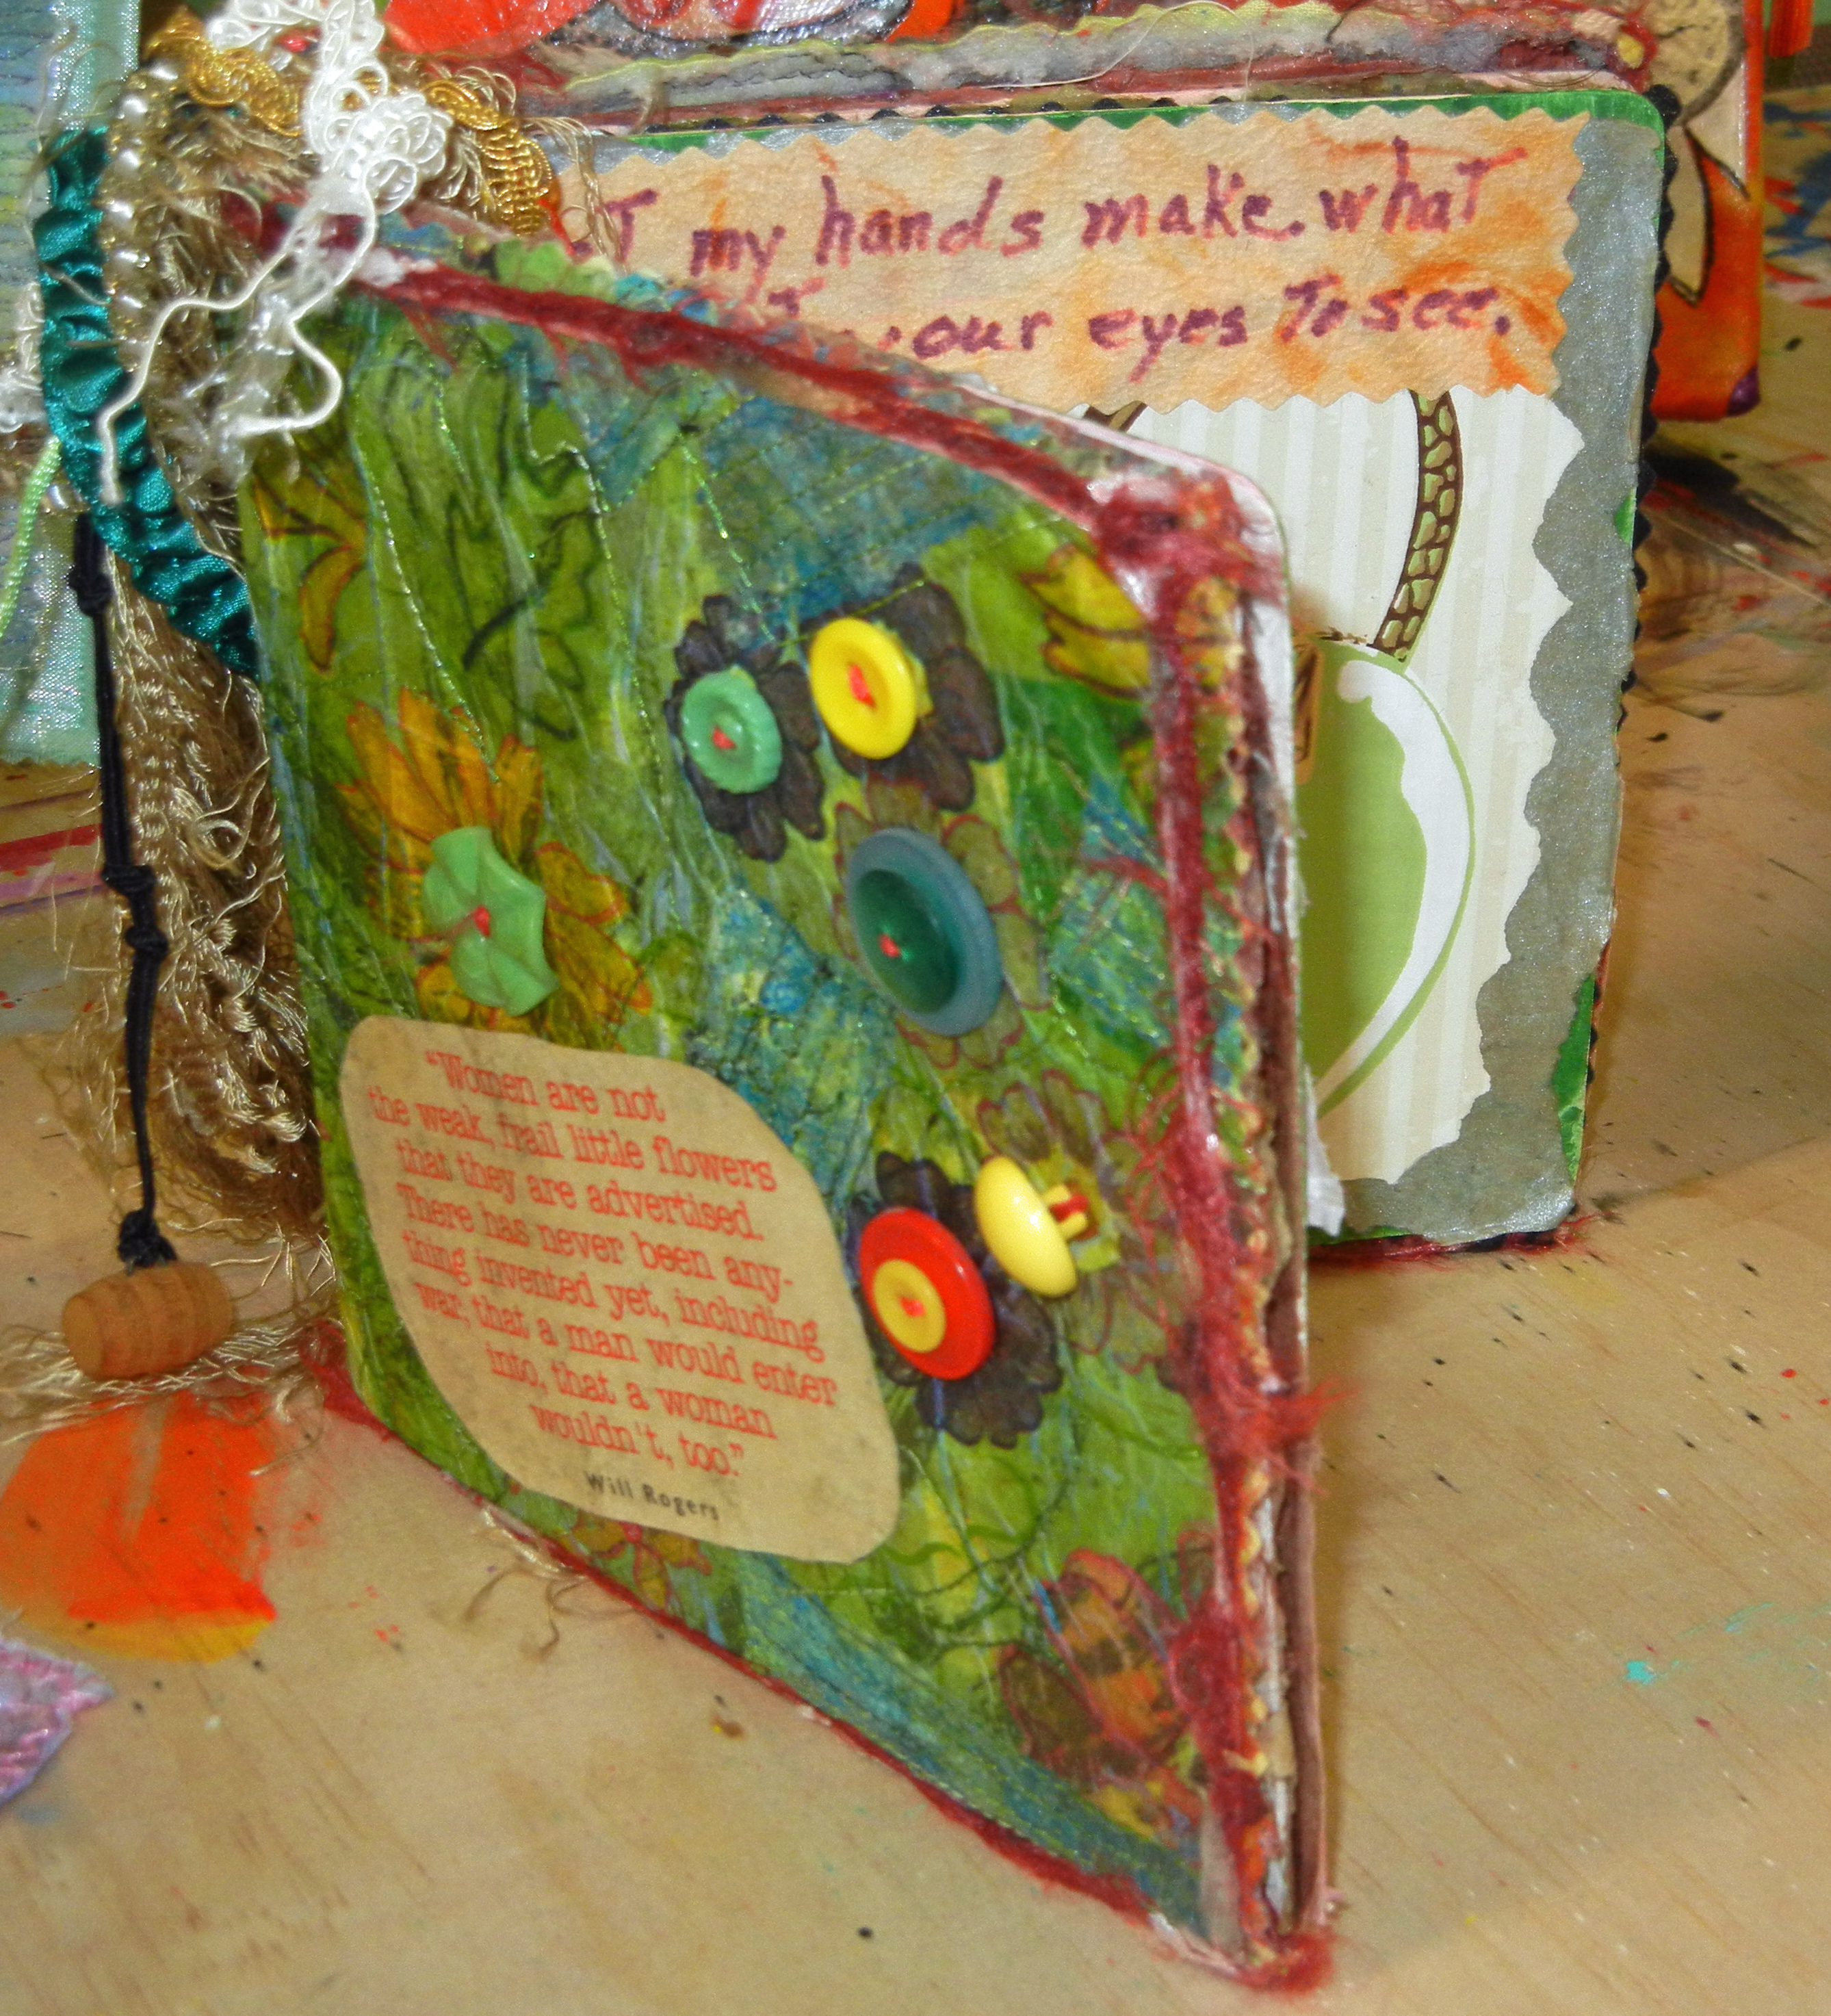
Like this book, with examples of many different techniques.

Art Quilts Revealed, an art quilt event presented by Dirty Dozen Fiber Artists. Ellen Lindner, AdventureQuilter.com/blog

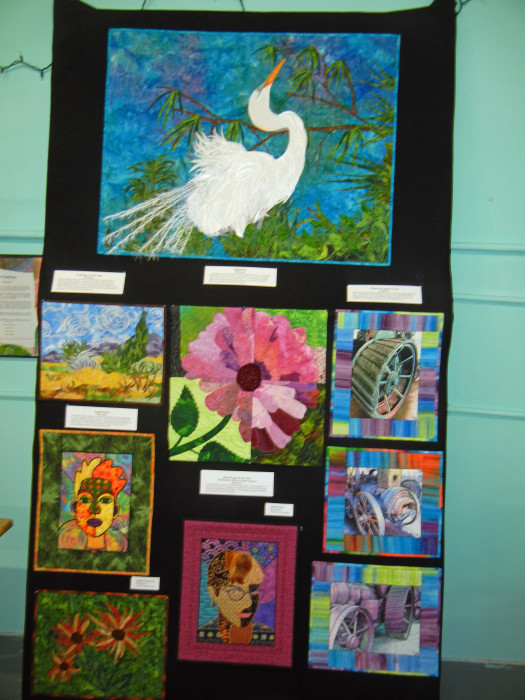
Dij Pacarro is very talented and is skilled in many different techniques.  Her display board will give you a small taste.

Art Quilts Revealed, an art quilt event presented by Dirty Dozen Fiber Artists. Ellen Lindner, AdventureQuilter.com/blog

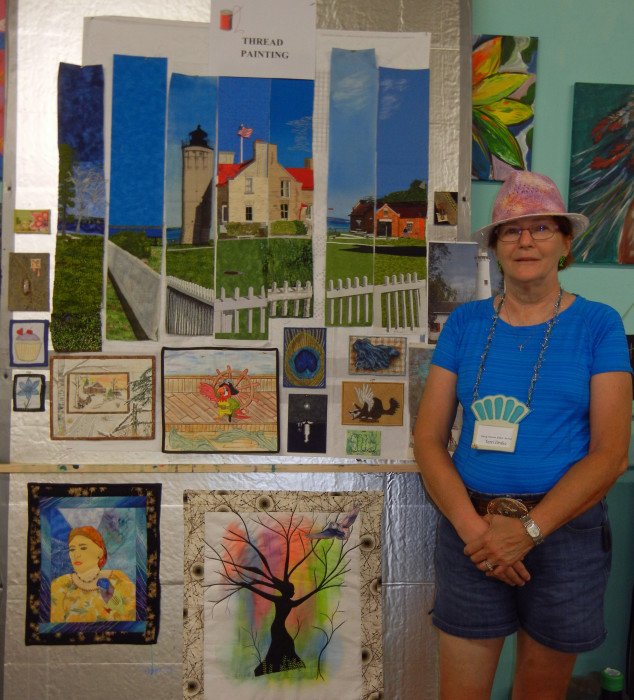
Terri Drake is one of our newest members.  She enjoys thread painting and working with Inktense products.

Art Quilts Revealed, an art quilt event presented by Dirty Dozen Fiber Artists. Ellen Lindner, AdventureQuilter.com/blog

The fractured/sliced piece is being created by another group Terri’s in.  It’s pretty awesome, don’t you think?

I’m SO fortunate to belong to this vibrant group of artists!  We get excited about one another’s work, learn from one another, and always enjoy being together.

Ellen Lindner

Art Quilts Revealed: Part One

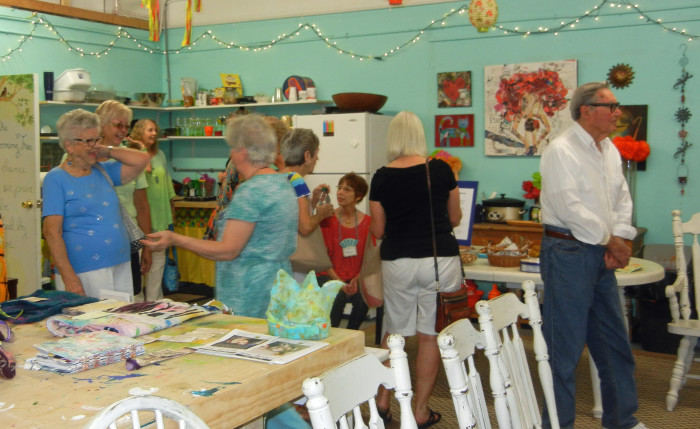
On a fine Sunday afternoon, my art quilt group, Dirty Dozen Fiber Artists, teamed up with Art More Place, to present Art Quilts Revealed.  Our primary goal was to introduce people to a “behind the seams” look at some of the techniques art quilters use.  Our secondary goal was to introduce quilters to Art More Place, which is a creative art class space.  I’d have to say we met both targets in spades!

Having never done a group demo event like this before, we weren’t quite sure to expect.  But, when the doors opened at 1 PM, people poured in.  We had displays set up, so they immediately had interesting things to look at.

Art Quilts Revealed, an art quilt event presented by Dirty Dozen Fiber Artists. AdventureQuilter.com/blog

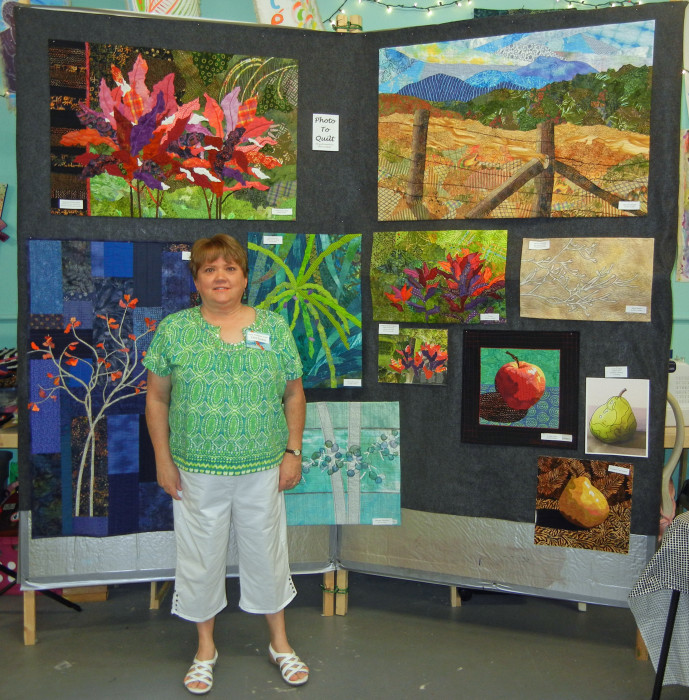
Four of us conducted short demos on various topics, so we had boards set up with a little explanation.  My topic was “Photo to Quilt,” and this was the bulk of my display.

Art Quilts Revealed, an art quilt event presented by Dirty Dozen Fiber Artists. Ellen Lindner, AdventureQuilter.com/blog
I talked about a variety of ways to interpret a photo in fabric.  Very accurate with a pattern, like the apple and pears, simplified edits of the photos (which is mostly what you see here,) and quilts that are only inspired by the idea or basics of a photo.  Ti Party, near the center shows this, both with a torn paper collage and with a raw edge fabric collage.

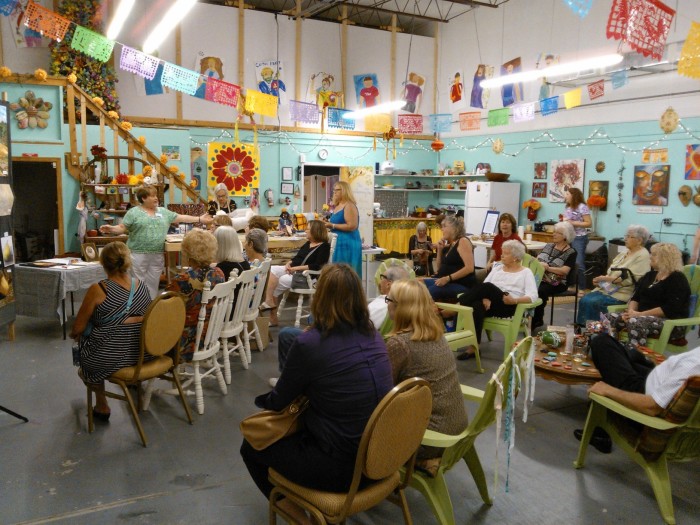
The audience was very attentive during my presentation.  There were about 30 people attending.  They were very interested and many asked questions afterward.

Art Quilts Revealed, an art quilt event presented by Dirty Dozen Fiber Artists. AdventureQuilter.com/blog

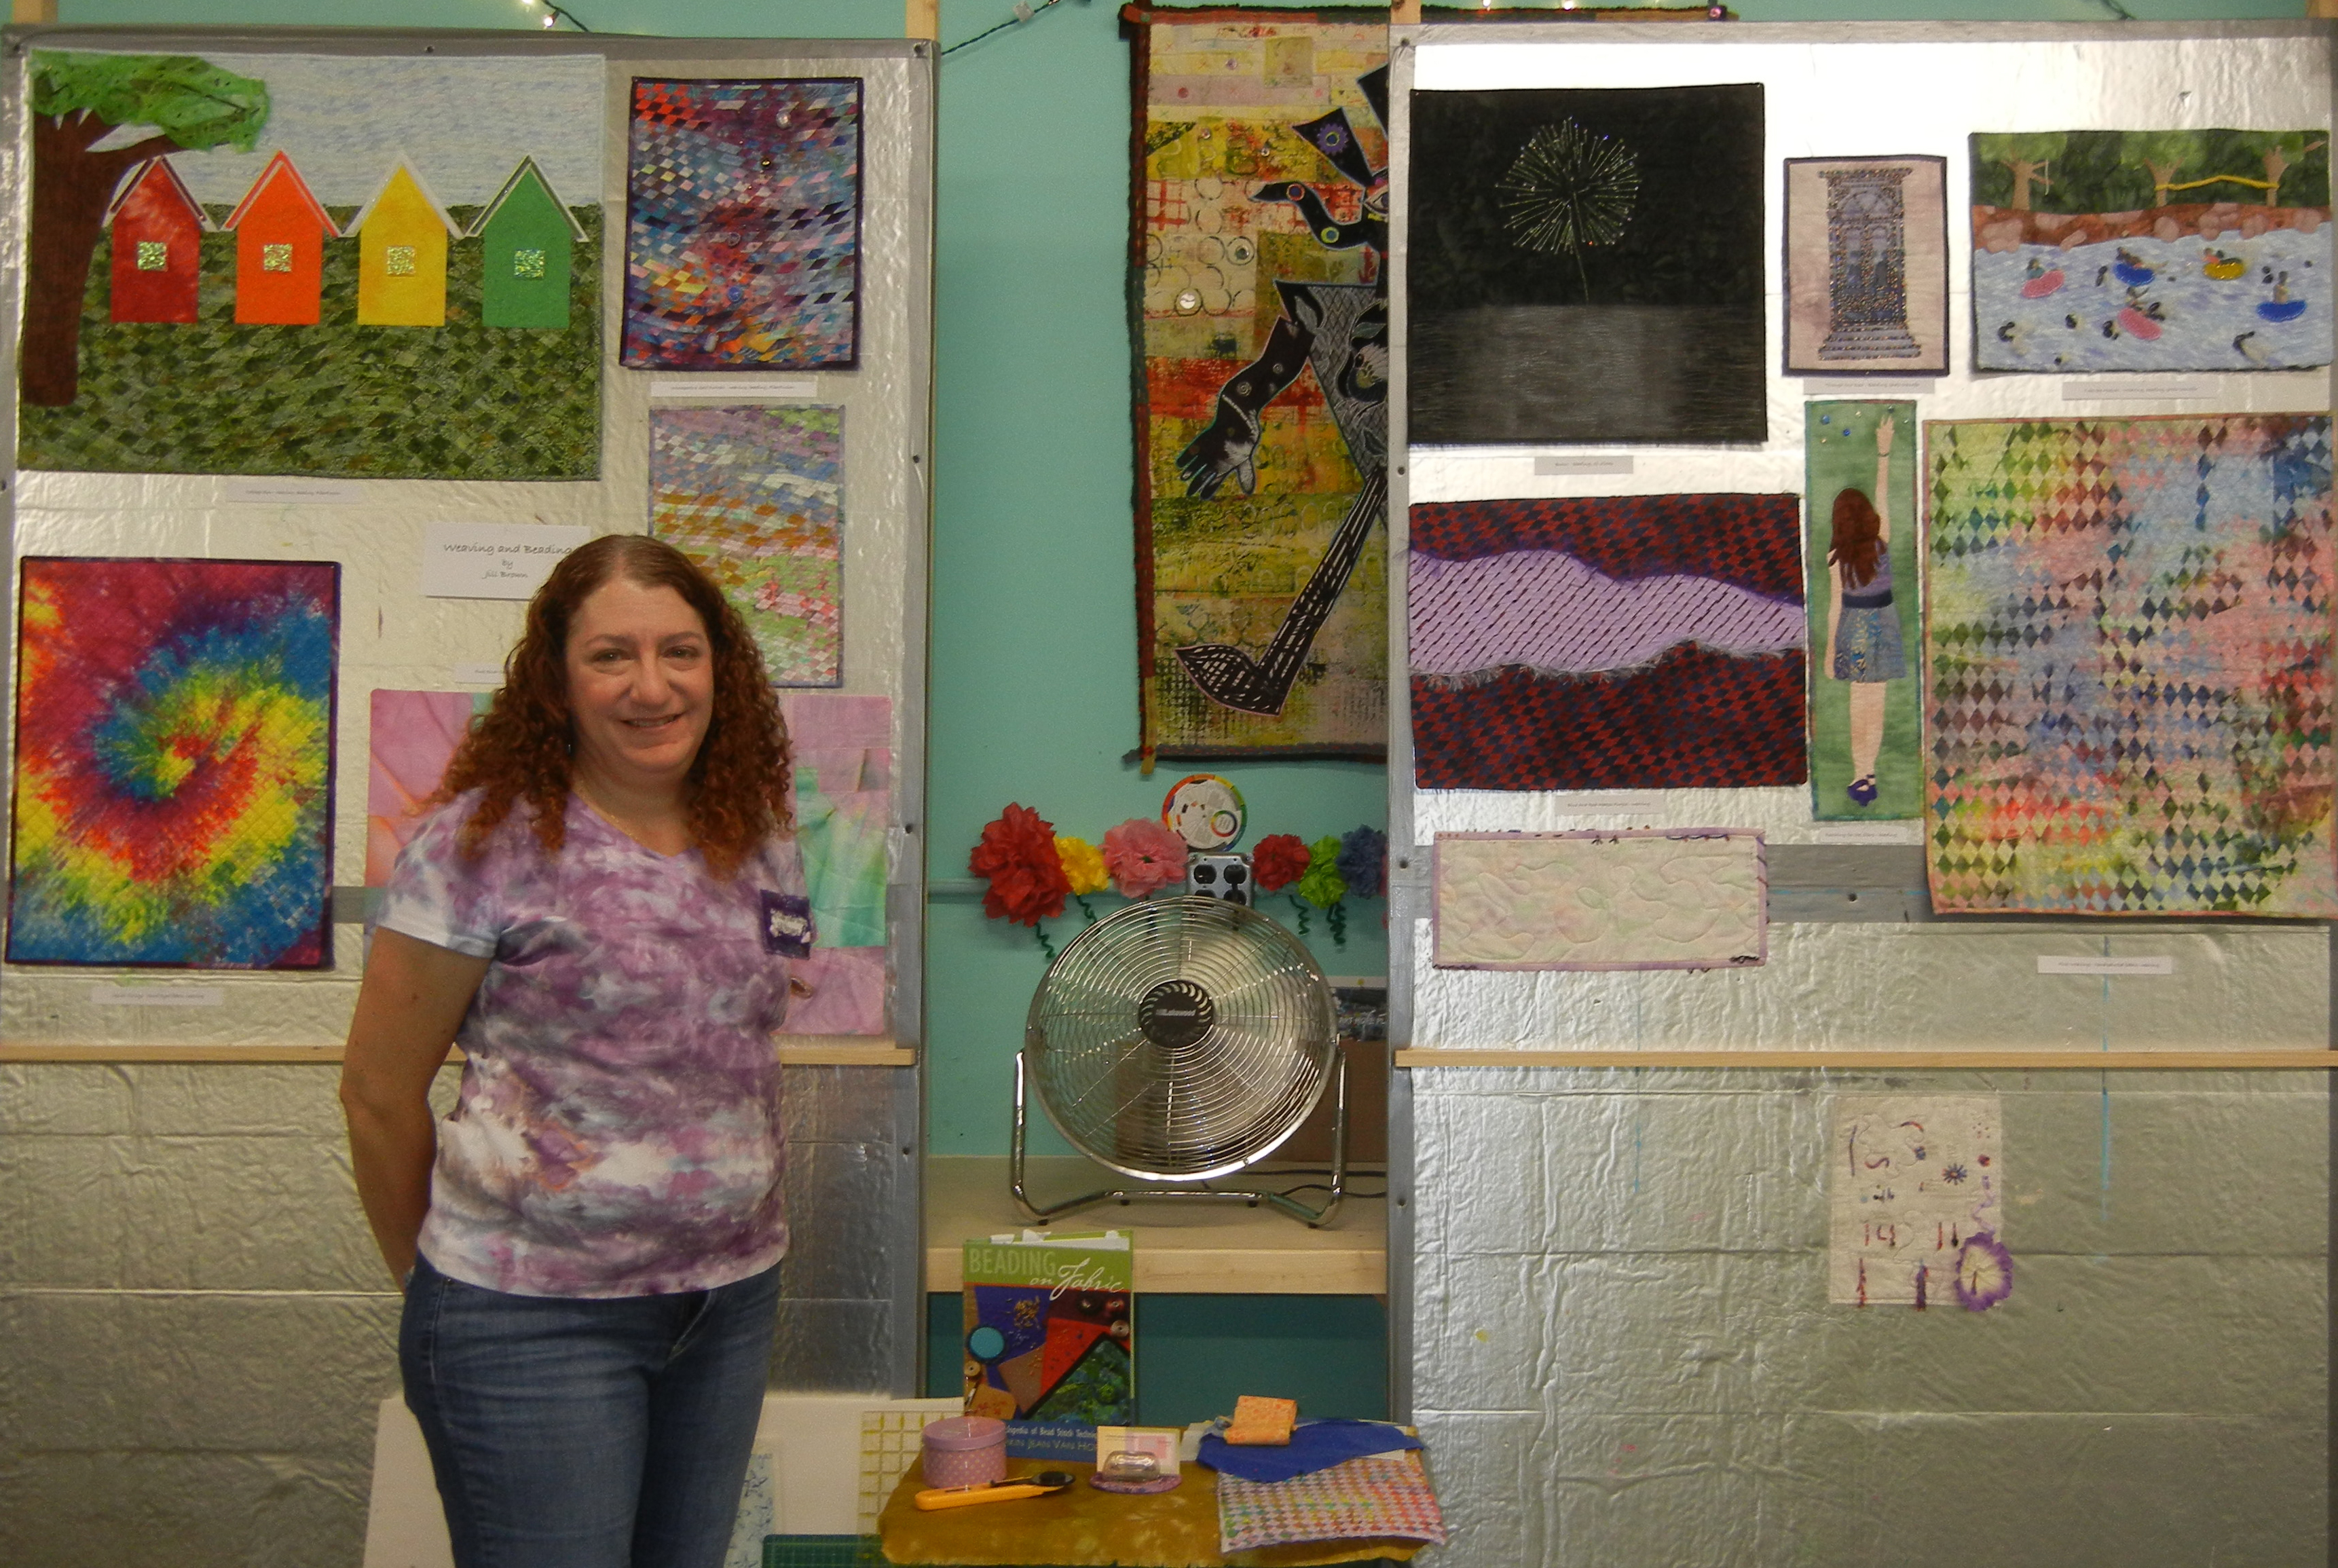
Jill Brown did a presentation on weaving and beading.  She uses both quite a lot in her work, to great effect.

Art Quilts Revealed, an art quilt event presented by Dirty Dozen Fiber Artists. AdventureQuilter.com/blog
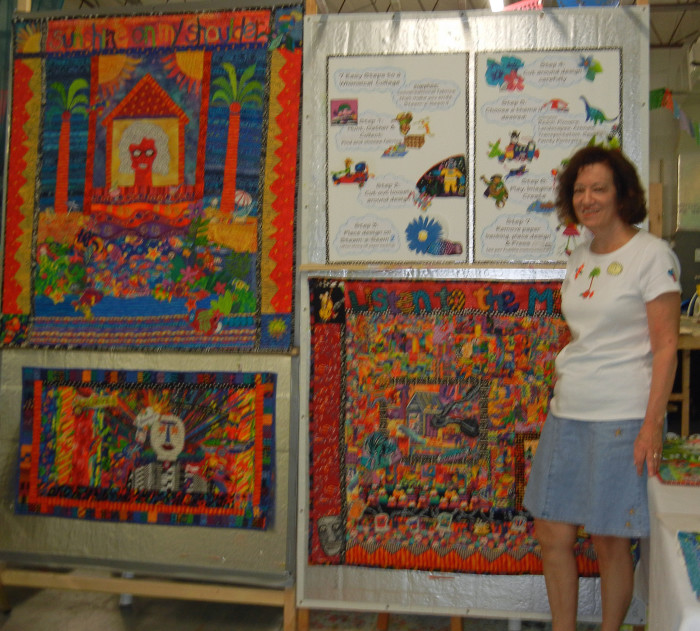
Susan Rienzo loves bright colors (as you can see,) and she also likes to use “cutouts” in her work.  These are various motifs and images that she’s cut from other fabrics and incorporated into her work.  They give her work a lot of whimsy and interest.  (Sorry for the out of focus photo.)

Art Quilts Revealed, an art quilt event presented by Dirty Dozen Fiber Artists. Ellen Lindner, AdventureQuilter.com/blog

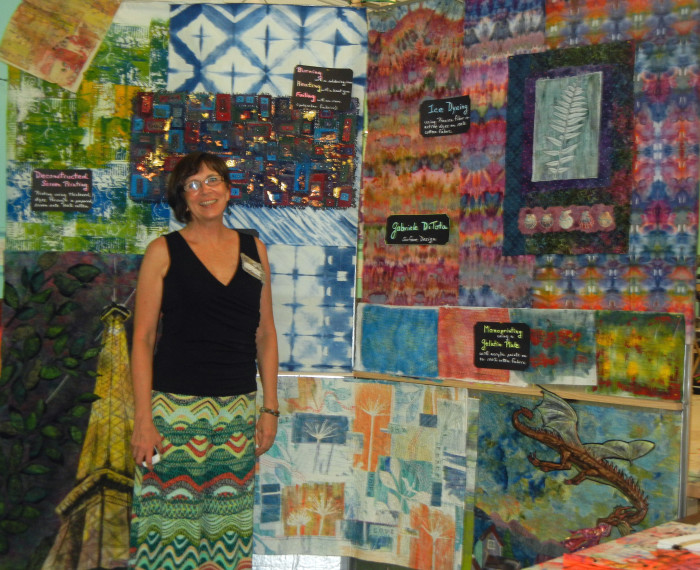
Gabriele Di Tota is hooked on surface design techniques of all sorts.  Her demo gave a brief overview of many of them.  You can tell from her display that she has a lot of fun, right?

Art Quilts Revealed, an art quilt event presented by Dirty Dozen Fiber Artists. Ellen Lindner, AdventureQuilter.com/blog

This is one of Gabriele’s pieces.  She started with white fabric and created the colorful fabrics she used here.

Art Quilts Revealed, an art quilt event presented by Dirty Dozen Fiber Artists. Ellen Lindner, AdventureQuilter.com/blog

This is just the start of our fun.  I’ll have more photos and info for you in the next post.

Ellen Lindner

Crealde Opening

Last month two quilt exhibits opened at the Crealde School of Art, in Winter Park, FL.  They are The Sum of All Parts, which is a traveling exhibit, and Mid-Florida Quiltmakers, which includes my piece, “Caring.”

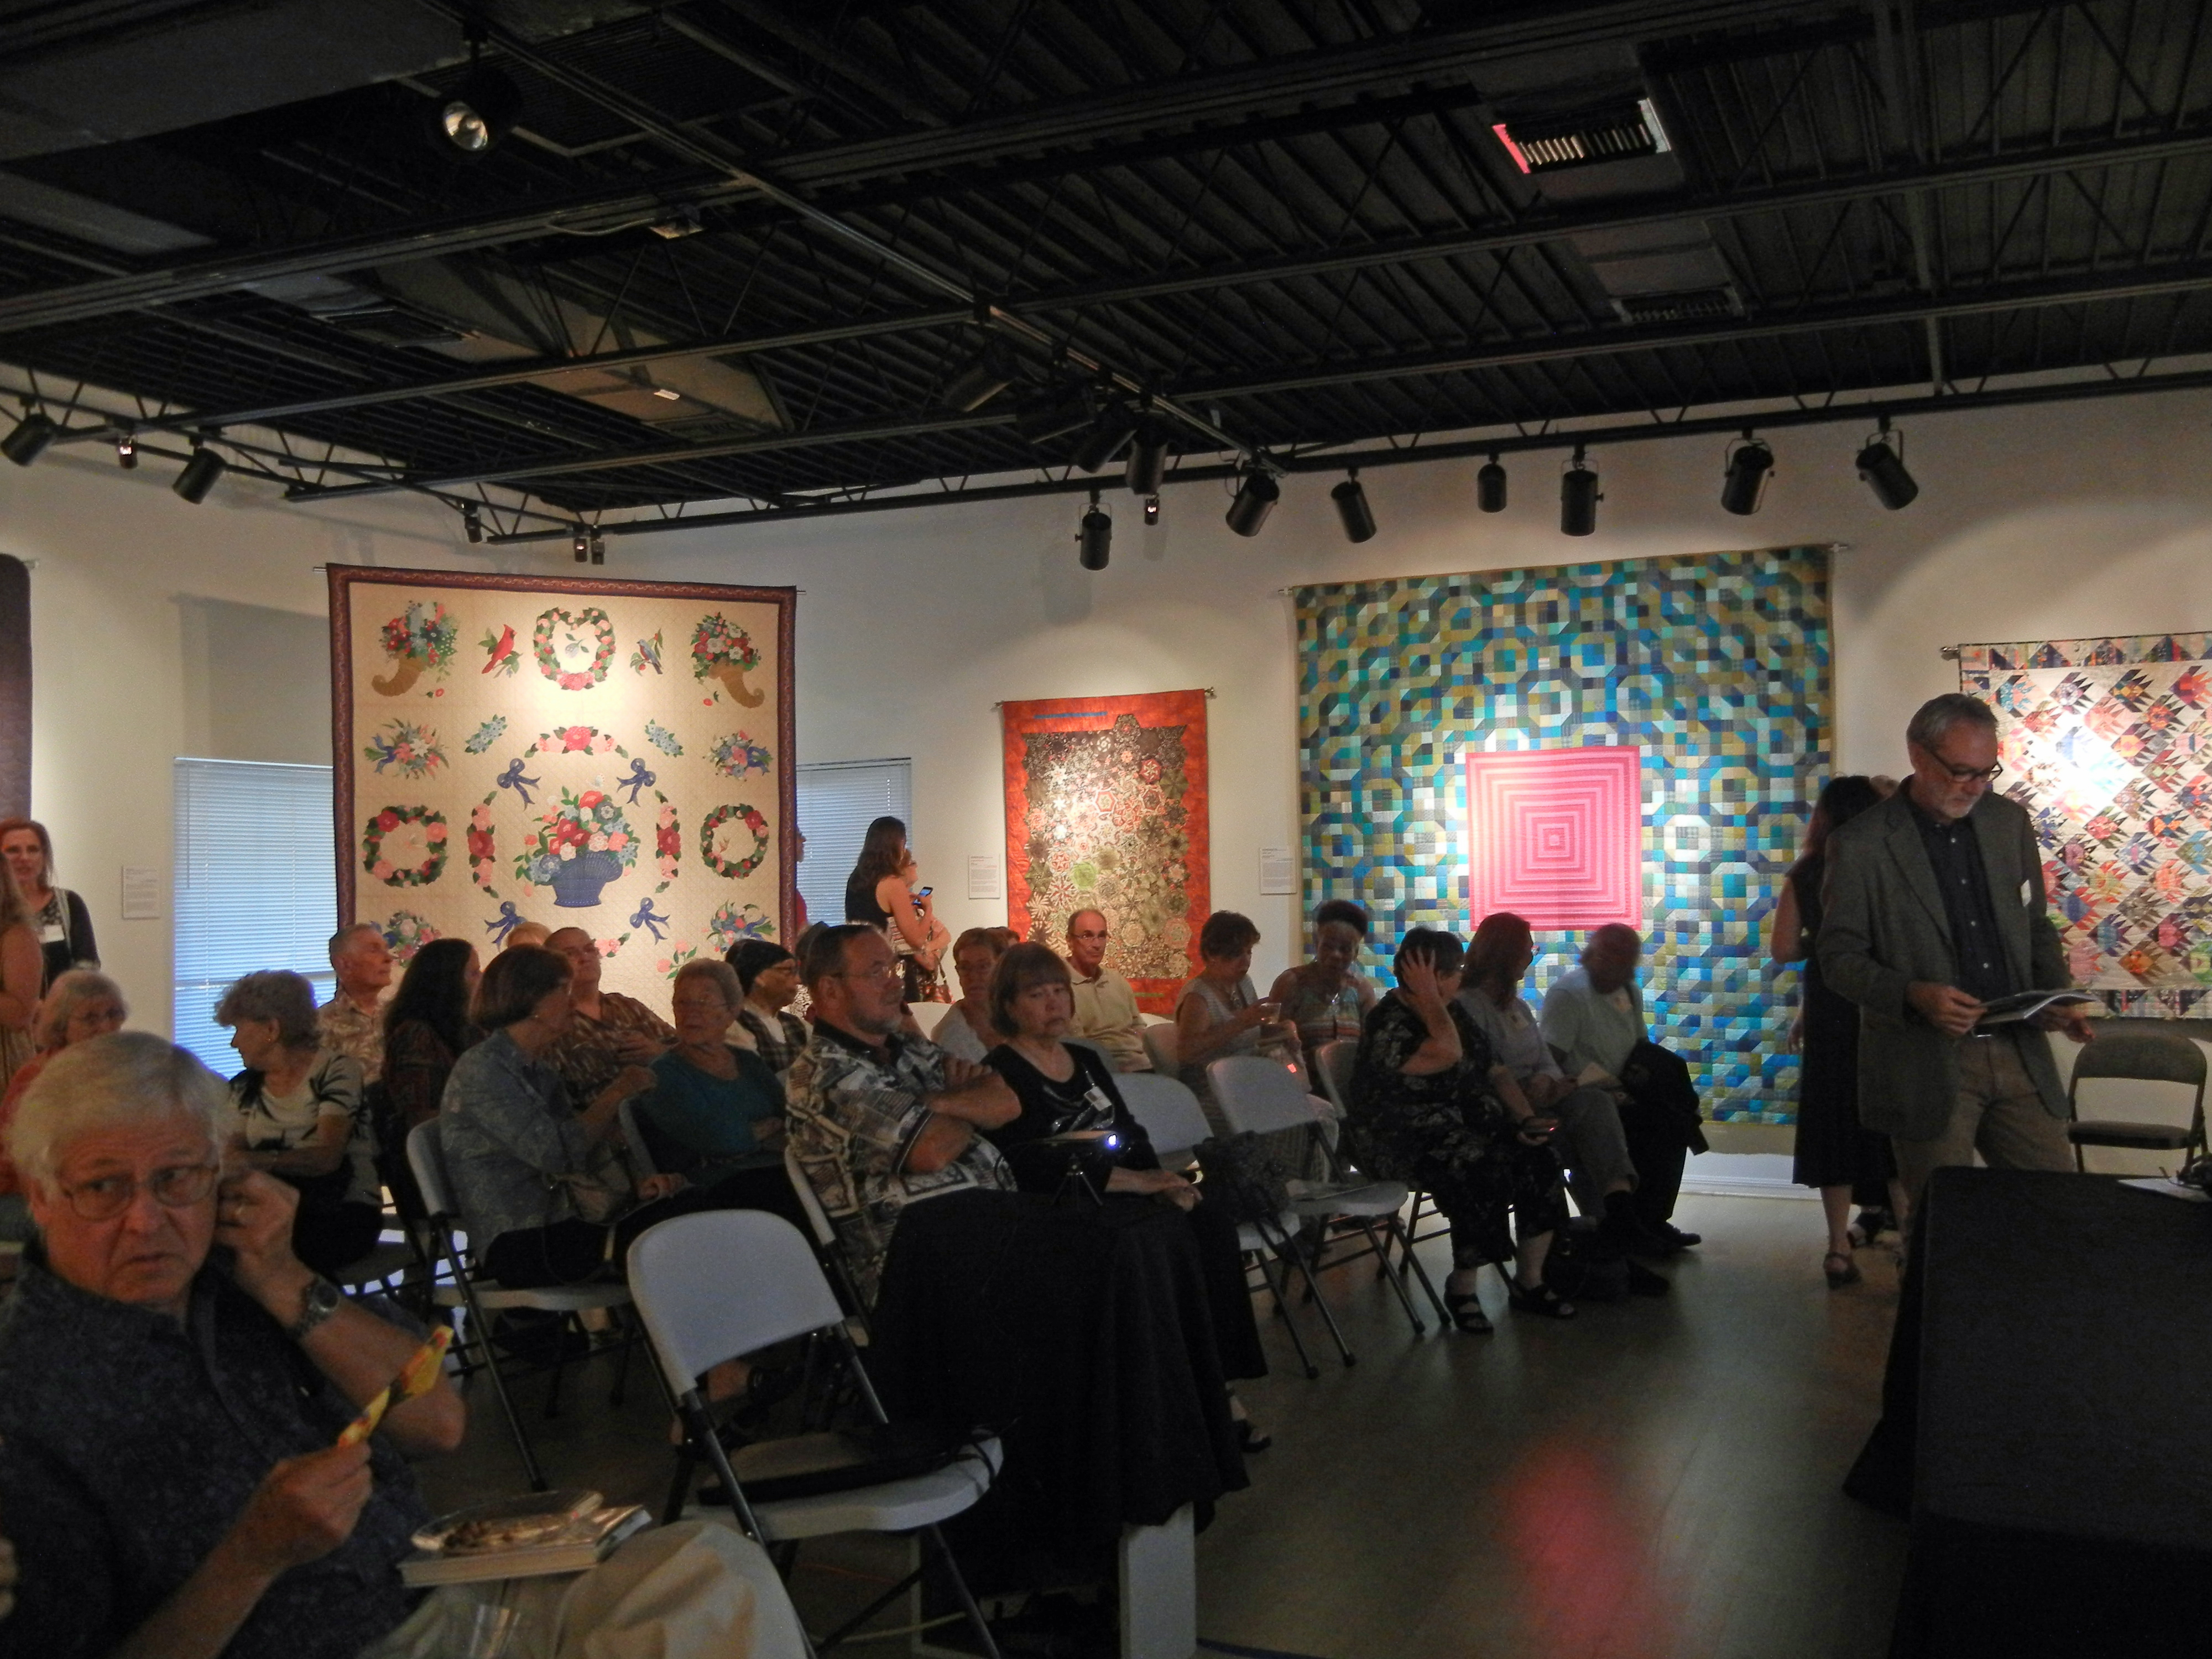
I’d never been to Crealde before.  Their exhibit space is not large, but the art was well-lit and the event was very festive.  The attendance was the best they’ve ever had for an opening and it was quickly standing room only.  (I took this photo when about 1/3 of the people had arrived.)

Click any image for a larger view
Opening Night at Crealde School of Art.  AdventureQuilter.com

The opening night festivities included presentations by the curators for both exhibits.  It was very interesting!  The Mid-Florida presentation included shots of my quilt in-progress, as well as a little about how I made the piece.  I felt like quite a celebrity!

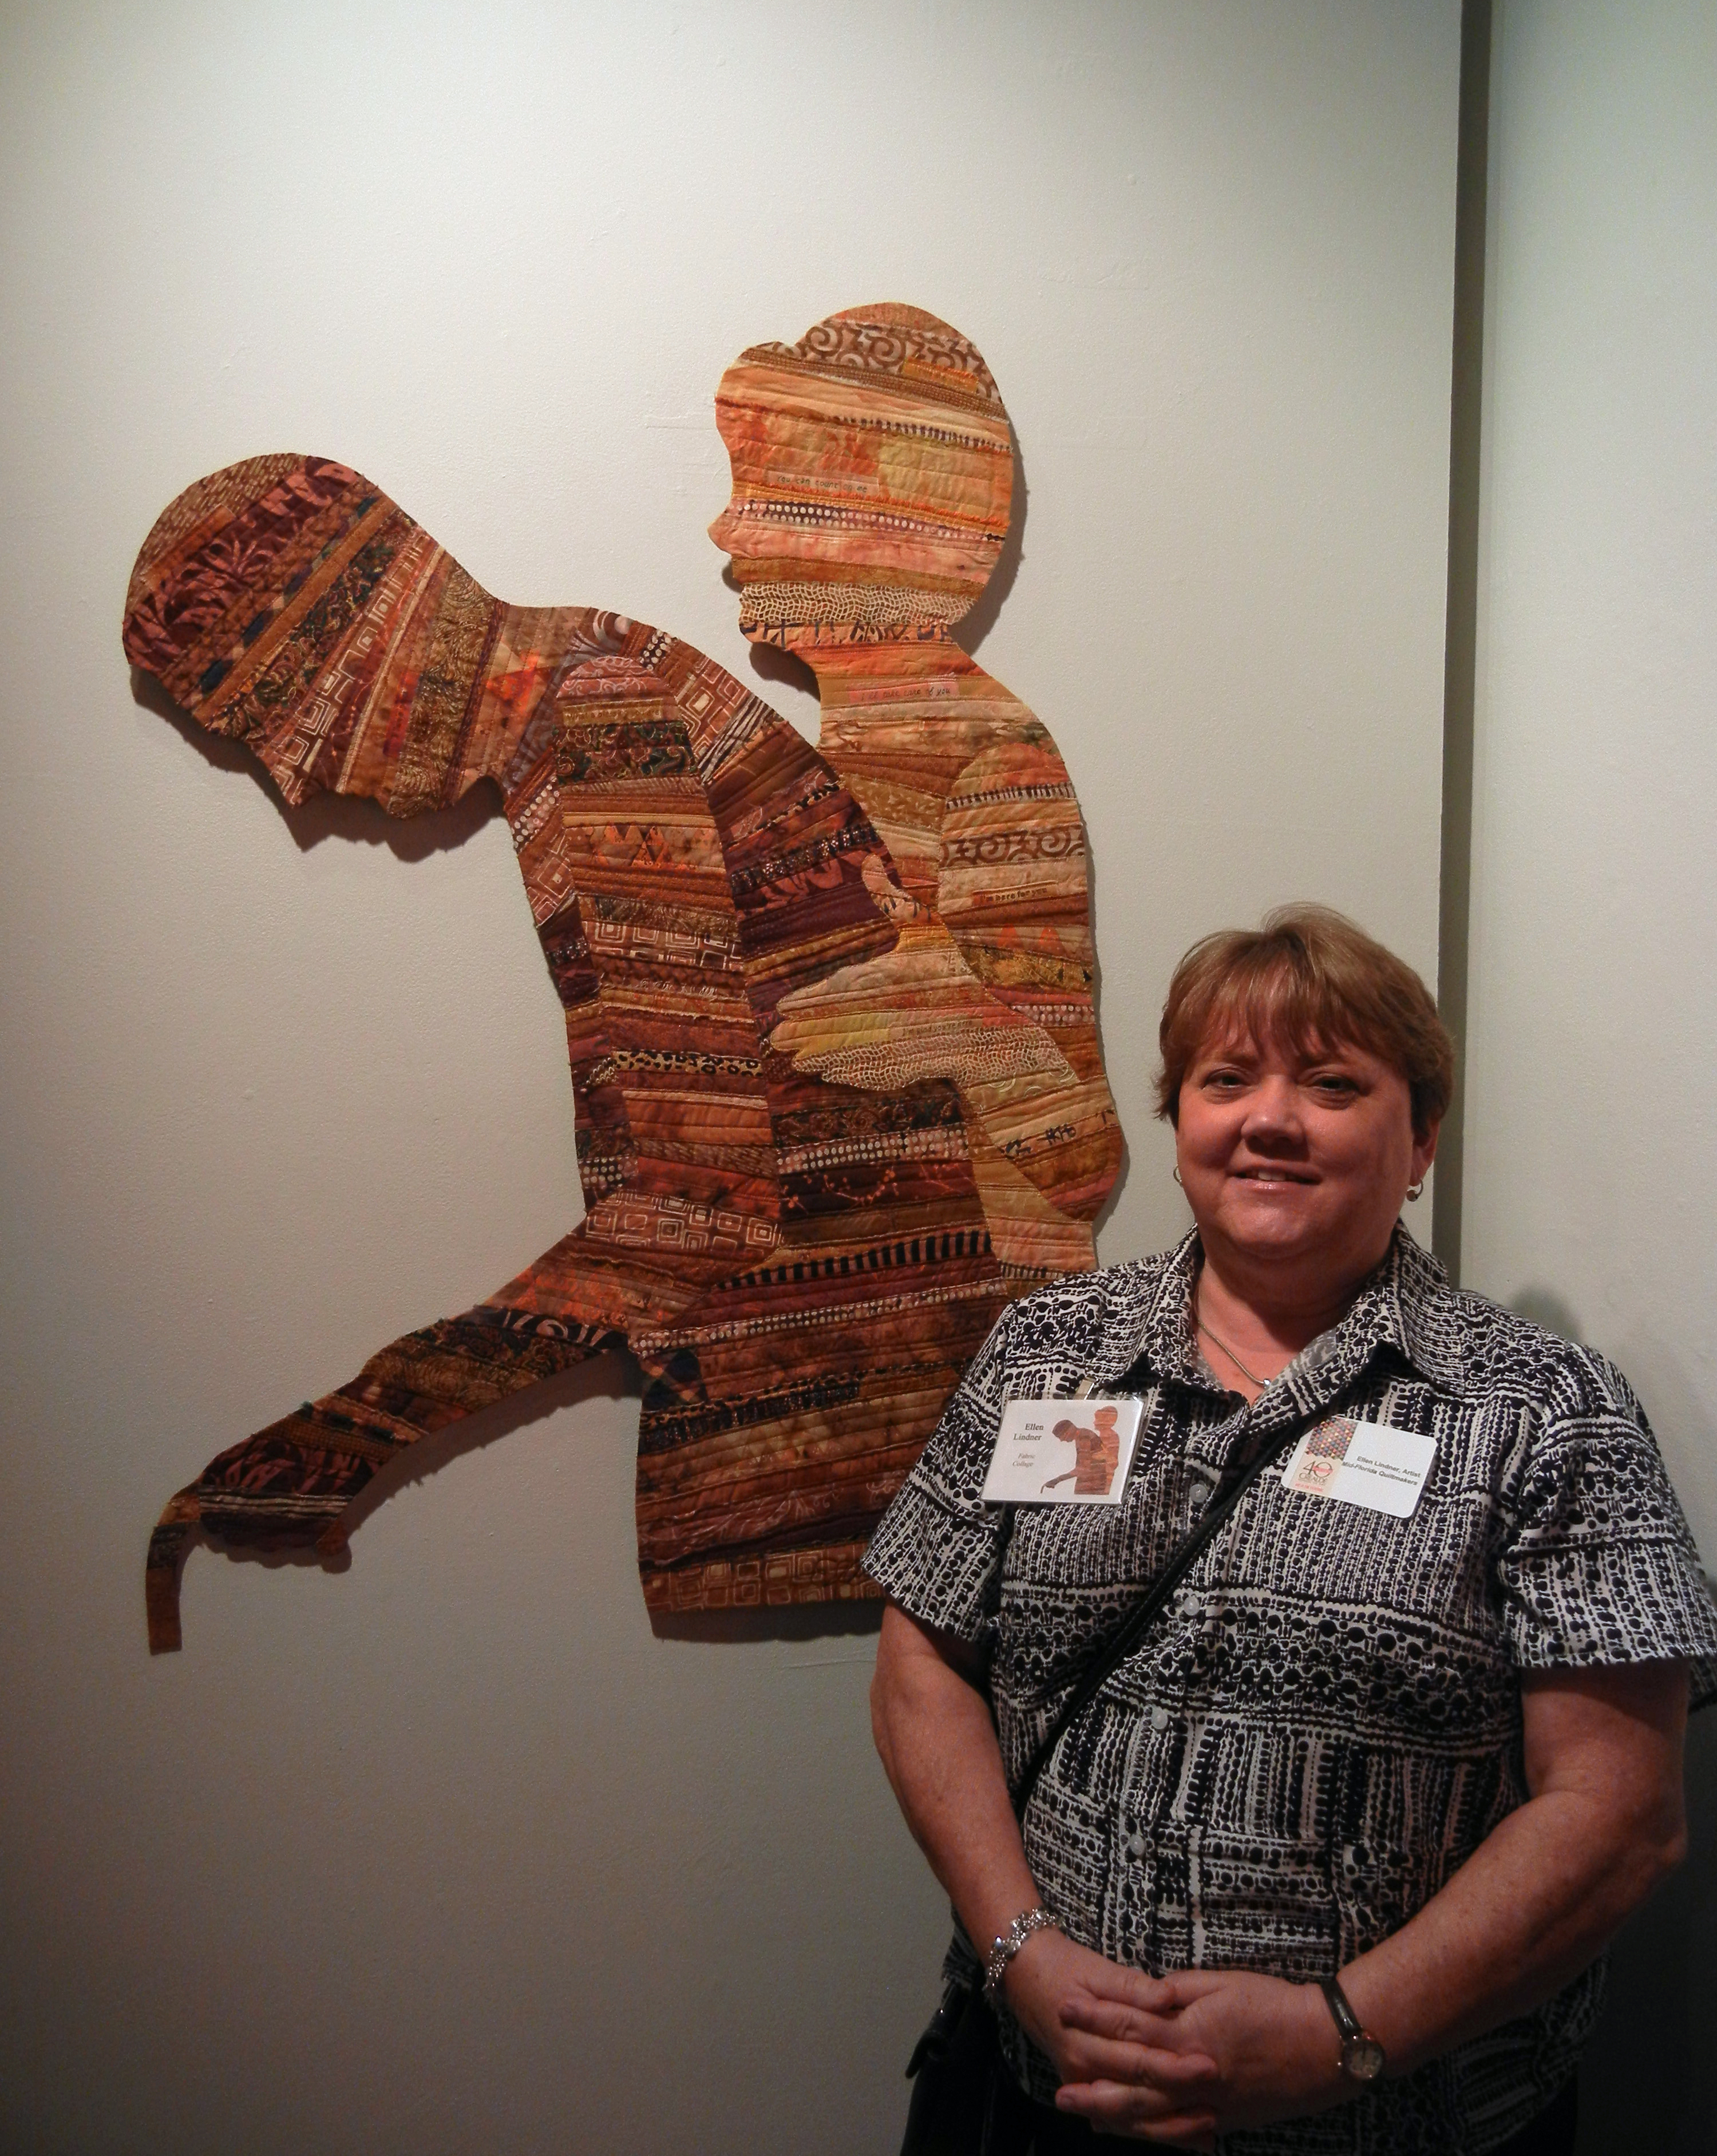
And here it is: “Caring.”

Ellen Lindner with her piece "Caring" at Crealde School of Art.  AdventureQuilter.com

I was especially glad to have this piece on display, since it’s hard to ship.  Therefore, I only get to show it in nearby venues.

Marketing tip:  When you attend an event which features one of your quilts wear a name tag showing that quilt.  It will automatically identify you as the artist and will be a great conversation starter.  (And if the venue provides you with another name tag just wear one on each side.)

There were many wonderful quilts on display.  This one was sort of the star, made by Martha Ginn:

Opening Night at Crealde School of Art.  AdventureQuilter.com(The shadows were not as deep as they appear in these photos, but the interior of the room was unlit.  The only lights were on the art.)

The exhibit space shown above is only half of the exhibit. The remainder is in downtown Winter Park, at the Hannibal Square Heritage Center.

Both exhibits run through January 18th, 2016.  If you live in the area I strongly recommend a trip to see them AND to spend some time in delightful Winter Park.

Ellen Lindner
P.S.  Winter Park is a delightful little town with lots of shops and restaurants nestled among beautiful trees and landscaping.  Plus, it  has the Morse Museum, which features Tiffany glass, and there’s even a cool boat ride!

Improvisational Piecing – Putting it Together

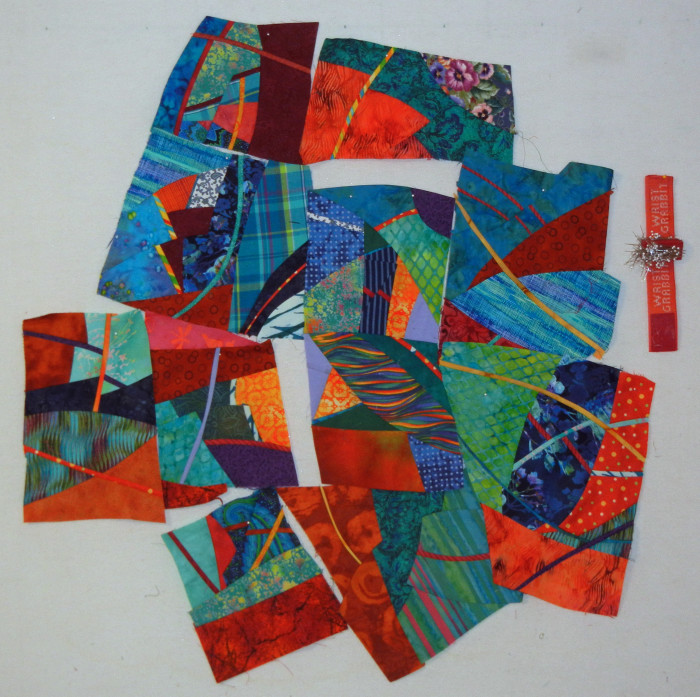
After making 11 blocks with improvisational piecing, I began to arrange them on the design wall. I knew I could spend ALL DAY rearranging them, so I simplified my process by deciding to:
– Put the bright yellow-orange pieces near the center, since I thought they’d attract attention.
– Arrange pieces according to their fit.

This is what I got.  There were plenty of gaps and areas that would need additional blocks.  Although I was NOT aiming for an exact square.  I thought the angular outside edge gave it a lot of energy and I didn’t want to lose that.

Click on any image for a larger view

Improvisational piecing with Ellen Lindner. AdventureQuilter.com

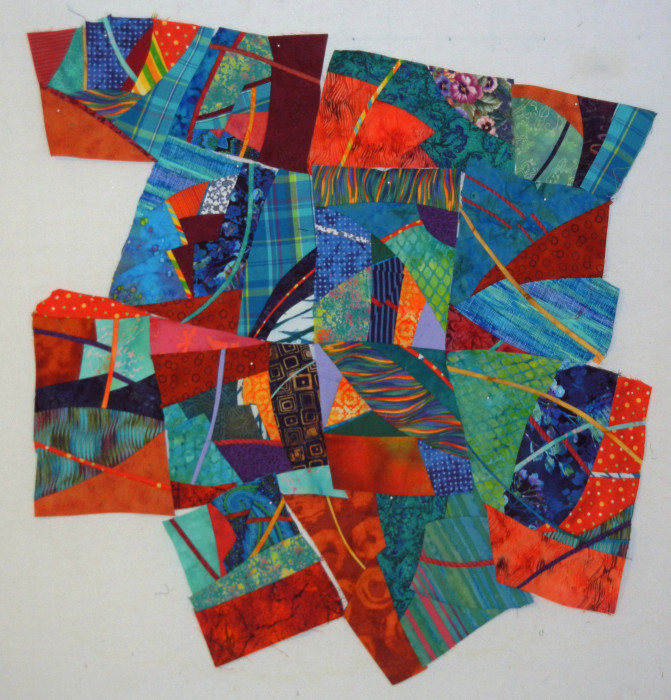
Here it is after a few more items were added.

Improvisational piecing with Ellen Lindner. AdventureQuilter.com

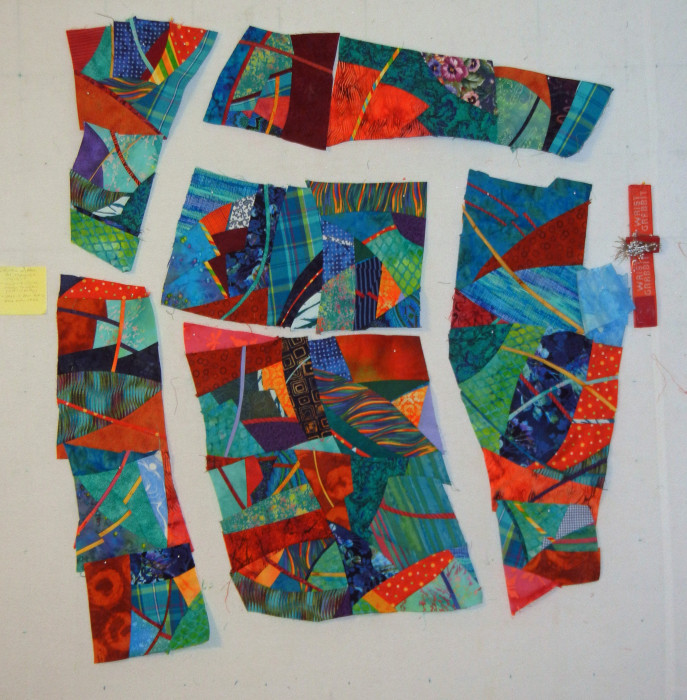
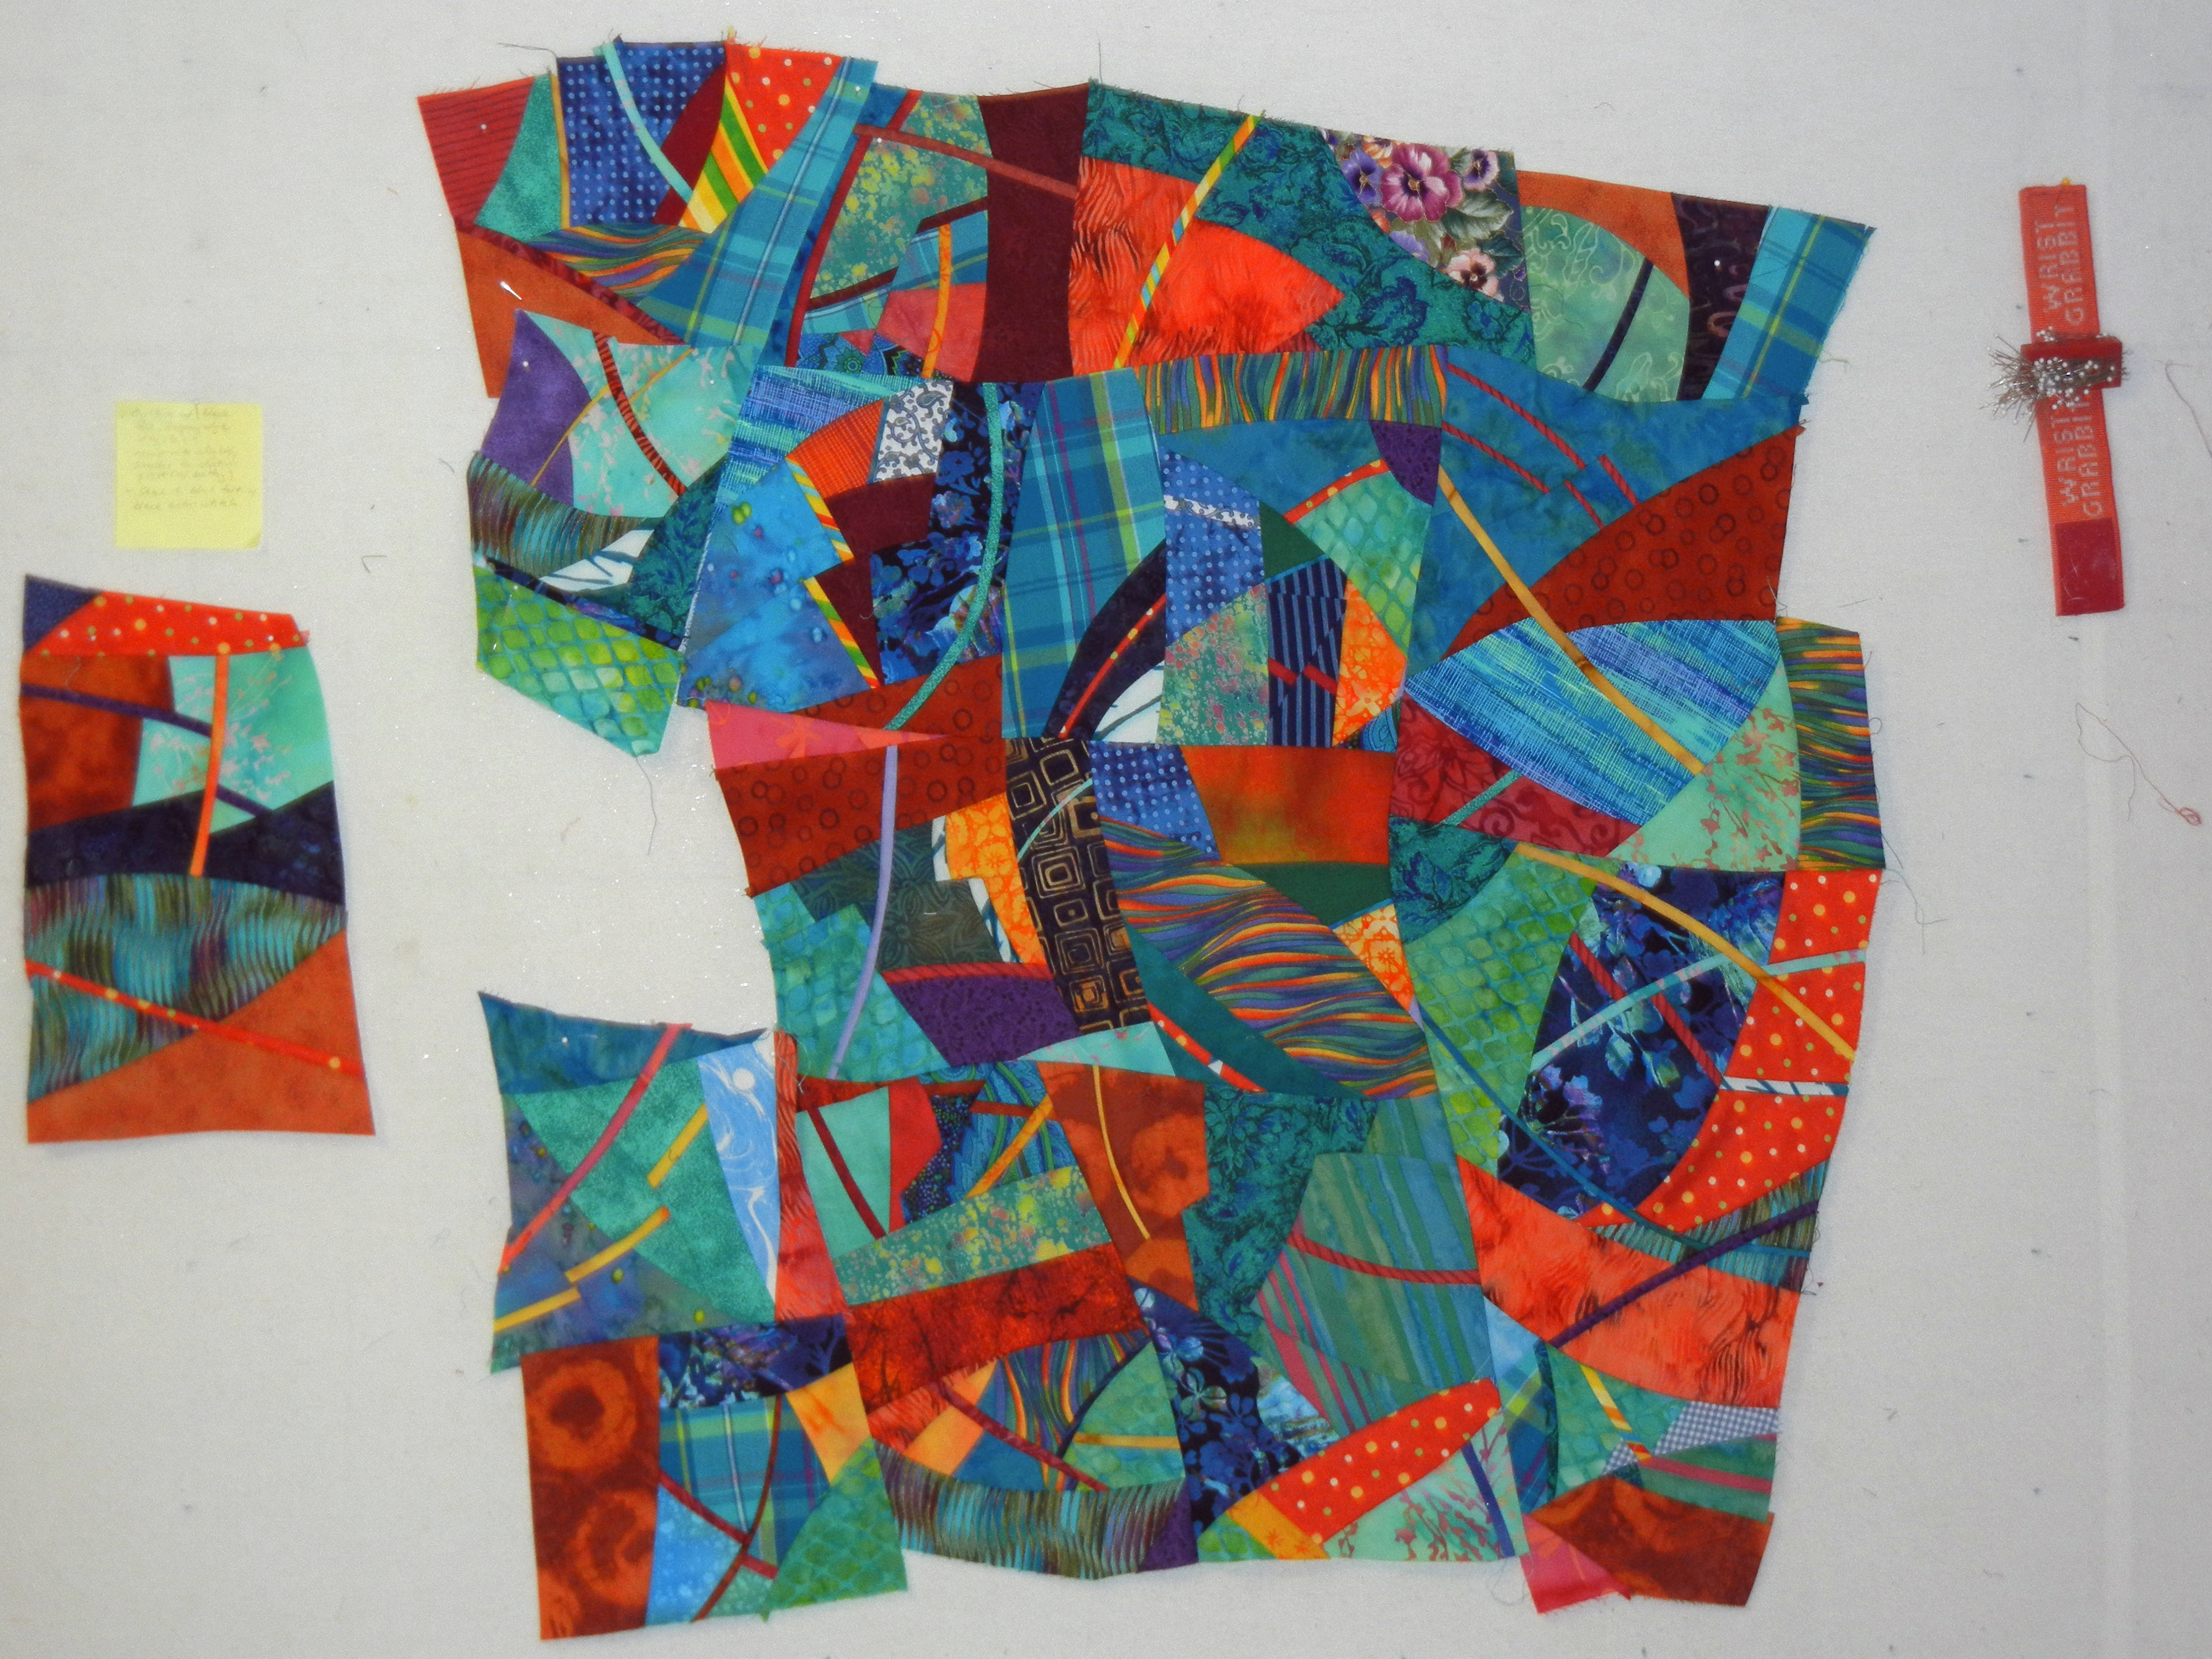
Slowly it grew and soon I was figuring out how to piece the whole thing together.  I knew I’d need to sew units together and then go from there.  One good thing:  I could use curved seams, just like I had done with everything else.  Can you see that the two major vertical seams will be curved?

Improvisational piecing with Ellen Lindner. AdventureQuilter.com

Here it is, with the left units waiting to be added.  As you can see, the final piece is too big.  That’s because things have shrunk and shifted as the units have been sewn together.  No worries:  it will get a trim (or the pieces around it will) and I’ll proceed.

Improvisational piecing with Ellen Lindner. AdventureQuilter.com

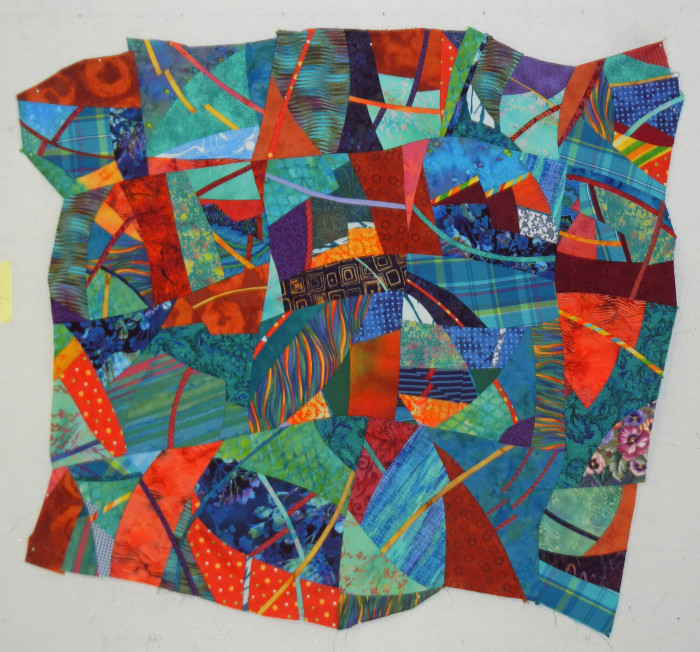
Finally, everything was pieced.

Improvisational piecing with Ellen Lindner. AdventureQuilter.com

Does it look a little different?  That’s because I rotated it 90 degrees.

Now, I’ll study it for a while and decide if I’m happy with the shape.  (If not, I can add more blocks.)  Then, I’ll have to figure out how to finish it, while maintaining that irregular edge.

Ellen Lindner


Improvisational Piecing – Getting Started

In the midst of my creative play I stumbled upon improvisational piecing.  I haven’t pieced a quilt in about 15 years, but this really looked like fun!  The appeal comes from the concept of no measuring and no pins.  My kind of sewing!  It’s fast and the results are very interesting.

You can google improvisational piecing and you’ll find many tutorials and many variations.  I decided to use:
– Only curved seams (because I saw a video about an easy way to handle them,)
– Mostly blue-green fabrics with accents of orange.
– Lots of cutting and rearranging.  (What fun!)
– Skinny strips.
(These were all things I saw in videos and magazine articles, presented by Pat Pauly.)

First, my palette of fabrics:  My selected colors, plus some yellow for tiny accents, and some darks for contrast.
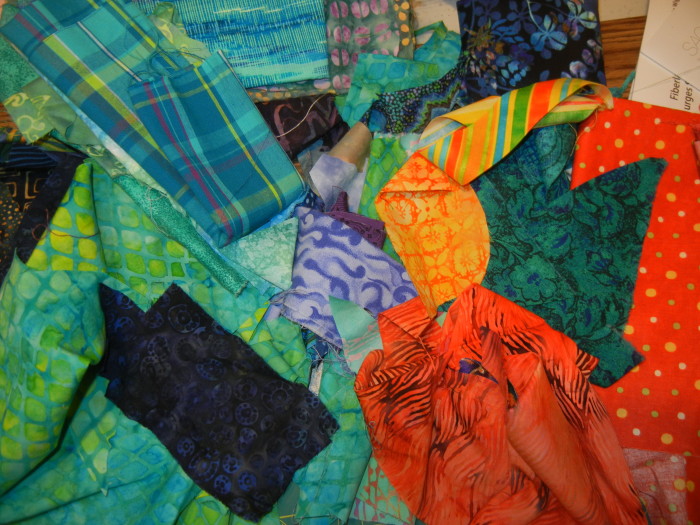
Improvisational piecing with Ellen Lindner. AdventureQuilter.com

This was my first block, made with little scraps.  Can you see what I did to get started?
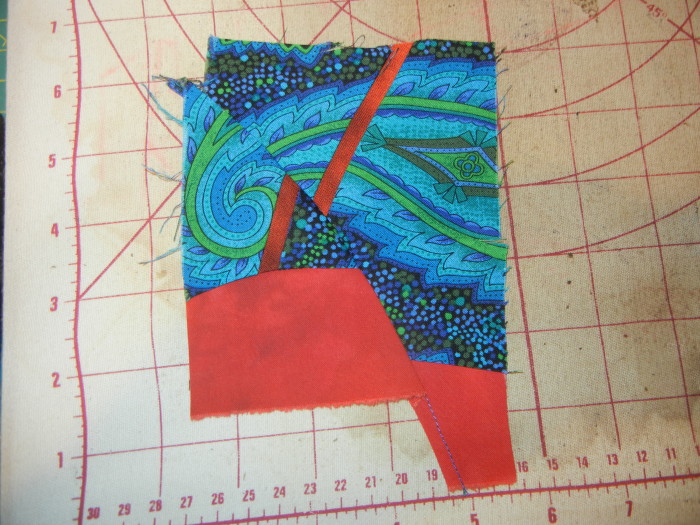
Improvisational piecing with Ellen Lindner. AdventureQuilter.com

  • First, I cut the blue paisley fabric with a curved line.  Then, without any pinning or measuring, I cut a skinny strip of red and sewed it in.
  • Next, I cut through that and slid the two pieces so the red line had a big break it.  And sewed it.
  • Then, I added the red on the bottom.  But again, cut through it and slid it so things no longer aligned.

Well, heck, that was so much fun I just had to keep going!  This is the same “block,” finished:
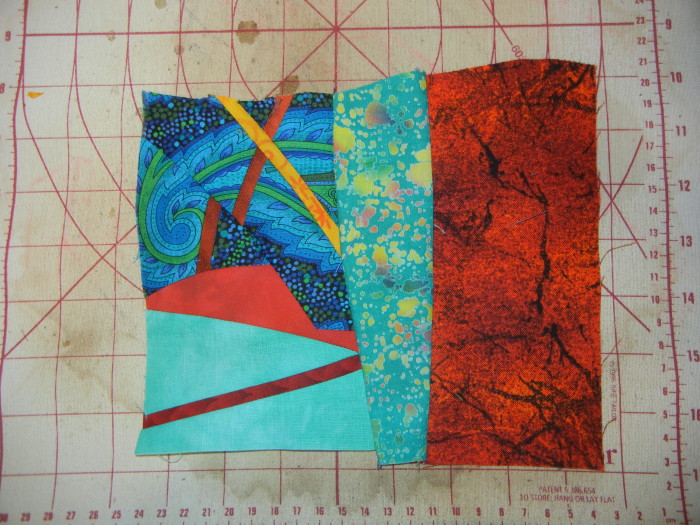
Improvisational piecing with Ellen Lindner. AdventureQuilter.com

It was really exciting to sew something, cut into it, and rearrange it.  I loved it!

Here’s another block in-progress.  After cutting it, I debated whether to misalign it, or to add a skinny strip.  I auditioned both options.
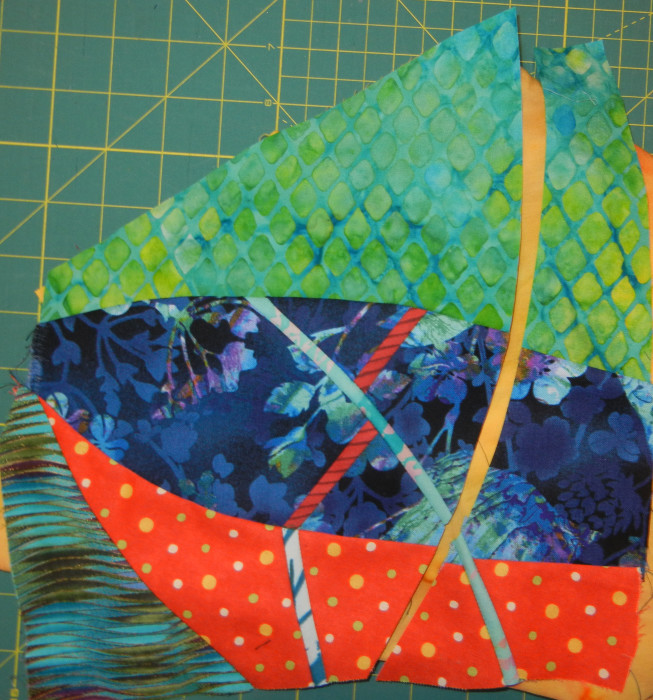
Improvisational piecing with Ellen Lindner. AdventureQuilter.com

What would a skinny yellow strip look like?
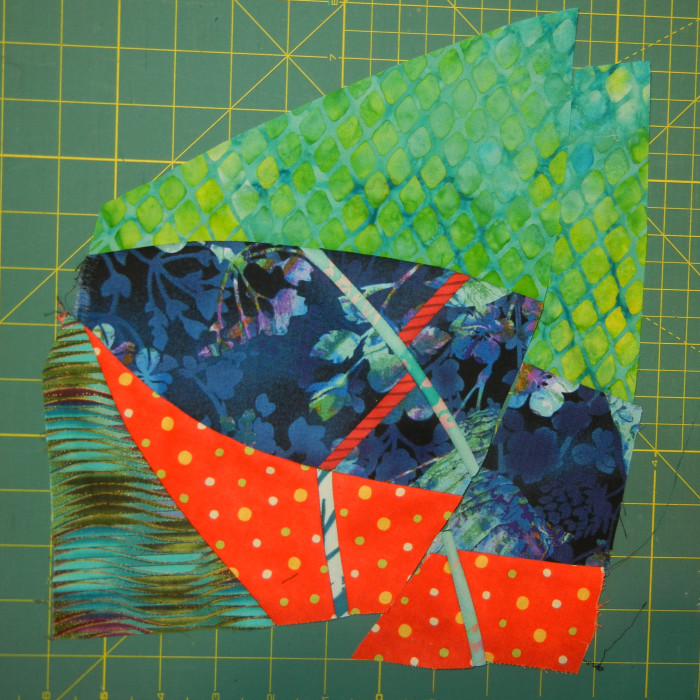
Improvisational piecing with Ellen Lindner. AdventureQuilter.com

What would misalignment look like?

Of course, I could do both, right?  (Stay tuned to see my decision.)  In the image below, the first six blocks are randomly arranged on the design wall.  The block I just showed is top right – BEFORE I altered it.  That’s one of the great things about this technique.  You can go back and alter each block until you begin the final joining.

Notice, too, that some blocks have wacky edges.  They’ll be cut when the next thing is added, so I just left them that way as I continued.
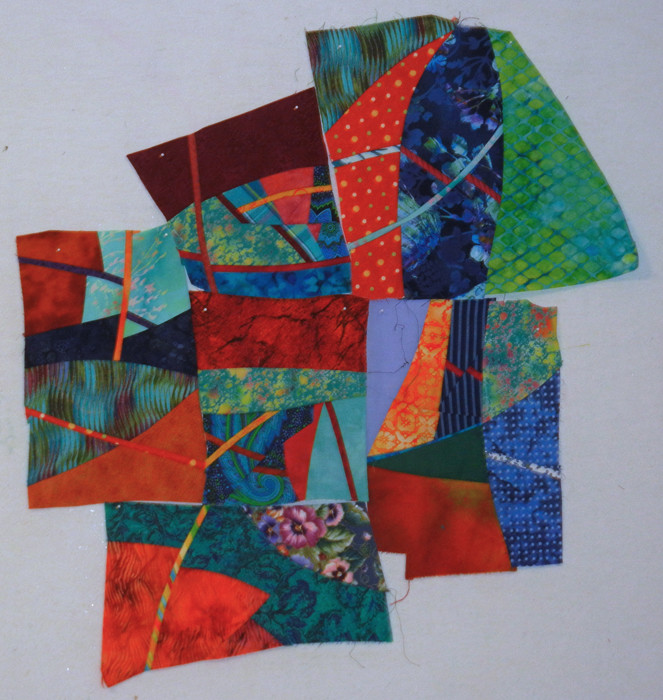
Improvisational piecing with Ellen Lindner. AdventureQuilter.com

It was looking pretty cool, don’t you think?  I loved the energy!

Ellen Lindner
Creative Play: Photo to Abstract

In my last creative exercise, I once again took inspiration from Pat Pauly and used one of her techniques for creating an abstract design from a photo.

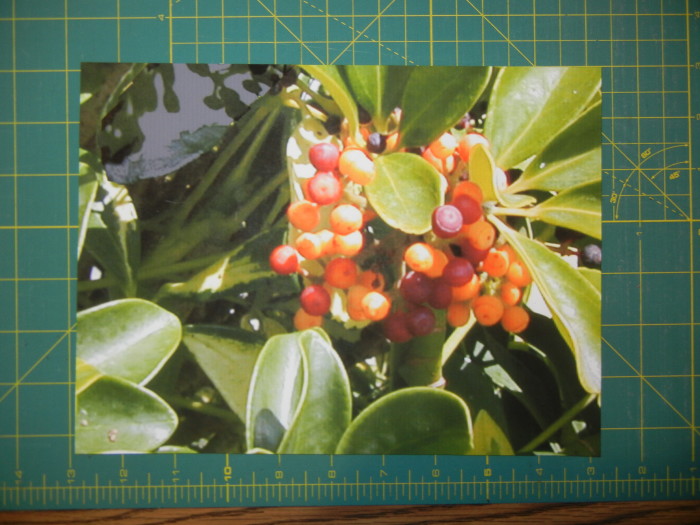
First, I cropped one of my printed photos down to 7.5 x 10.

Photo to Abstract with Ellen Lindner. AdventuereQuilter.com

I was aiming for something that was divisible by 2.5, so I could cut it into squares.

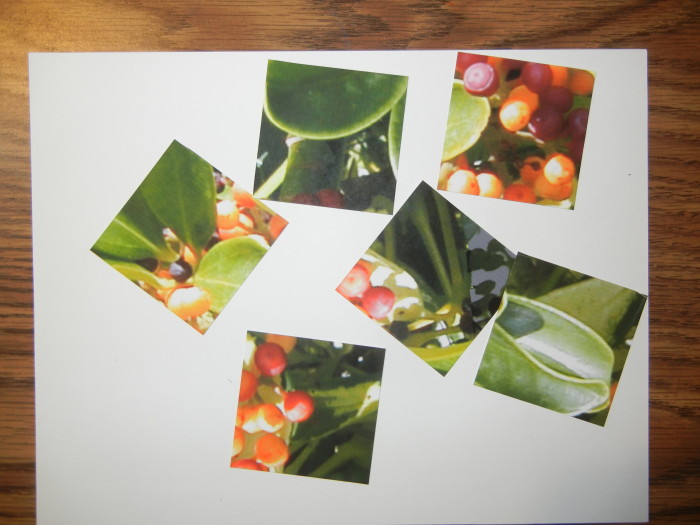
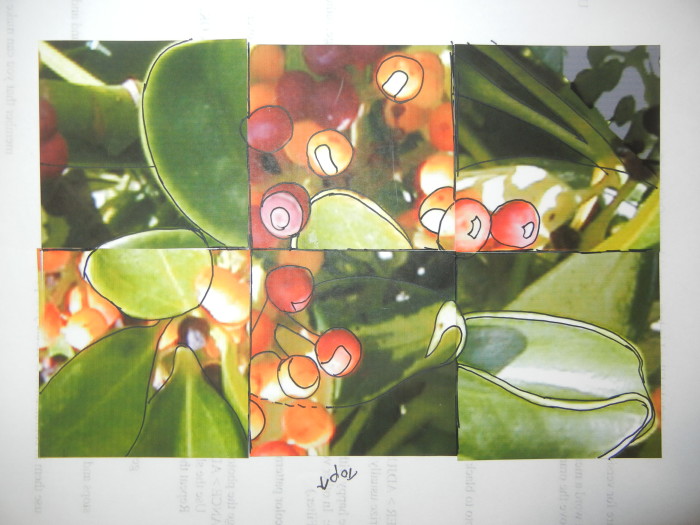
Next, I picked out my 6 favorite squares, making sure I had a good variety of light  and dark, as well as all the colors.

Photo to Abstract with Ellen Lindner. AdventuereQuilter.com

I spent some time rotating and arranging those 6 squares and came up with this.

Photo to Abstract with Ellen Lindner. AdventuereQuilter.com
It’s not meant to be a quilt design as is.  But, the idea is that the lines of it might make a good pattern for an abstract design.  Did you notice the word “Top” facing the wrong direction?  That’s because I composed it in this orientation and changed it later.

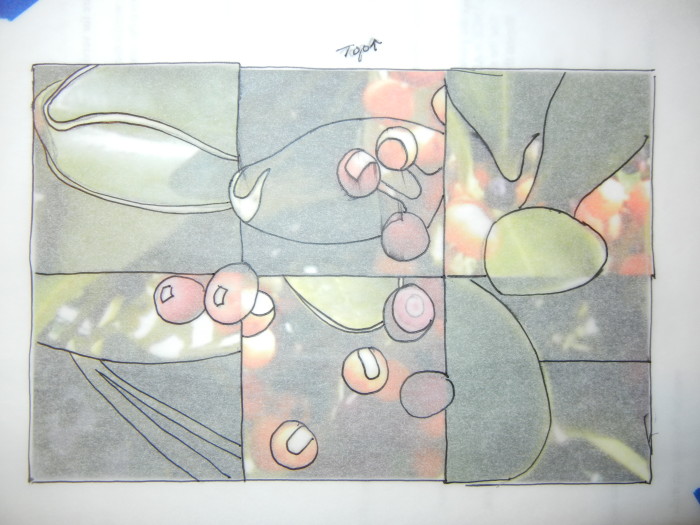
I traced the major shapes with permanent marker, so I could see them more easily.  Then, I traced them onto tracing paper.

Photo to Abstract with Ellen Lindner. AdventuereQuilter.com

The idea is that the tracing paper pattern could serve as a pattern by itself.  And I think it could.  What do you think?  See, now it’s turned “correctly.”

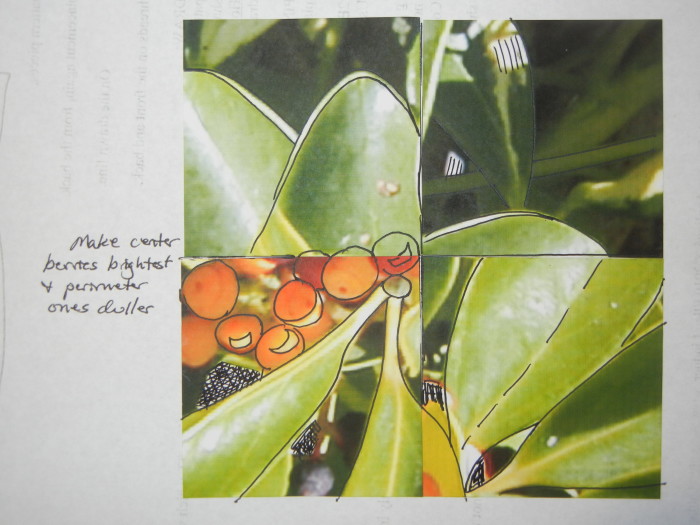
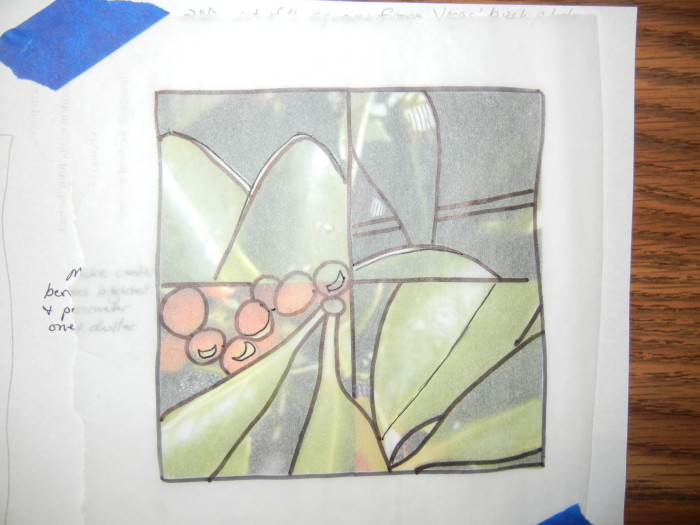
I had leftover squares so I used 4 more and repeated the exercise.  (I just didn’t like those last 2 squares.)

Photo to Abstract with Ellen Lindner. AdventuereQuilter.com

DSCN7136

Hmm, maybe I like this one even better than those favorite squares.  Now I’m wondering what it would look like if I omitted the vertical and horizontal grid lines, merging shapes as needed.  More options!

It’s easy to be intimidated by the prospect of abstracting an image, but this technique was pretty useful, I thought.  Why not try it?

Update, I just found an image of one of Pat Pauly’s abstracted quilts.  It looks like she used a technique much like this.

Ellen Lindner
P.S.  See my other posts about recent creative play here, here, and here.

Art Quilts Revealed

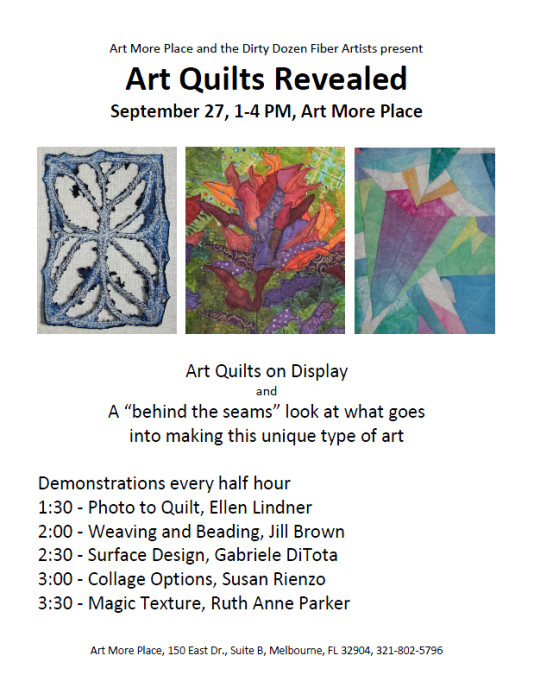
I’m really excited about an upcoming event in Melbourne, FL.  It’s called “Art Quilts Revealed” and it will be presented/hosted by my small art group, the Dirty Dozen Fiber Artists.  We’ll have lots of quilts on display, explanations of many of our techniques, and demos every half hour.

It will be  held in Art More Place, which is a really cool space for classes and creativity.  The address is 150 East Dr., Ste. B.  I hope you can join us Sunday afternoon, September 27th!Art Quilts Revealed, a "behind the seams" exhibit.  AdventureQuilter.comI’ll be demonstrating several ways to use photos as inspiration for quilts.  My big challenge will be paring down my examples!  But, what a fun task!  Any certain quilts you’d like me to bring?

Ellen Lindner